I-Image Print head removal/install
Use the guidelines below for the removal of old print head and installing a new one.
I-Image Print head removal/install
Use the guidelines below for the removal of old print head and installing a new one.
Turn power off to the machine and unplug
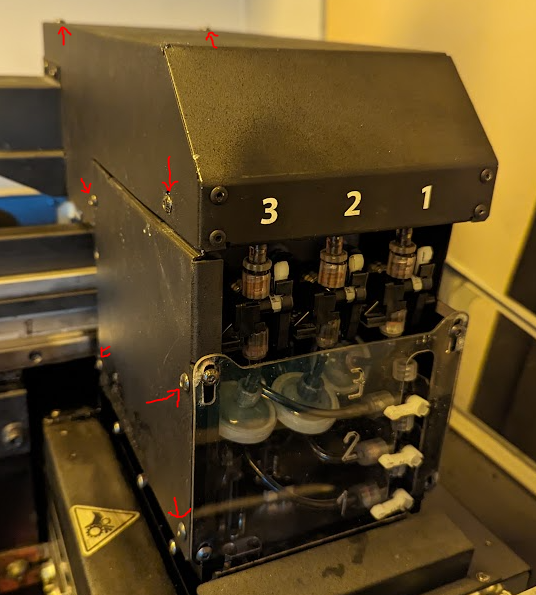
Remove all covers from print head carriage
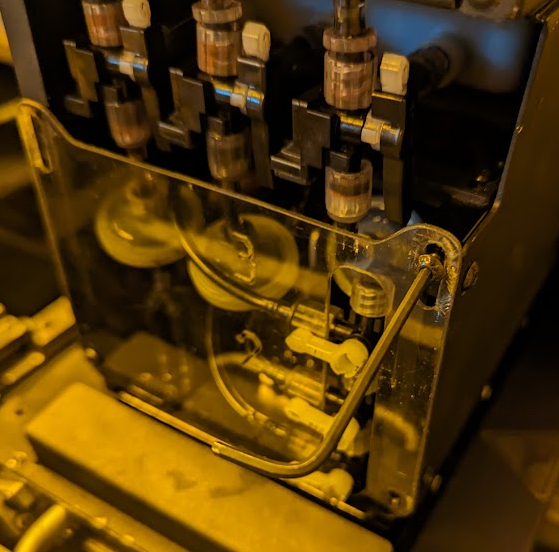
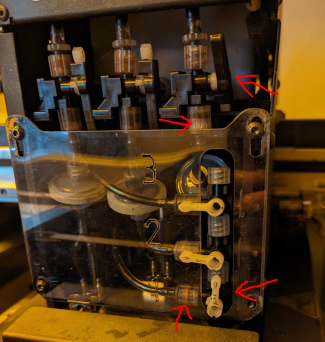
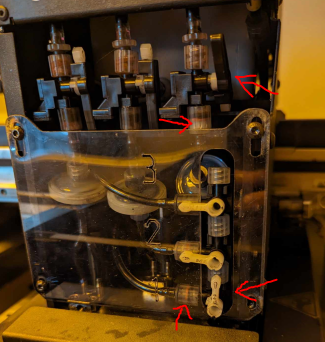
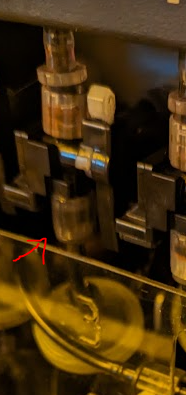
Close ink lines to prevent ink spillage or drippping
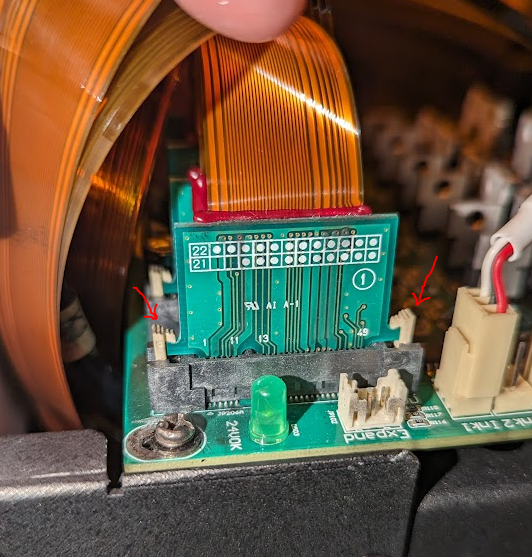
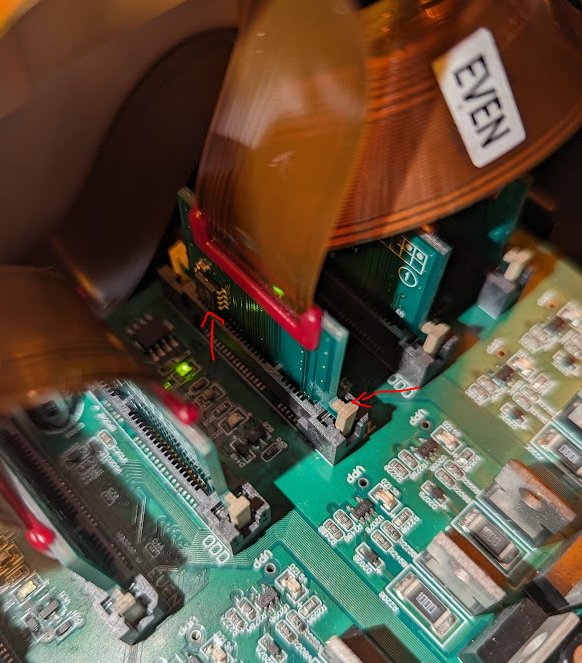
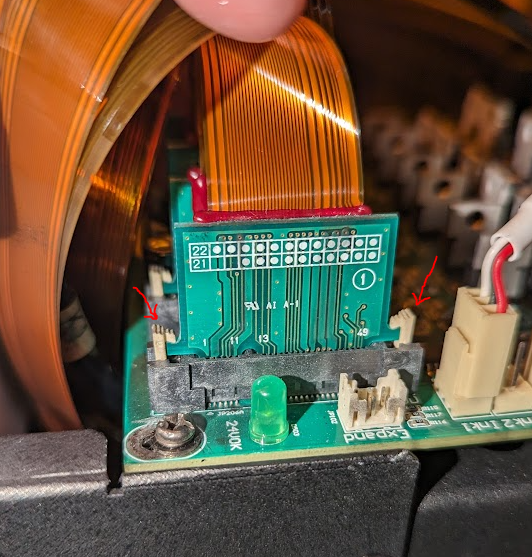
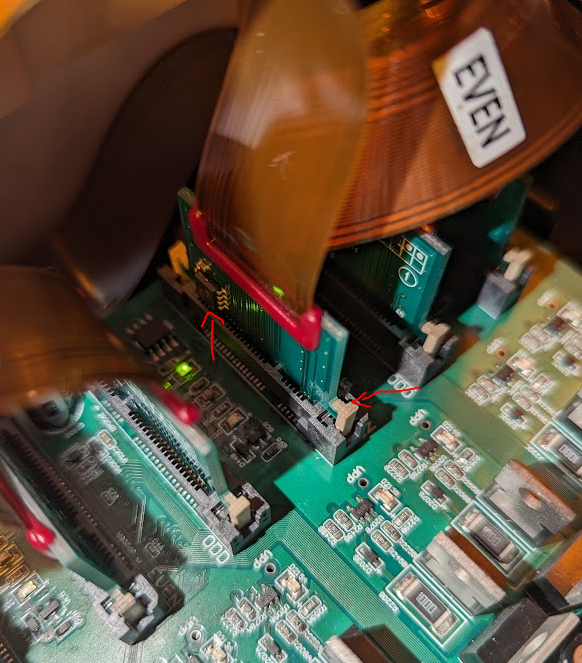
Disconnect the two ribbon cable connectors
Remove the two 2.5mm screws holding the print head down
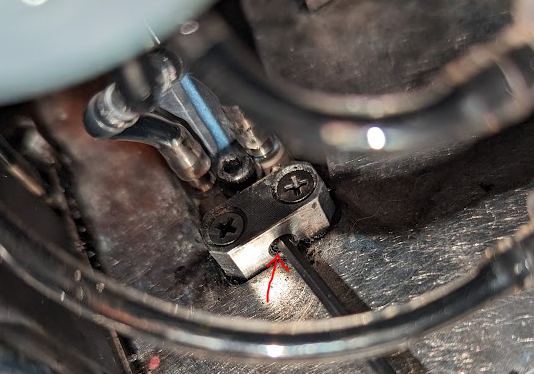
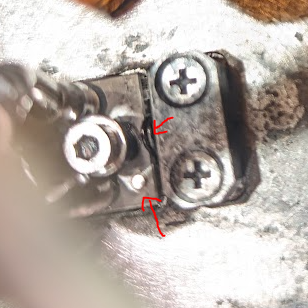
Loosen the 2mm set screw in the front of the print head one rotation at a time ( keeping track how many rotations) , checking to see if the print head will come loose
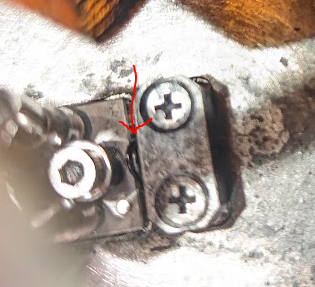
Notice adjustment spring at the back when removing the print head (don't lose it)
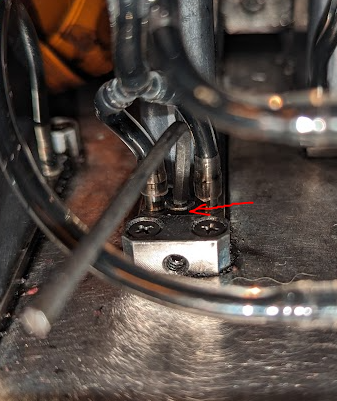
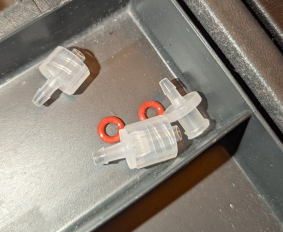
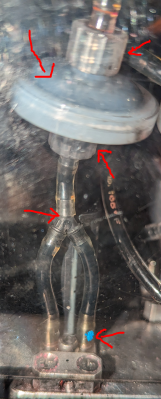
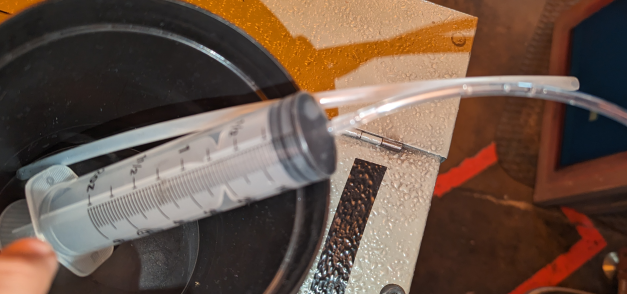
Disconnect lines at the filter and the outlet, making sure ink is off at both points
Assemble new tubing and filter
Installing new print head, notice which side the alignment pins are located and keeping adjustment spring in place
Do a purge or auto clean and then do a nozzle check
Source: Champion Teamwear (Community Member)

