Cutting Down Coring Bits Procedure
The importance of core cutting in waterproofing Without proper drainage, water can enter the building and cause damage to the foundation, walls, and floors. Core cutting ensures that water is directed away from the building, preventing damage and ensuring a safe and dry environment.
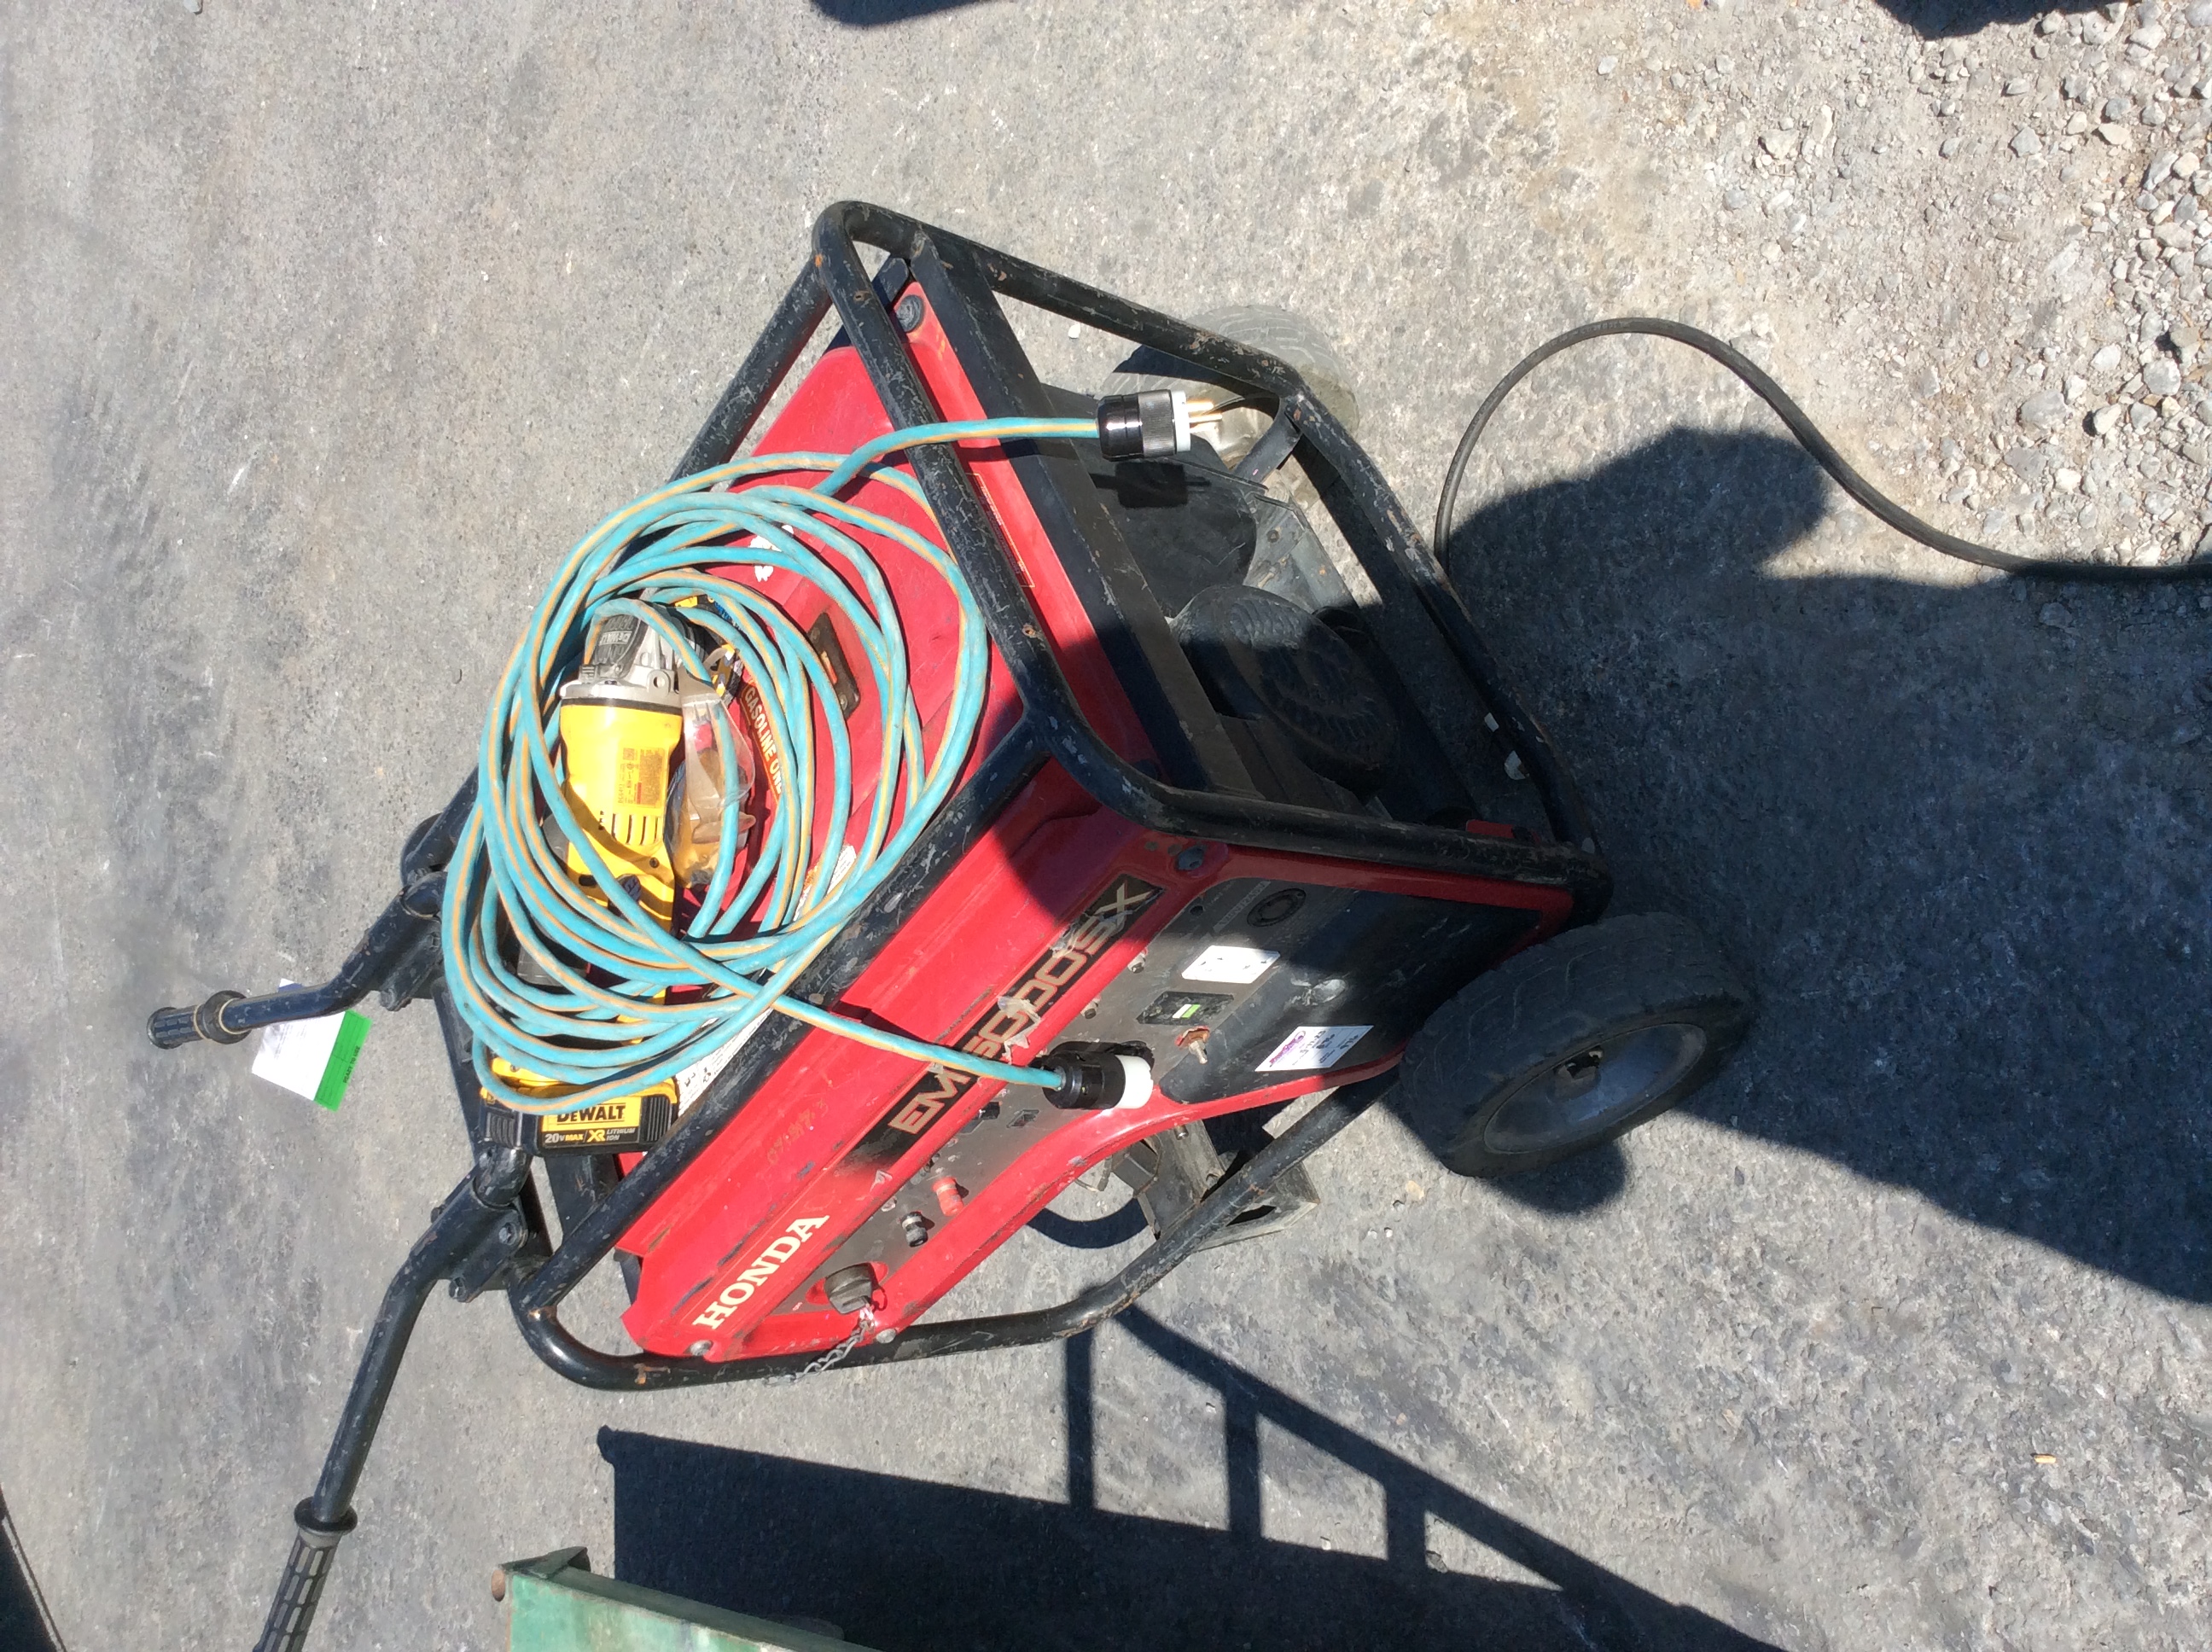
Make sure to grab your safety glasses, earplugs, extension cord, generator pack, and grinder with sanding wheel.
Take picture of all the equipment.
Add or drag pictures
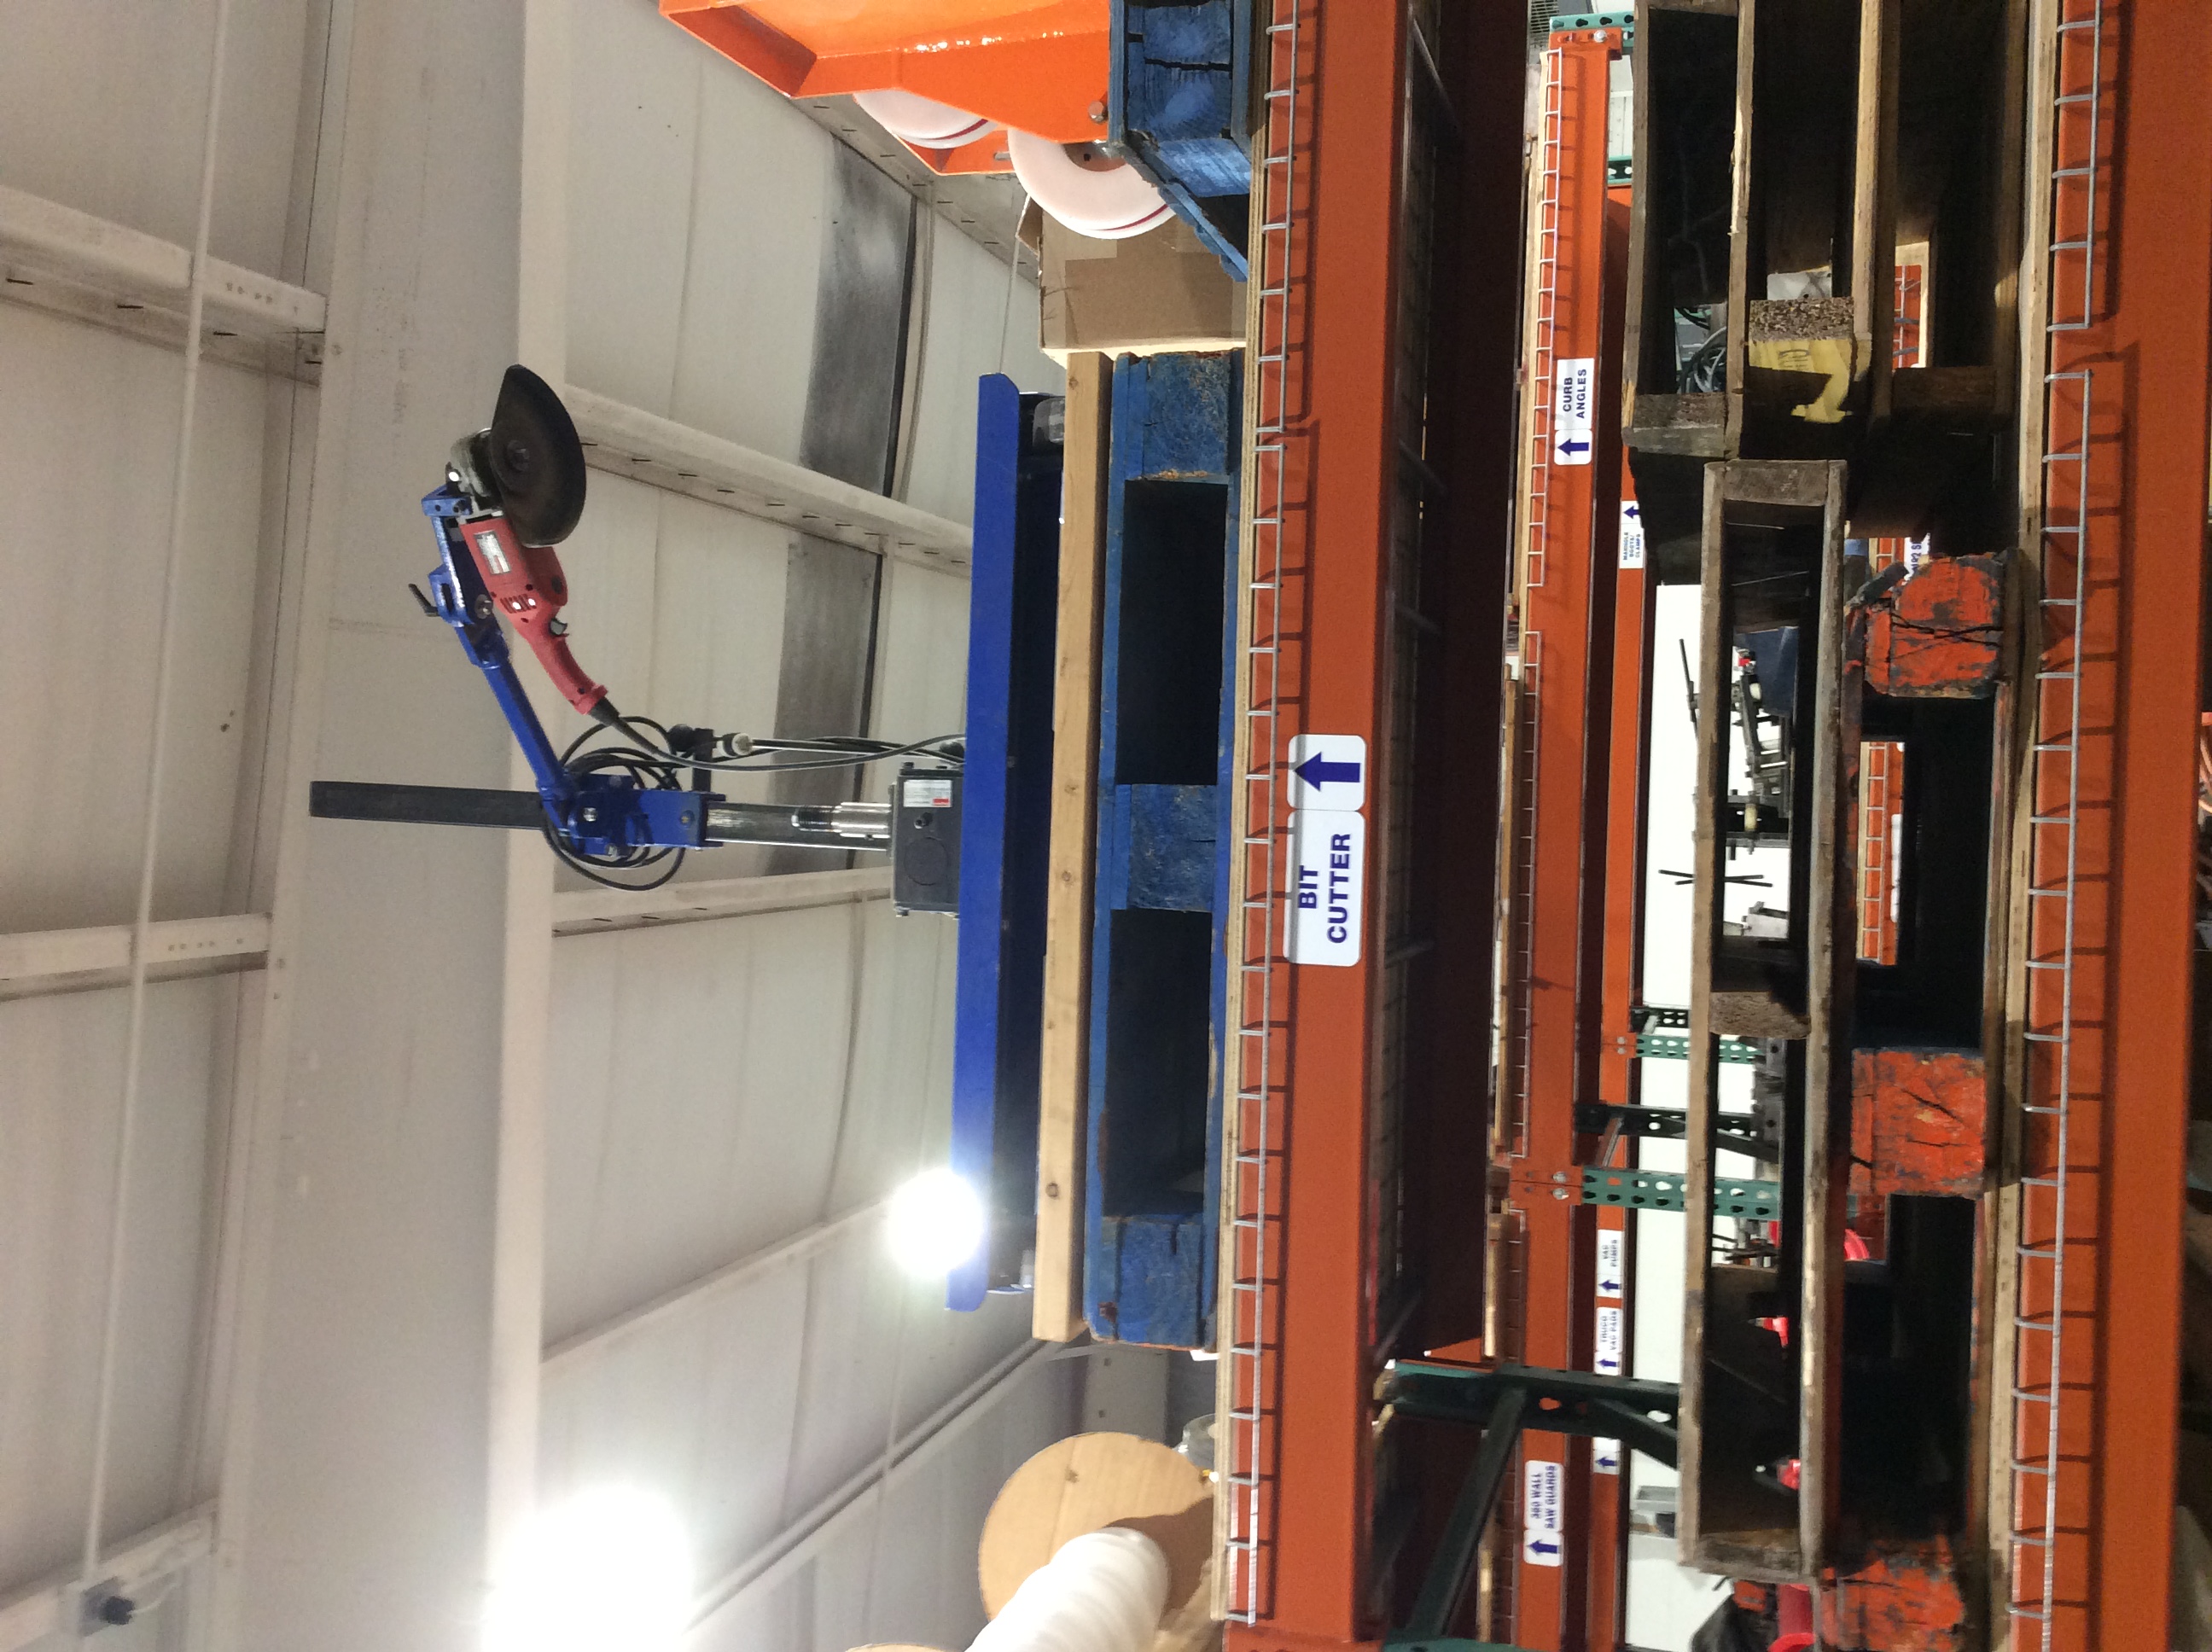
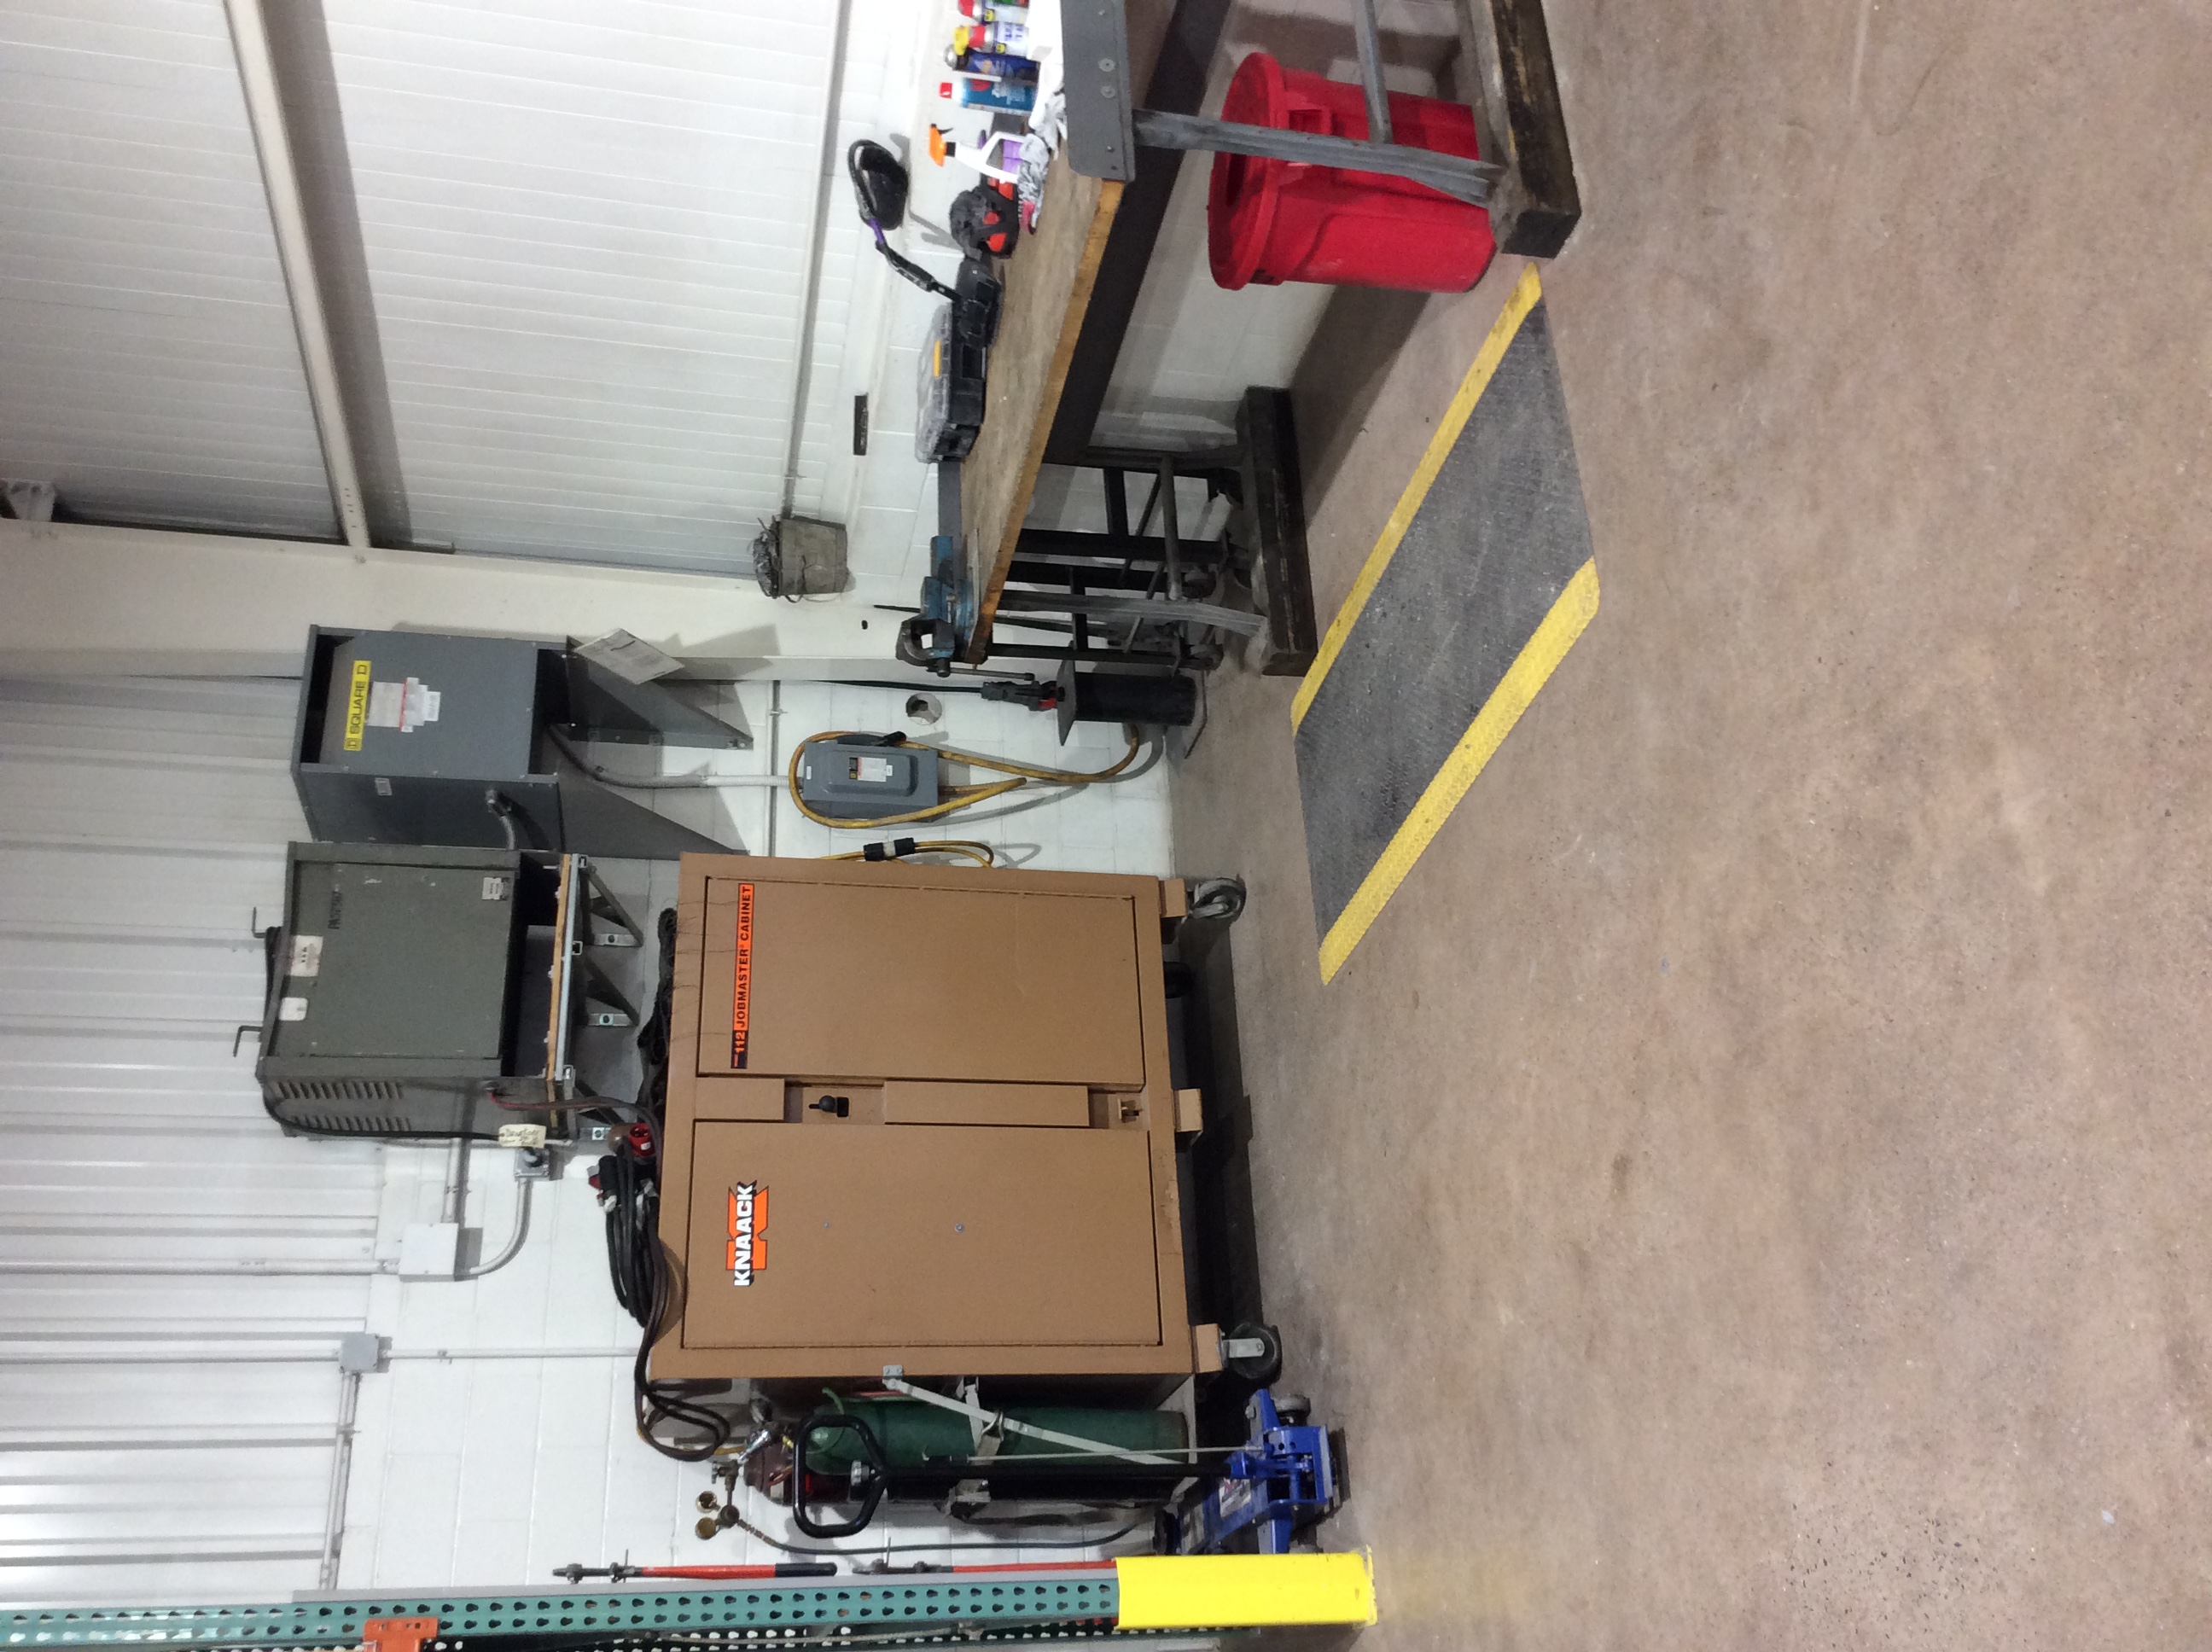
Take a forklift and get the Cutting Pedestal down form the shop racking. (If you do not know how to run the forklift ask Pat to get it down.) Take Pedestal out to the rear of the building by the trailers area.
Take picture of Pedestal.
Add or drag pictures
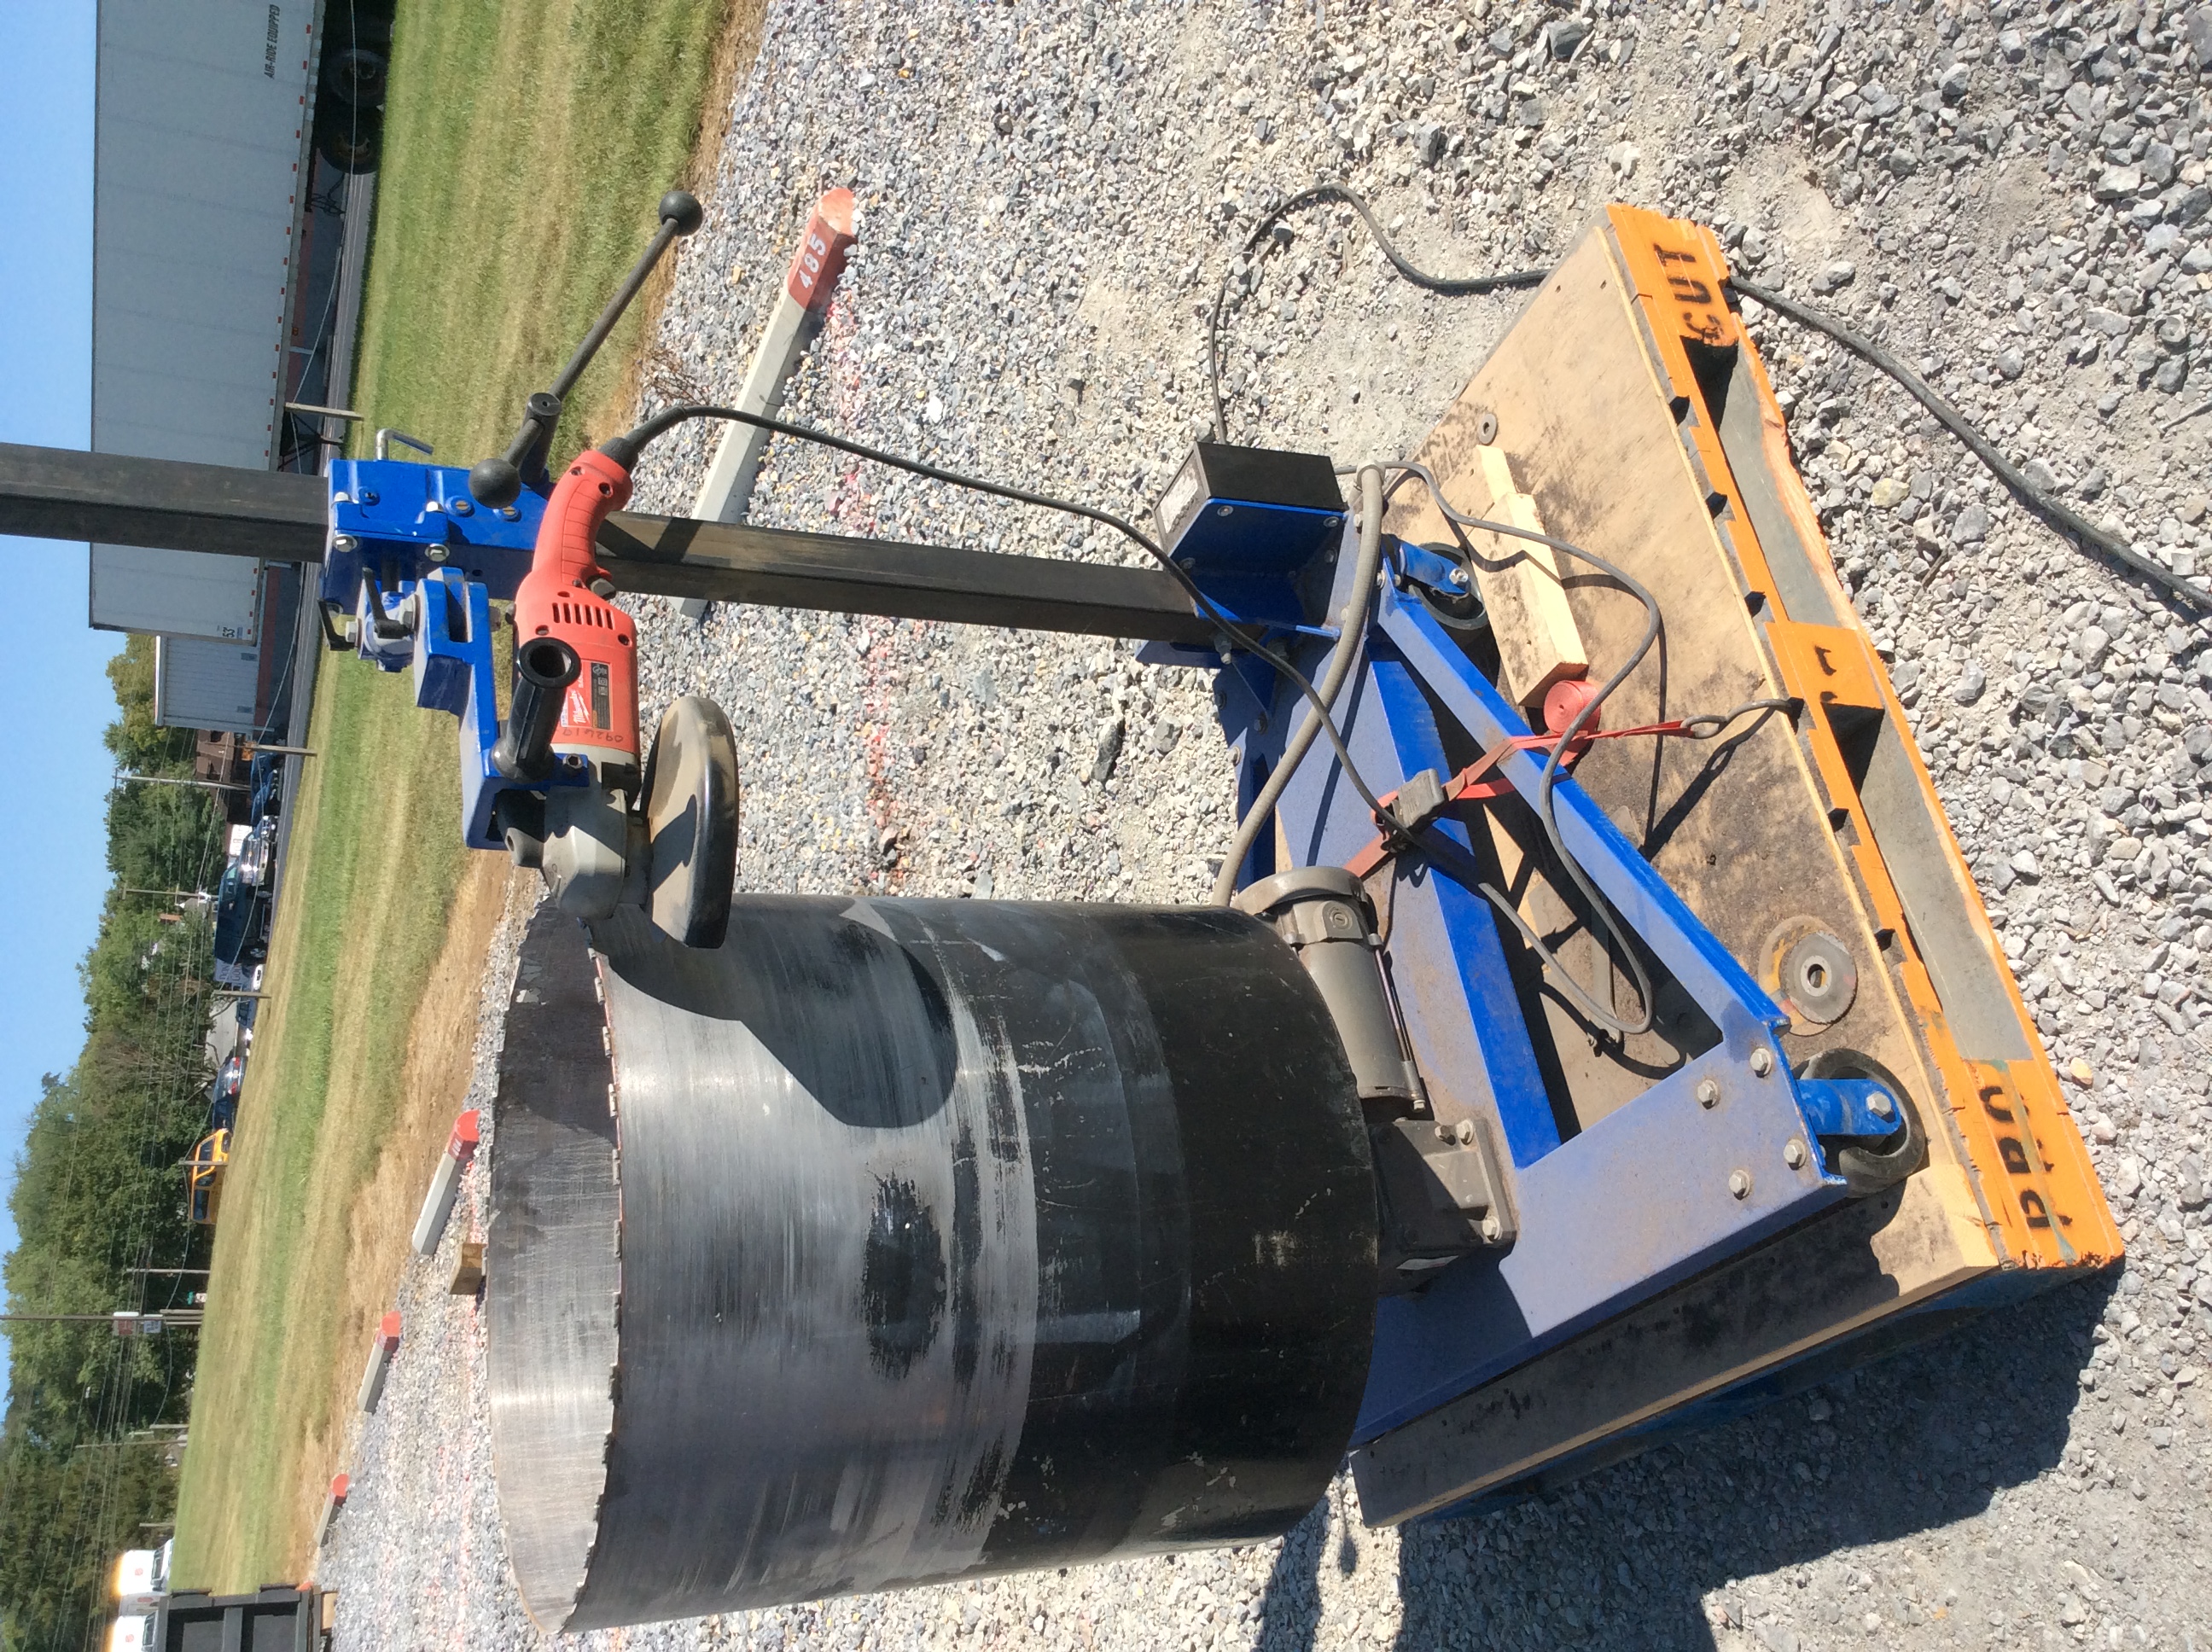
Take the desired bit and screw onto the pedestal stand.
Take picture of bit placed on stand.
Add or drag pictures
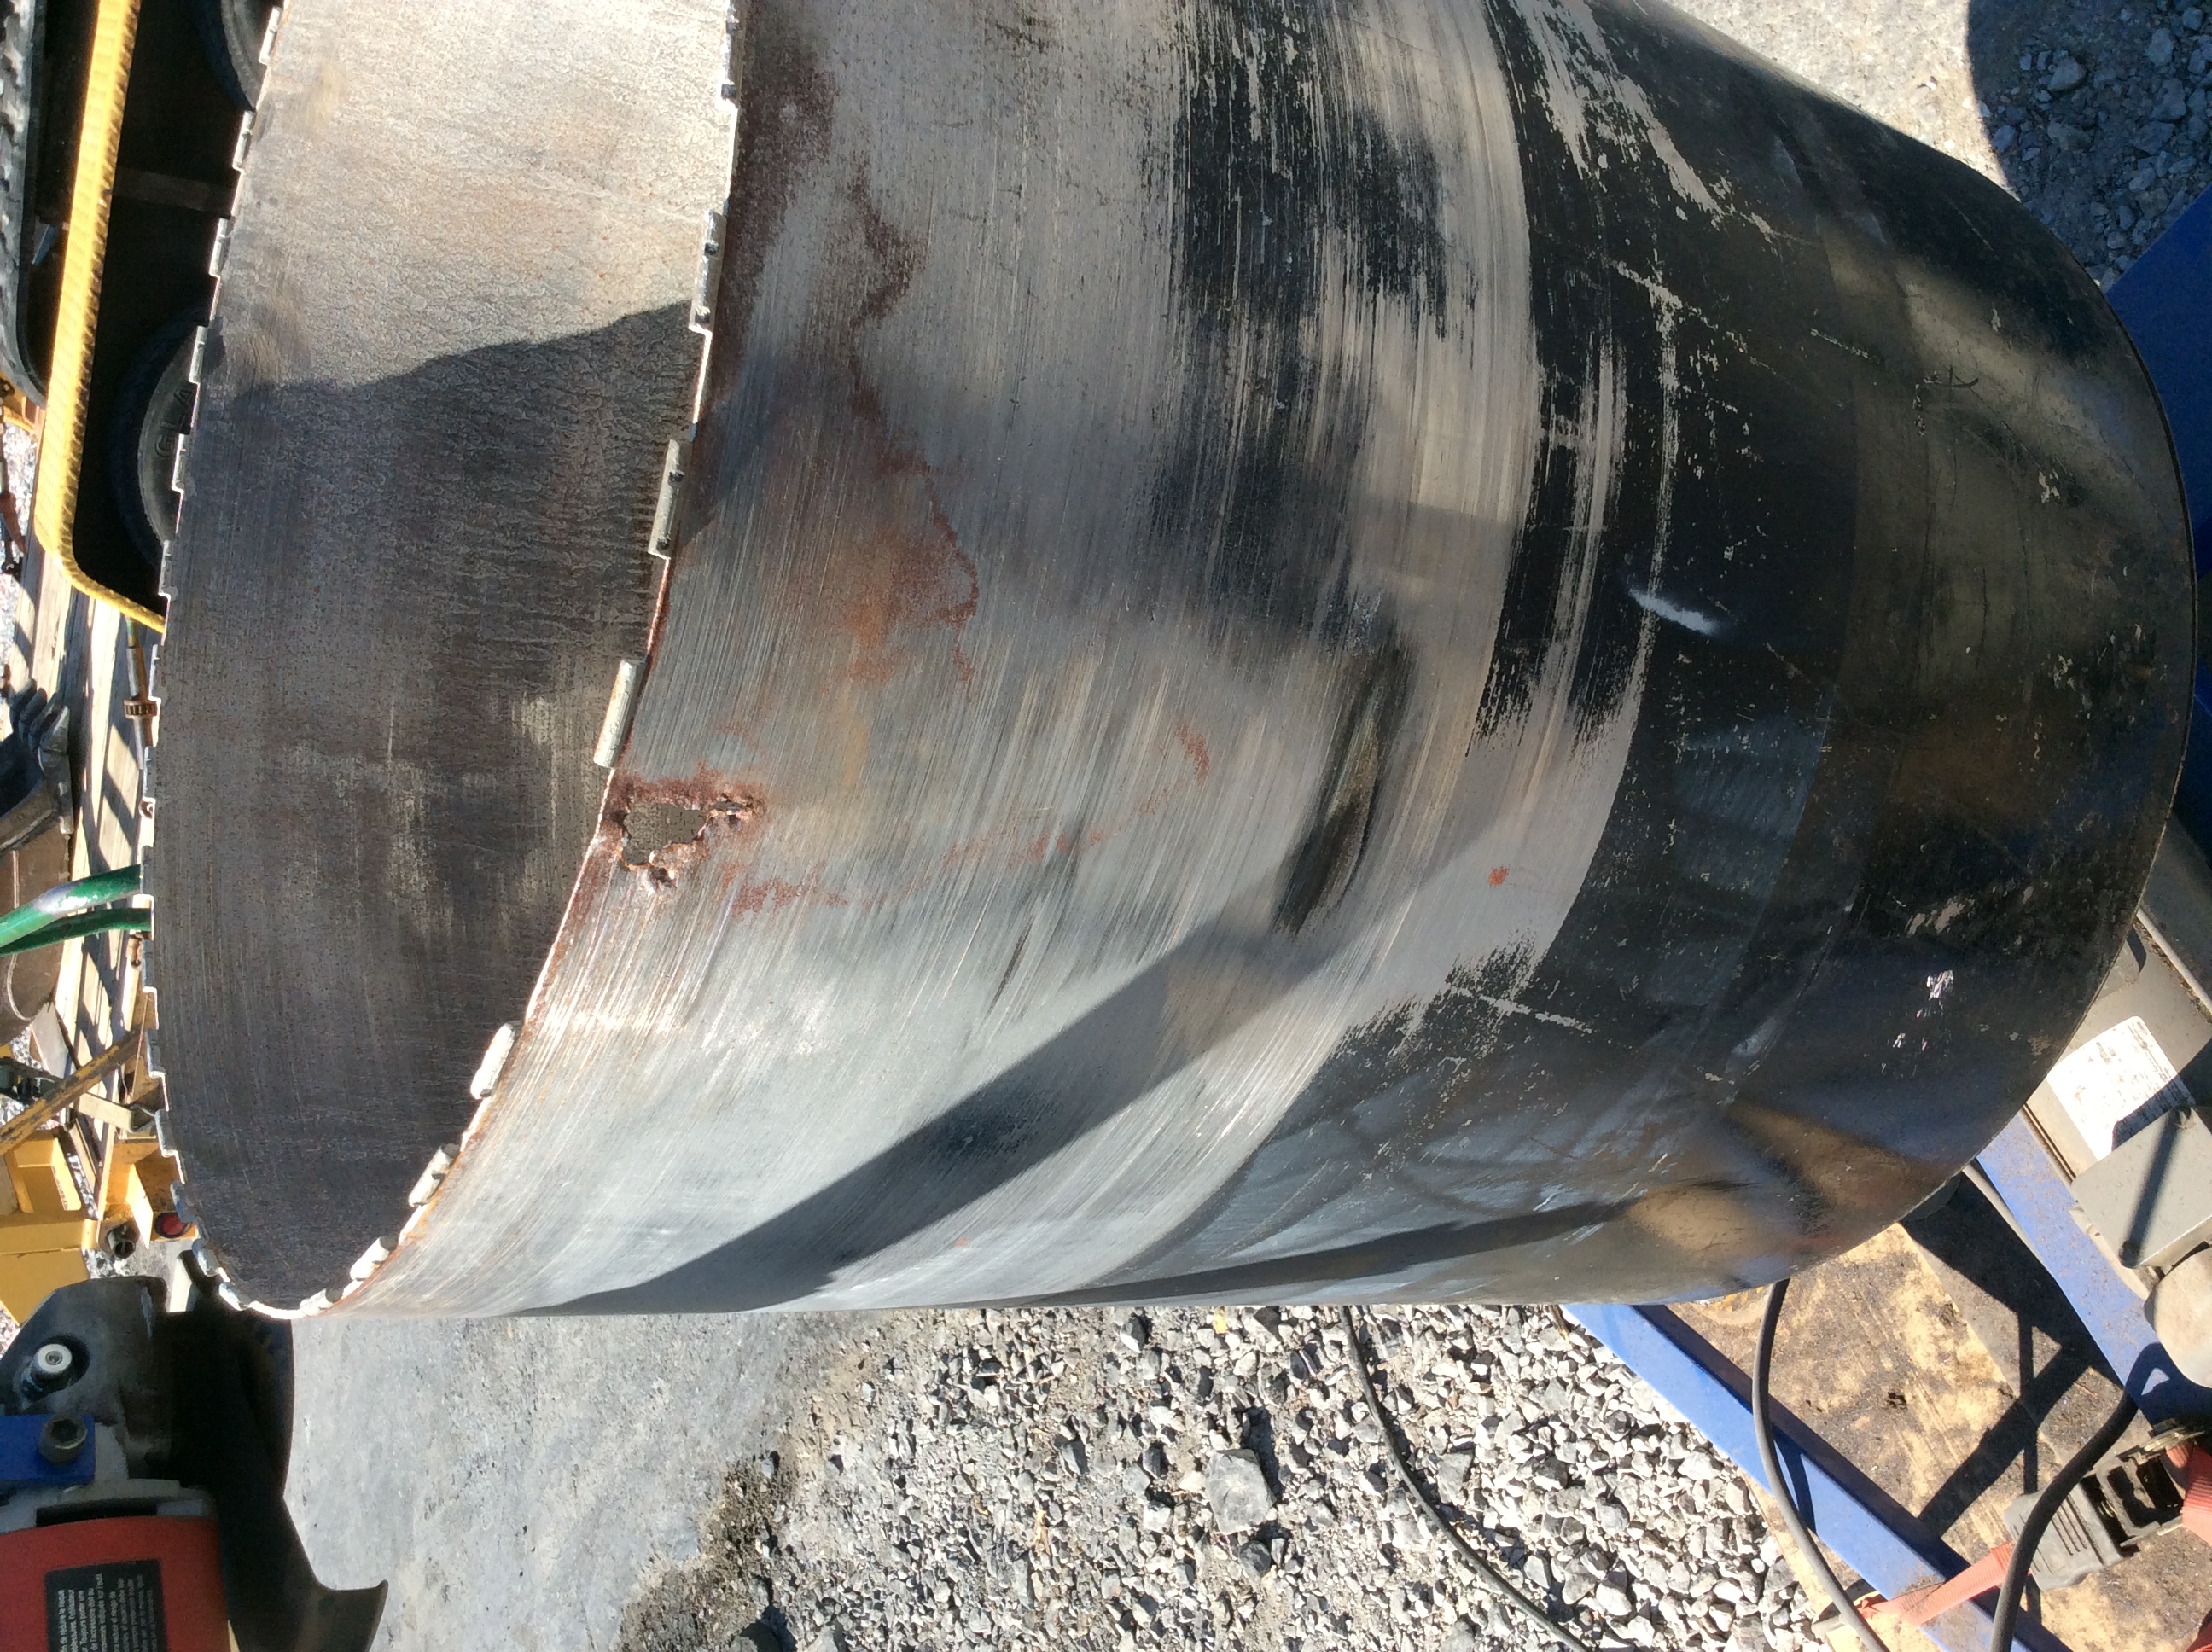
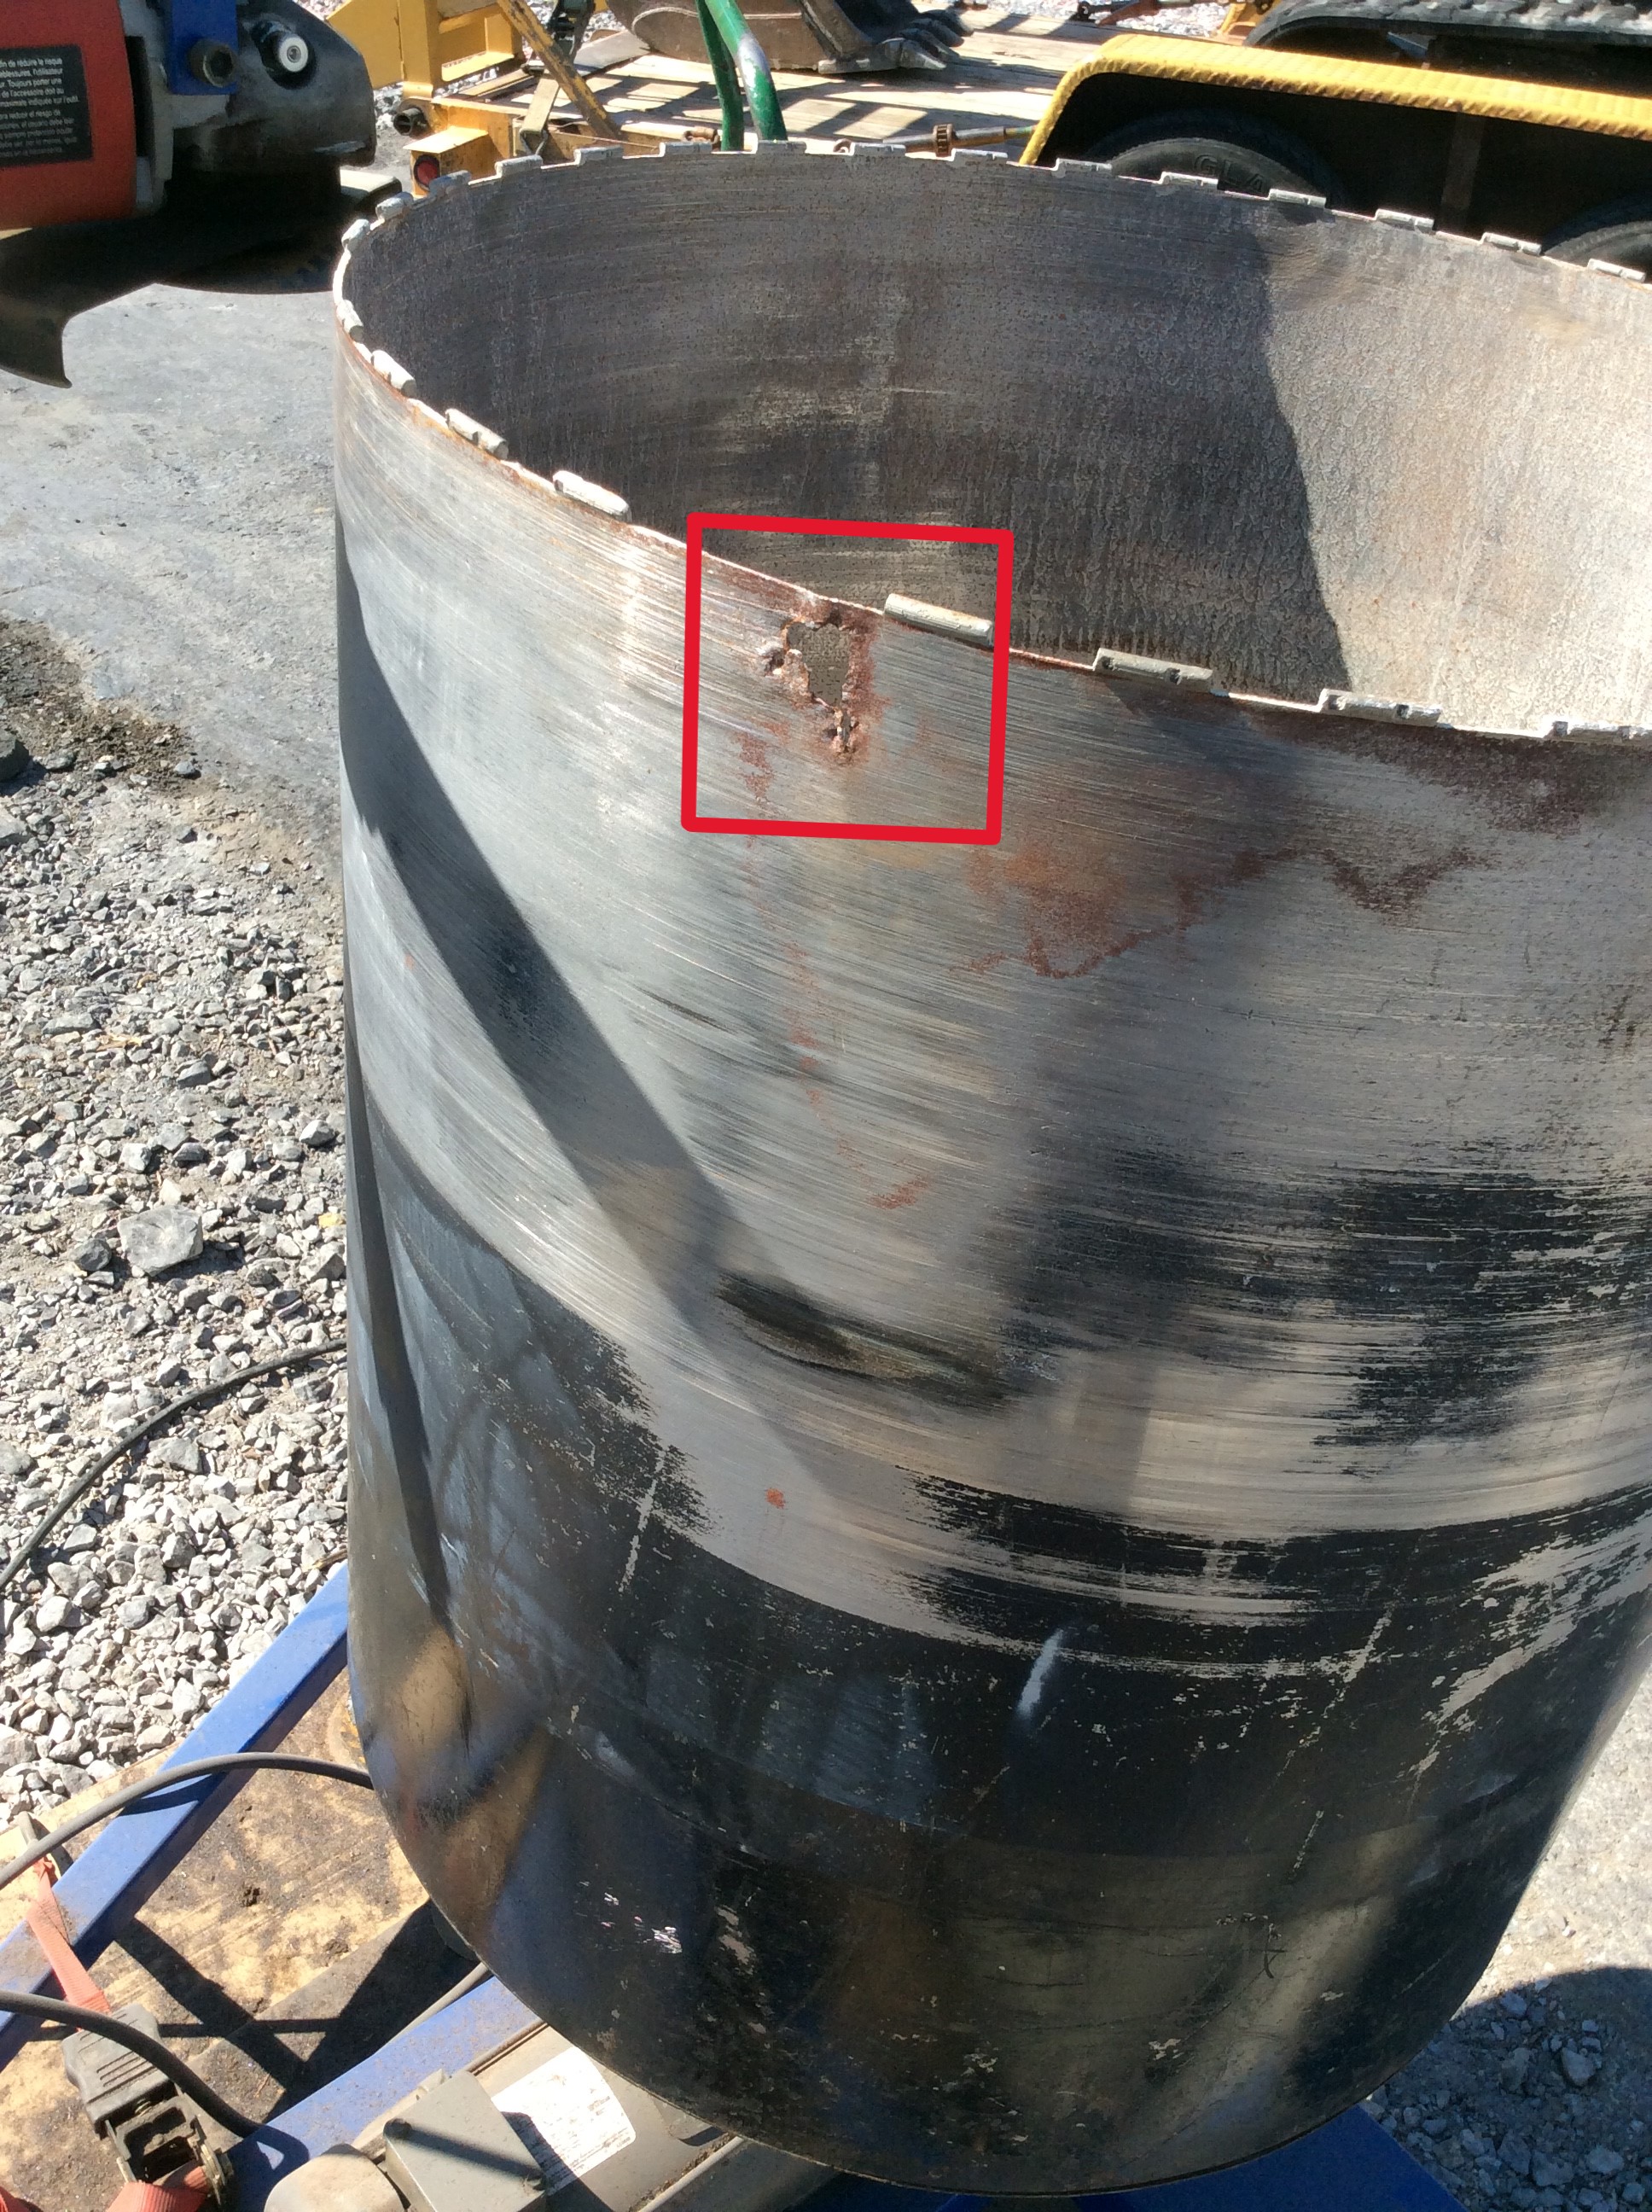
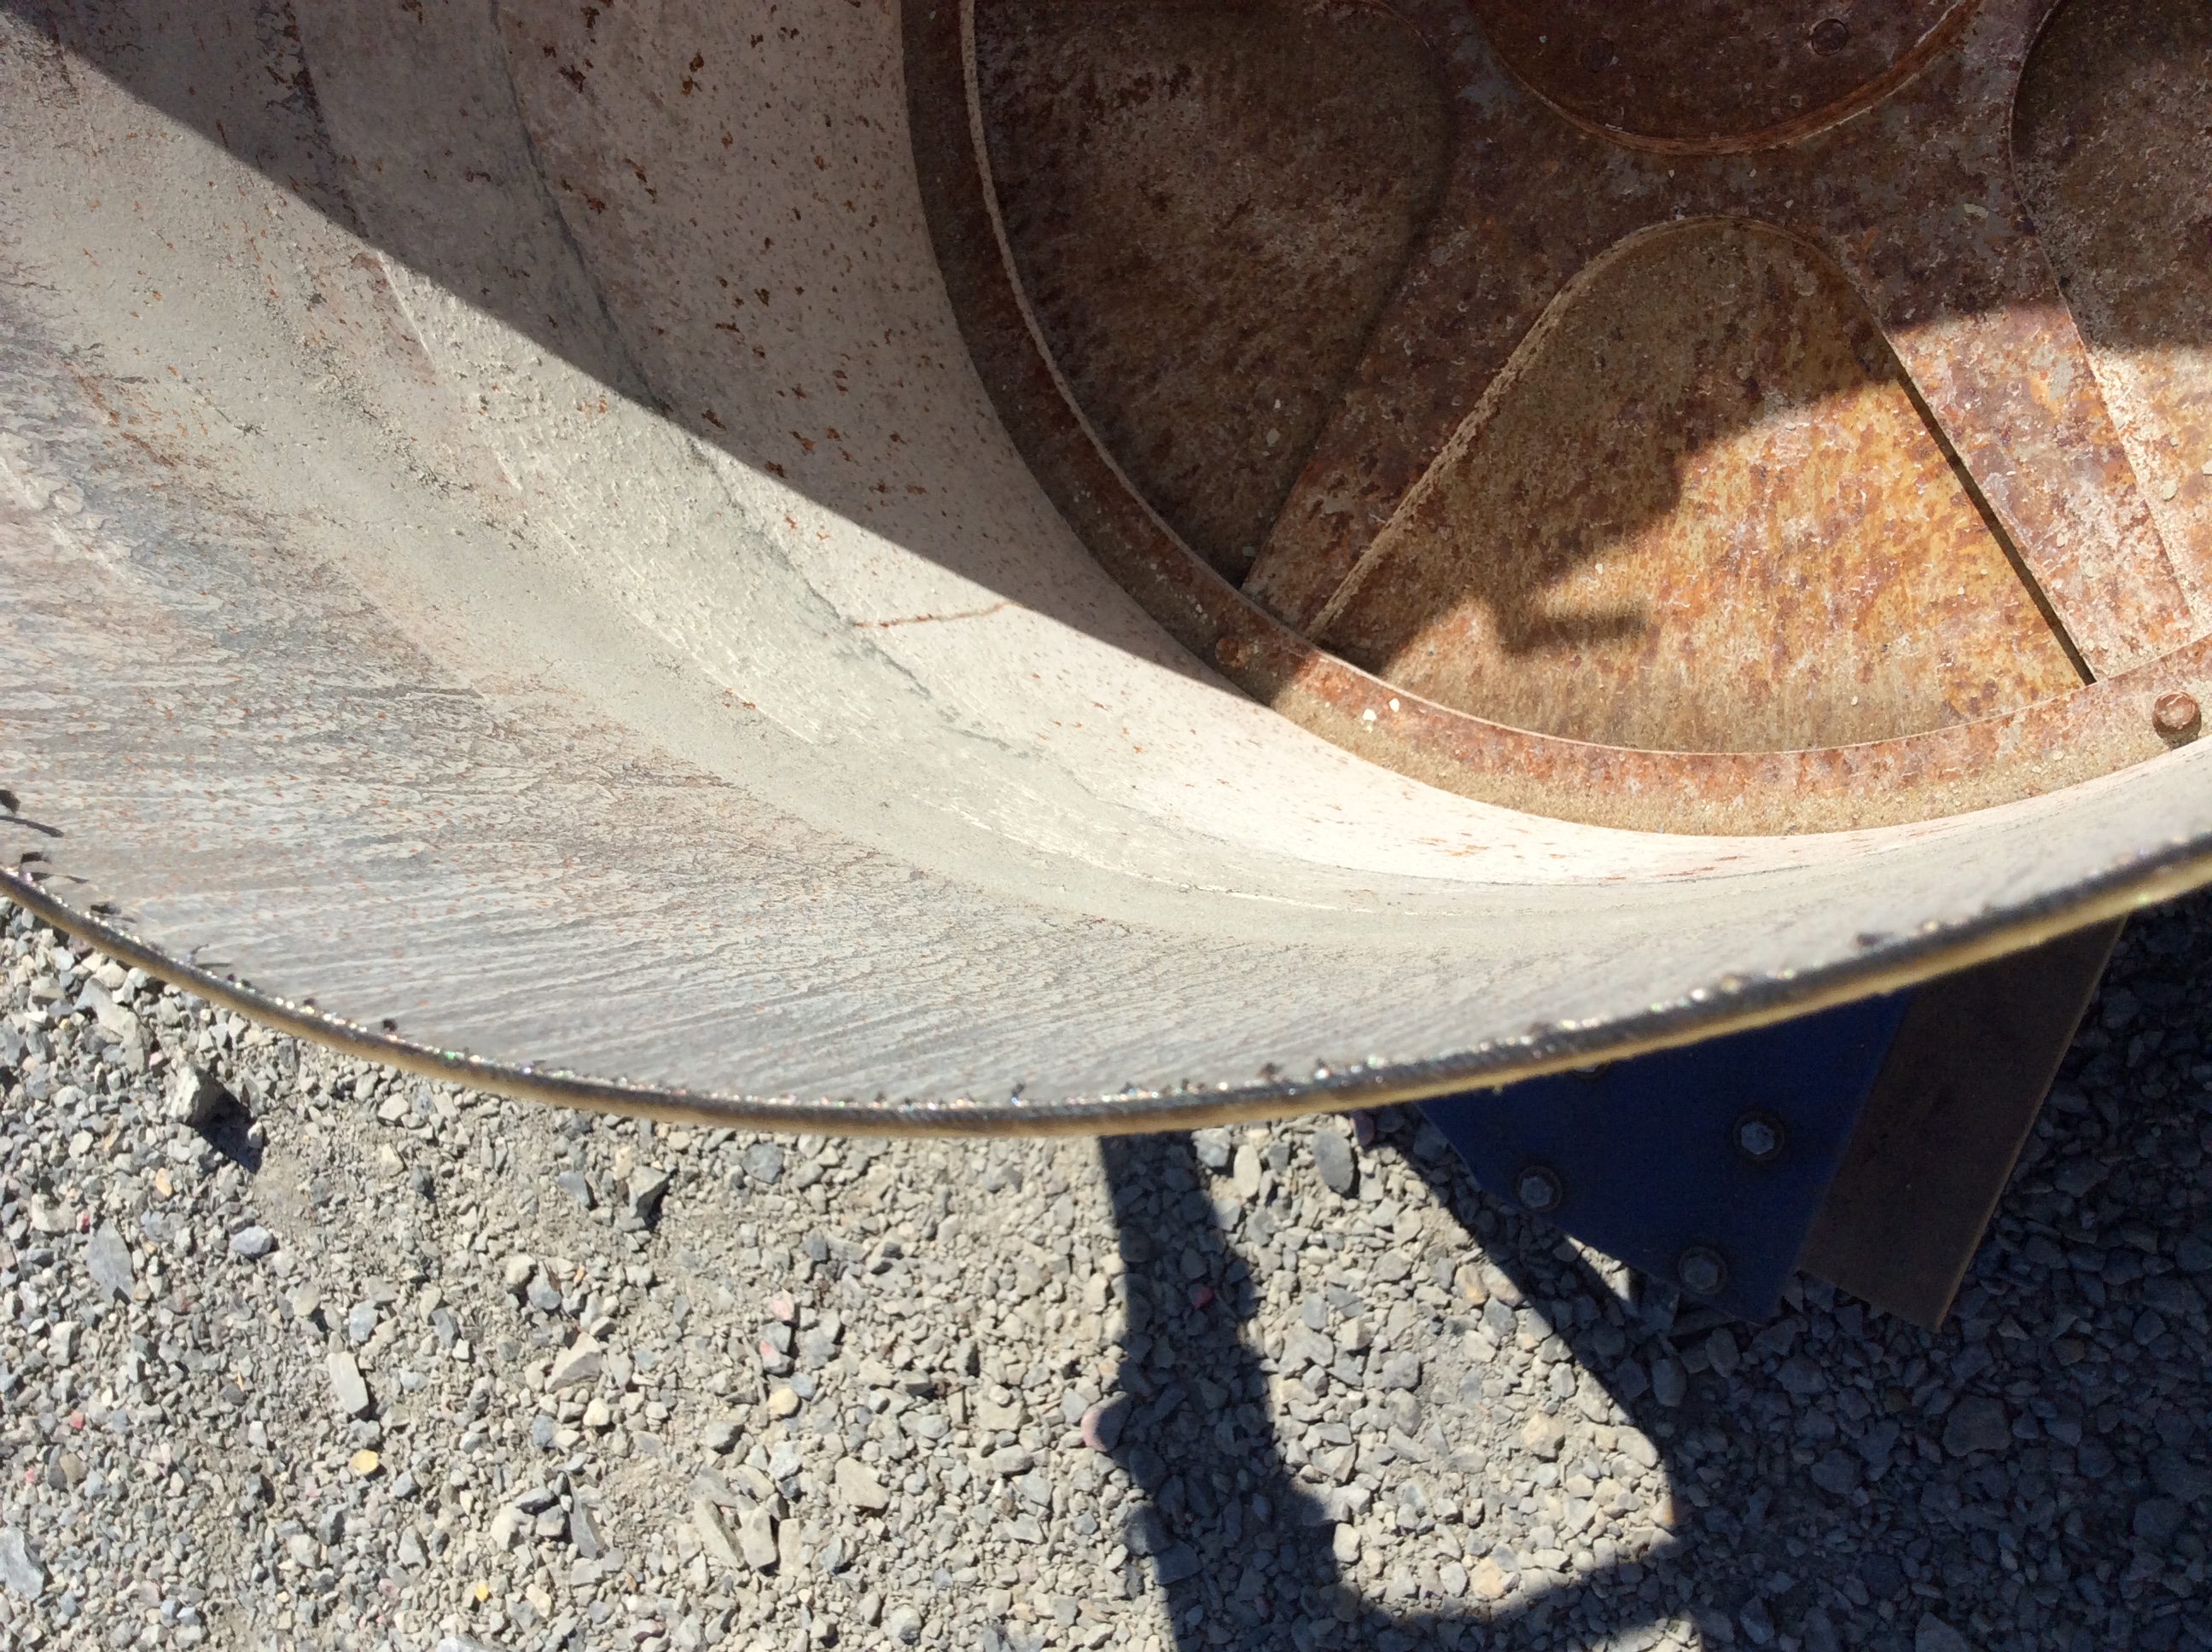
Adjust the grinder to the desired height. When determining the height you should cut at find the area of the bit that is damaged and feel down till you can tell there is thicker metal.
Take picture of damaged area of bit.
Add or drag pictures
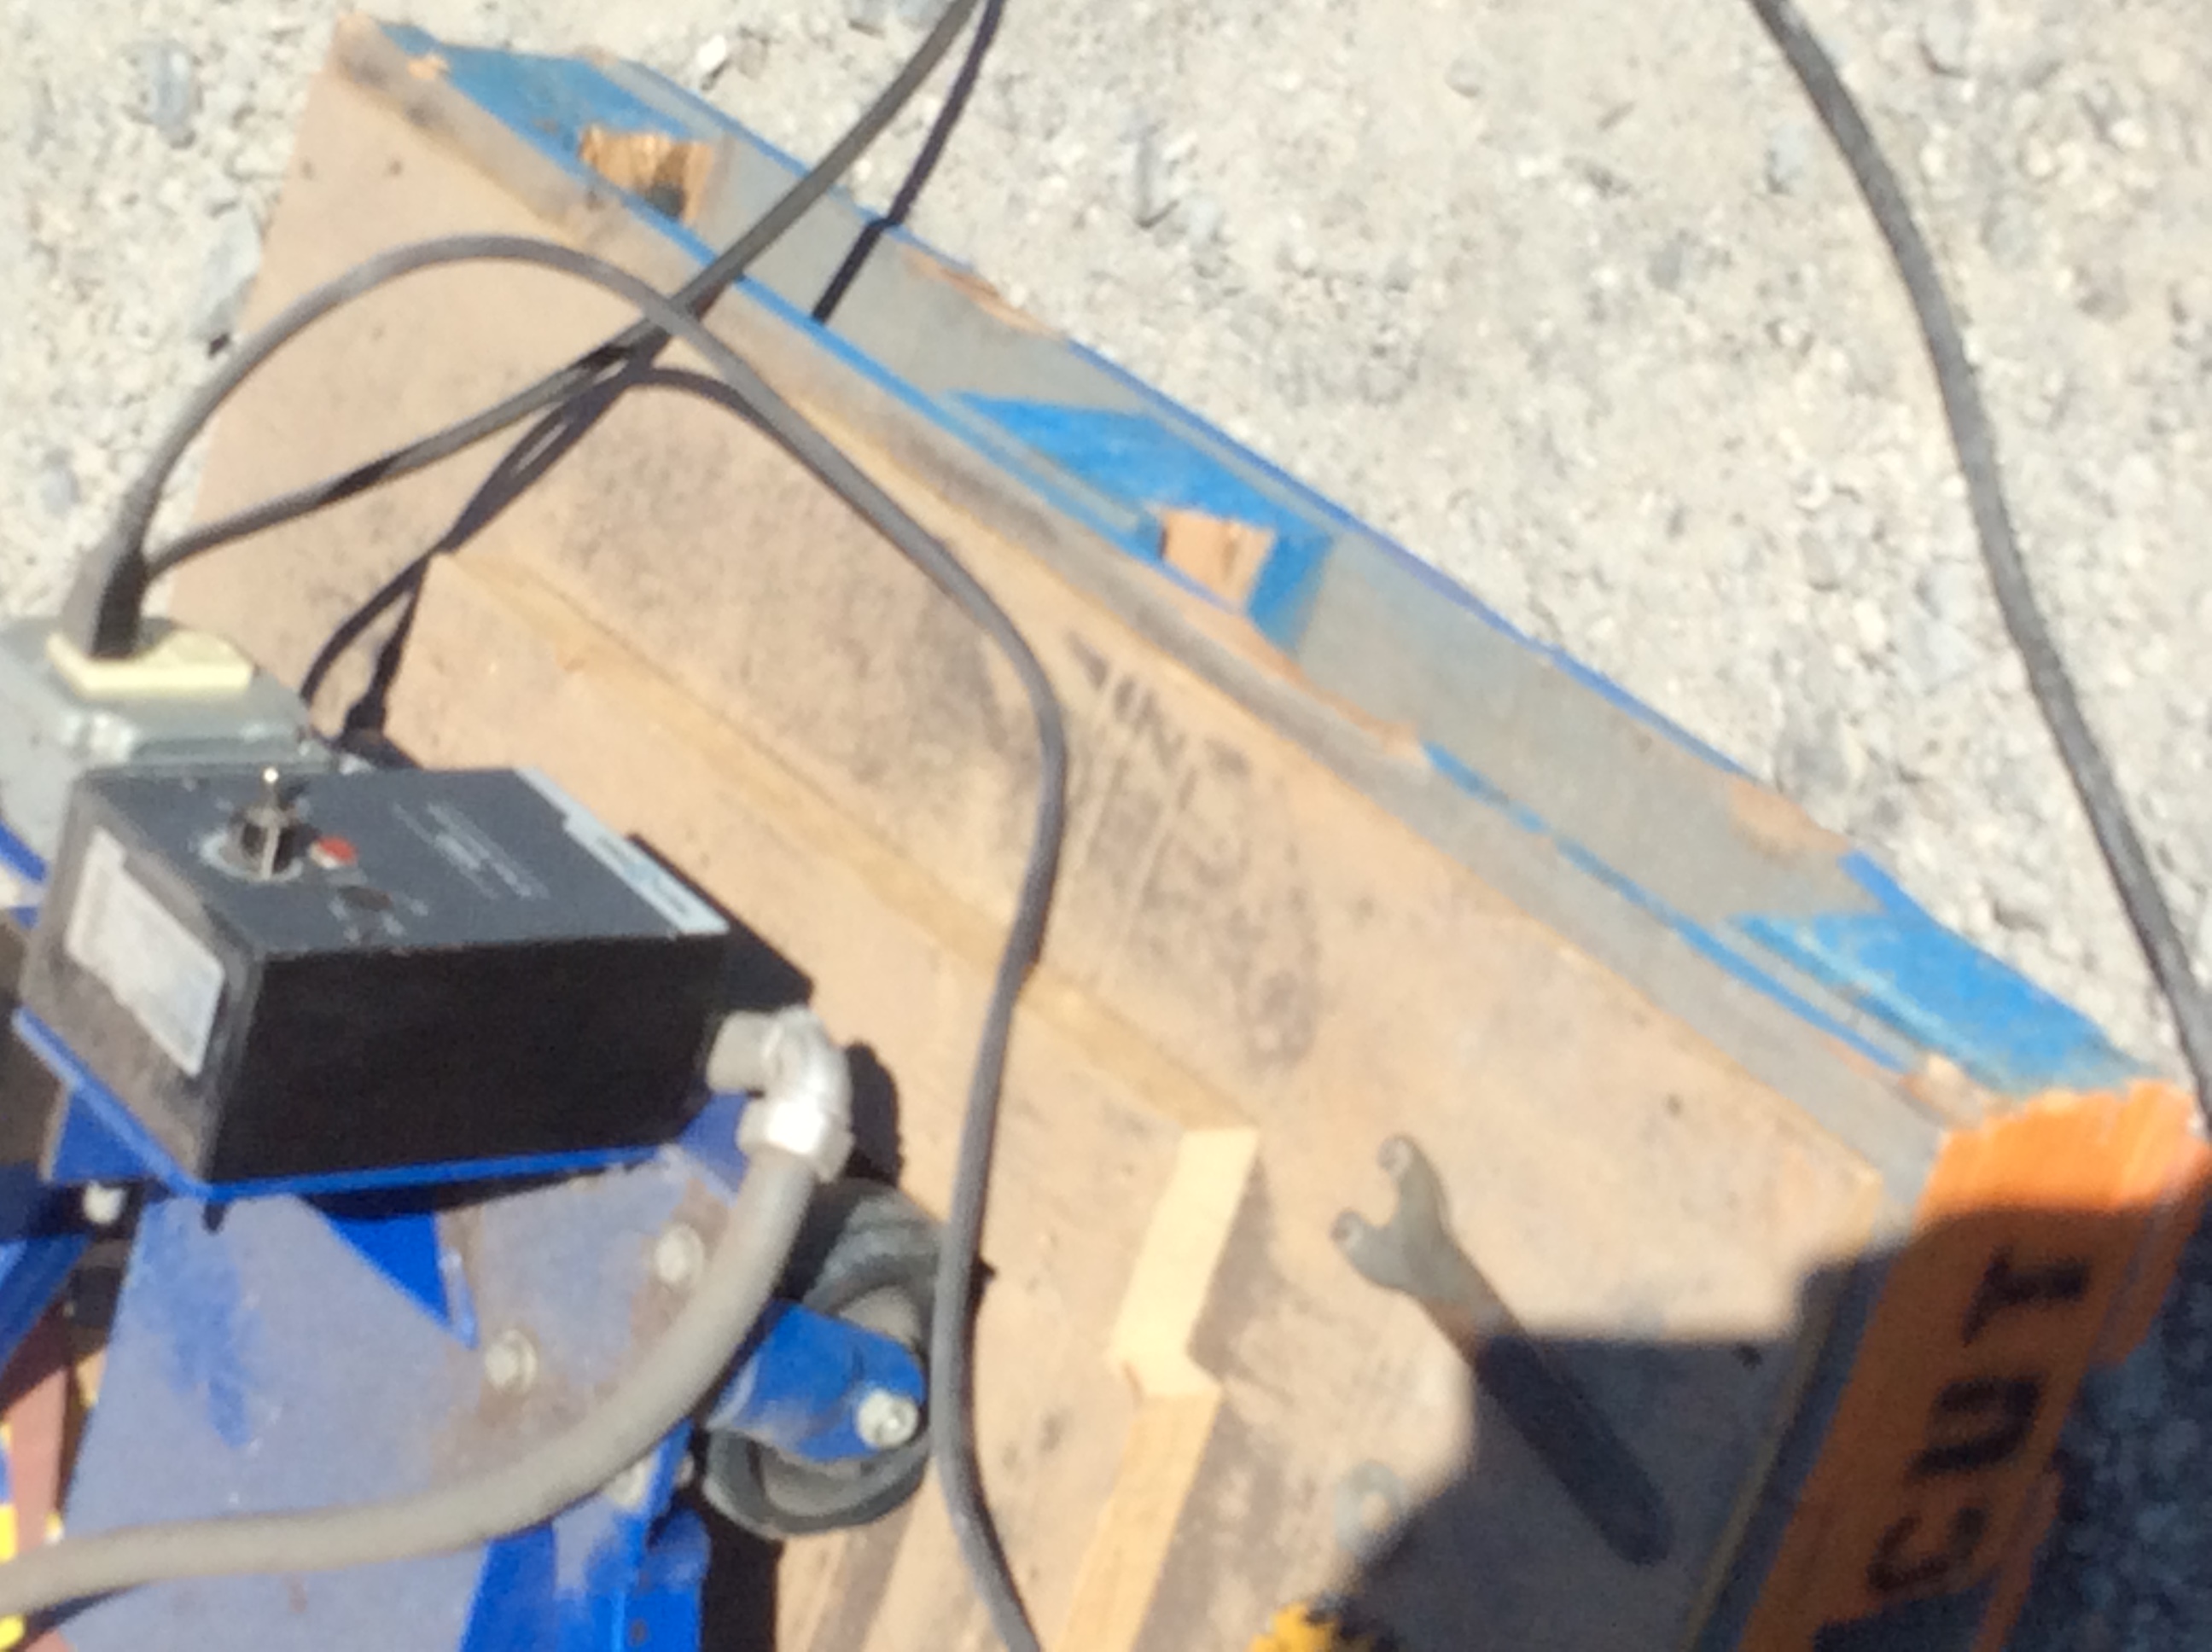
Plug the Pedestal into the gas pack and start the gas pack. Test to make sure the grinder is working.
Take picture of gas pack on and Pedestal plugged in.
Add or drag pictures
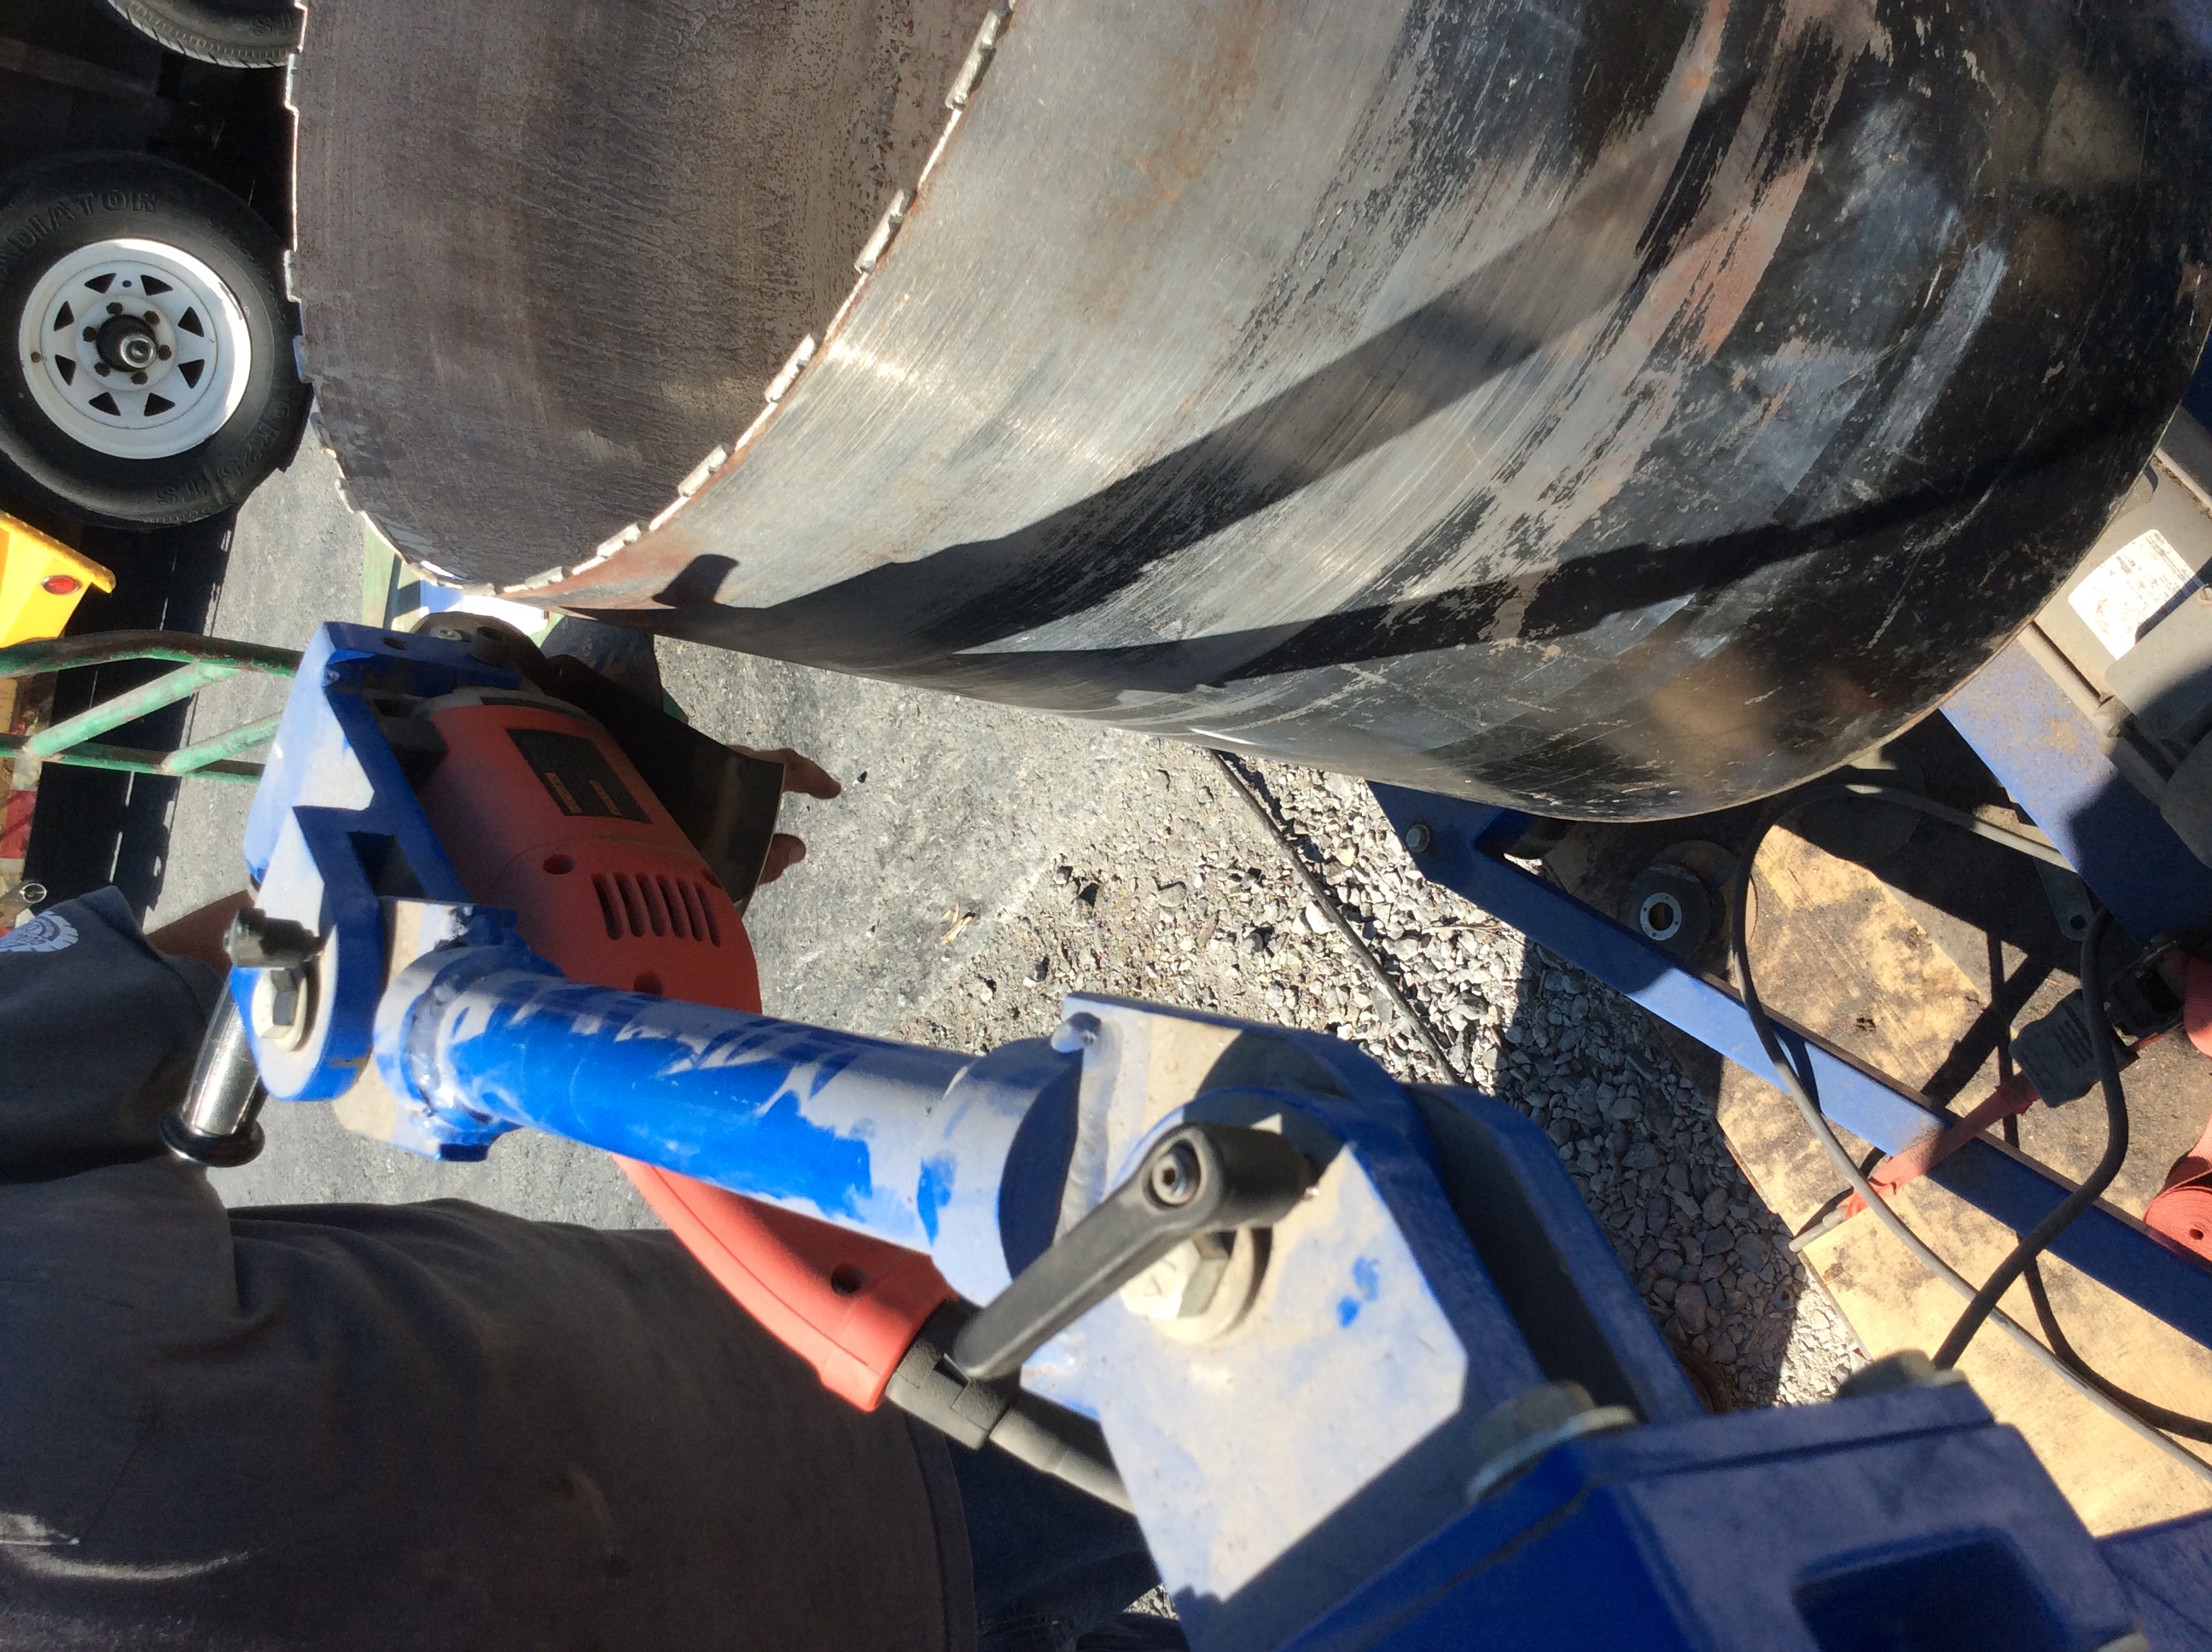
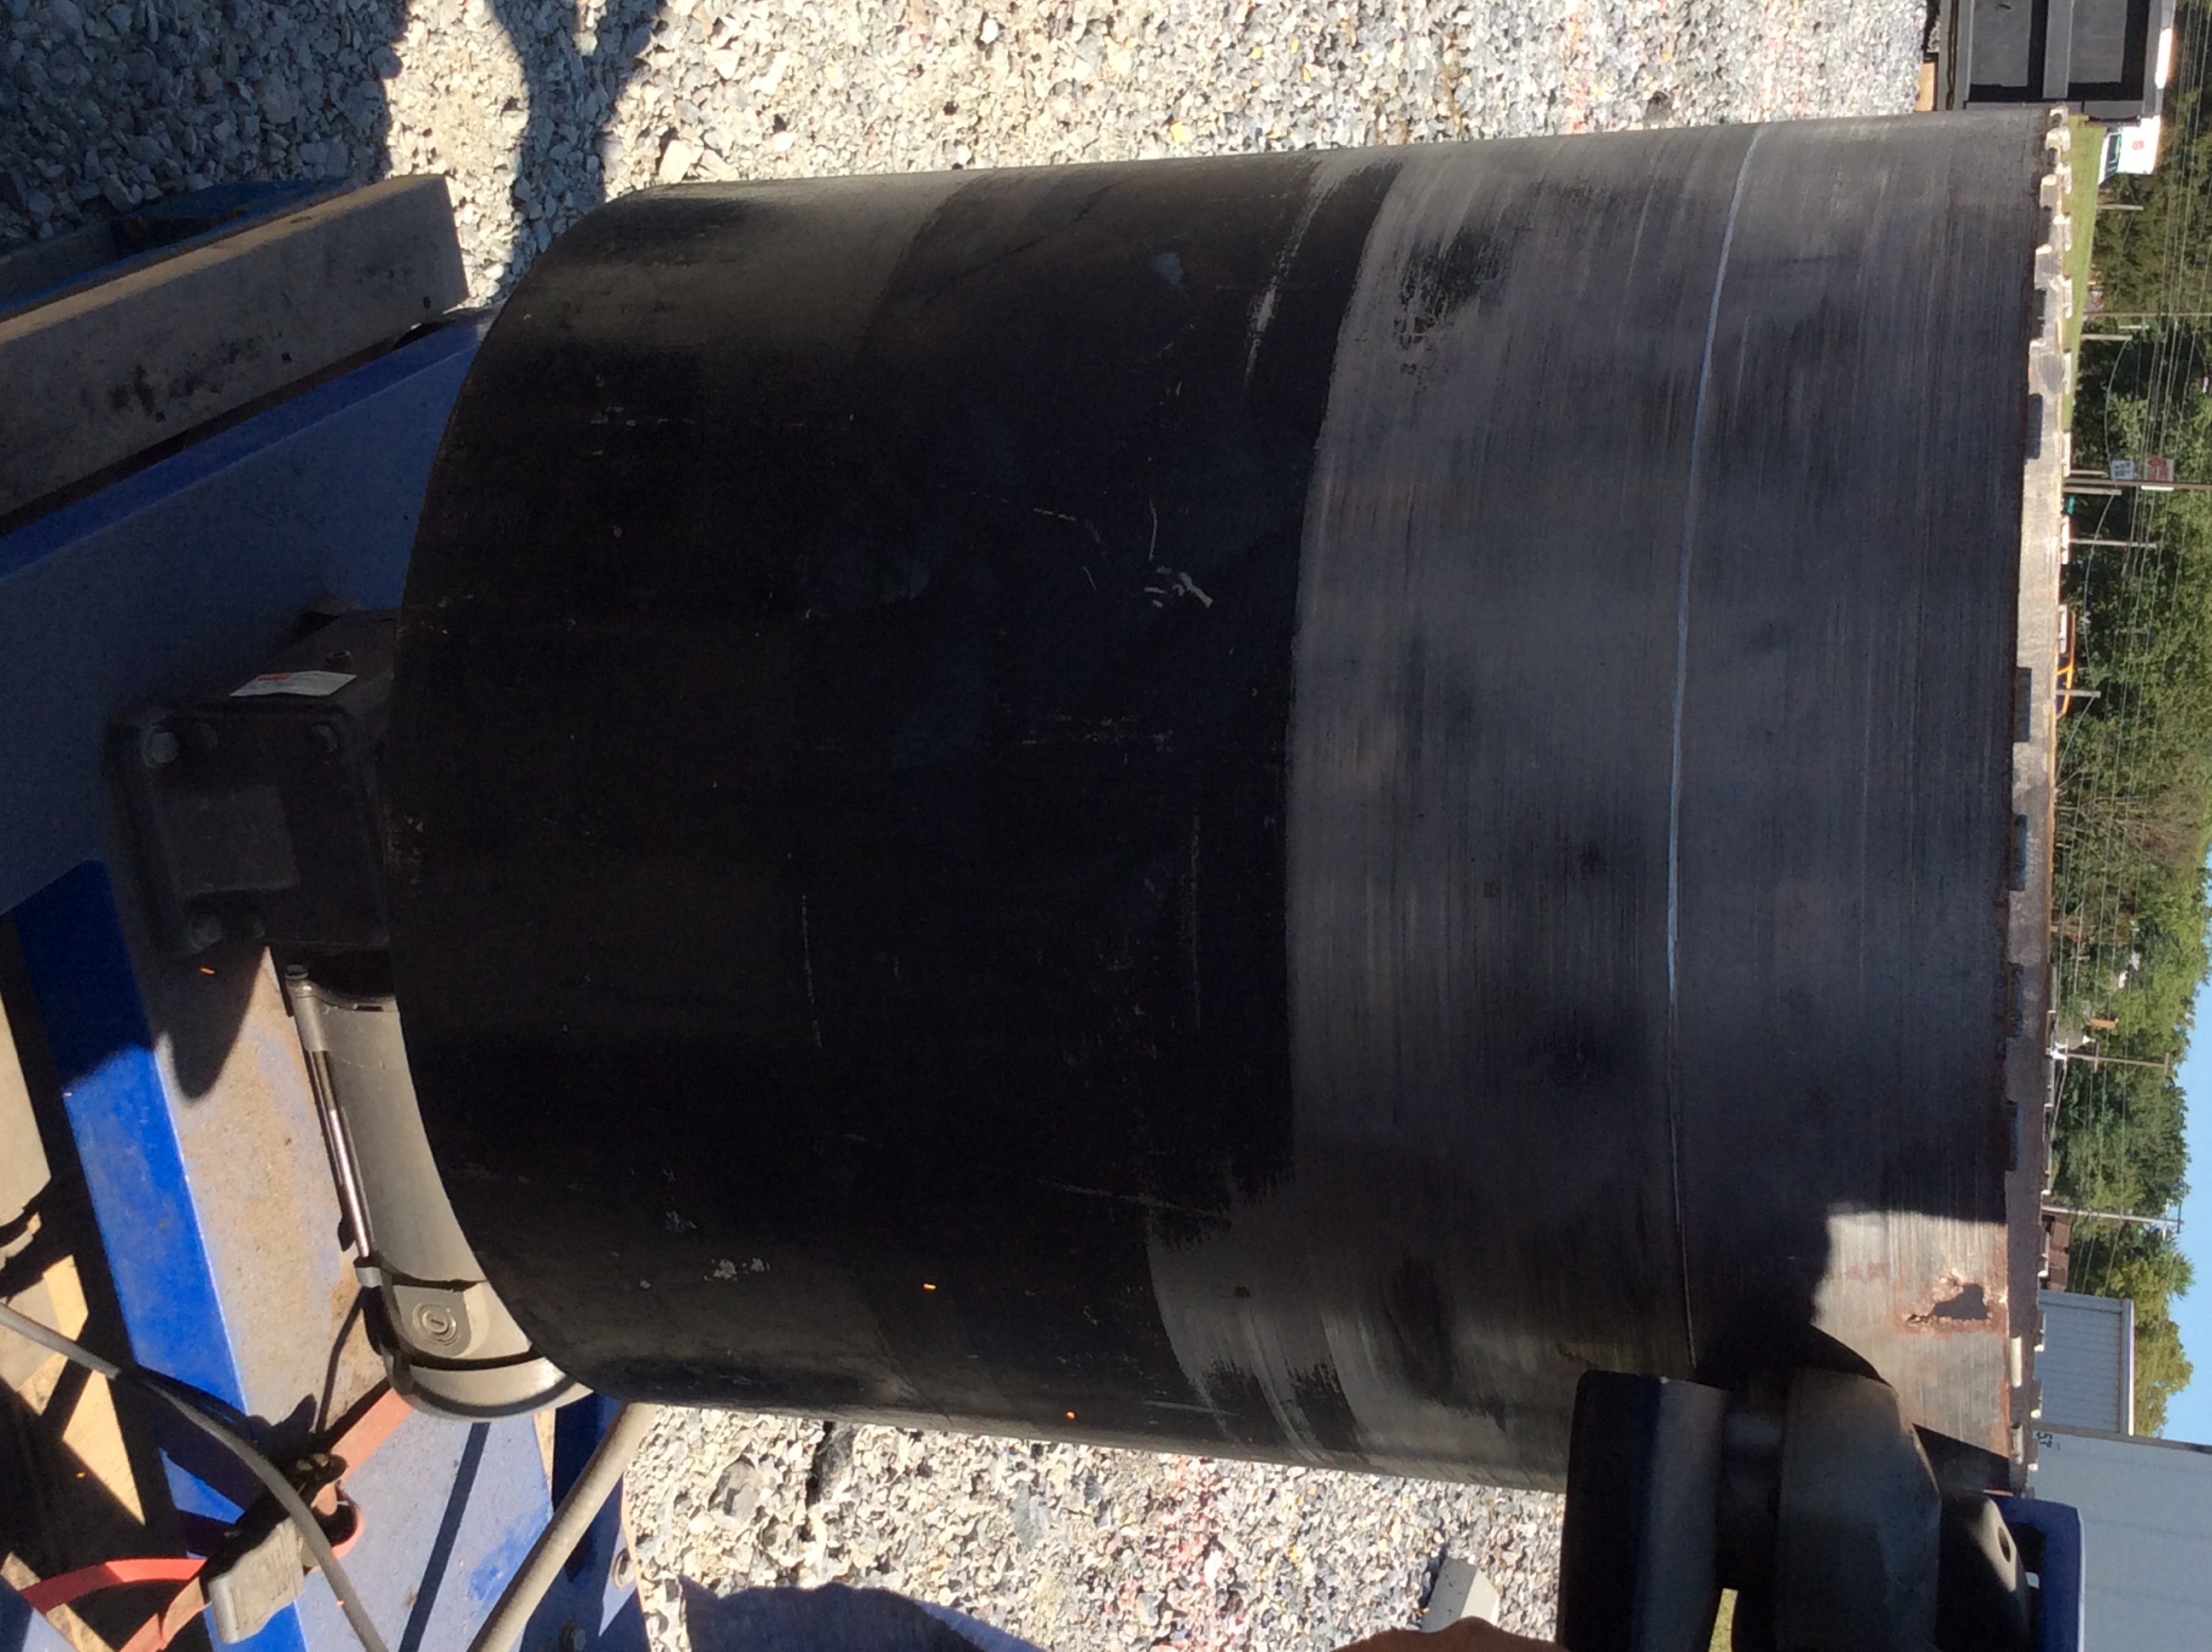
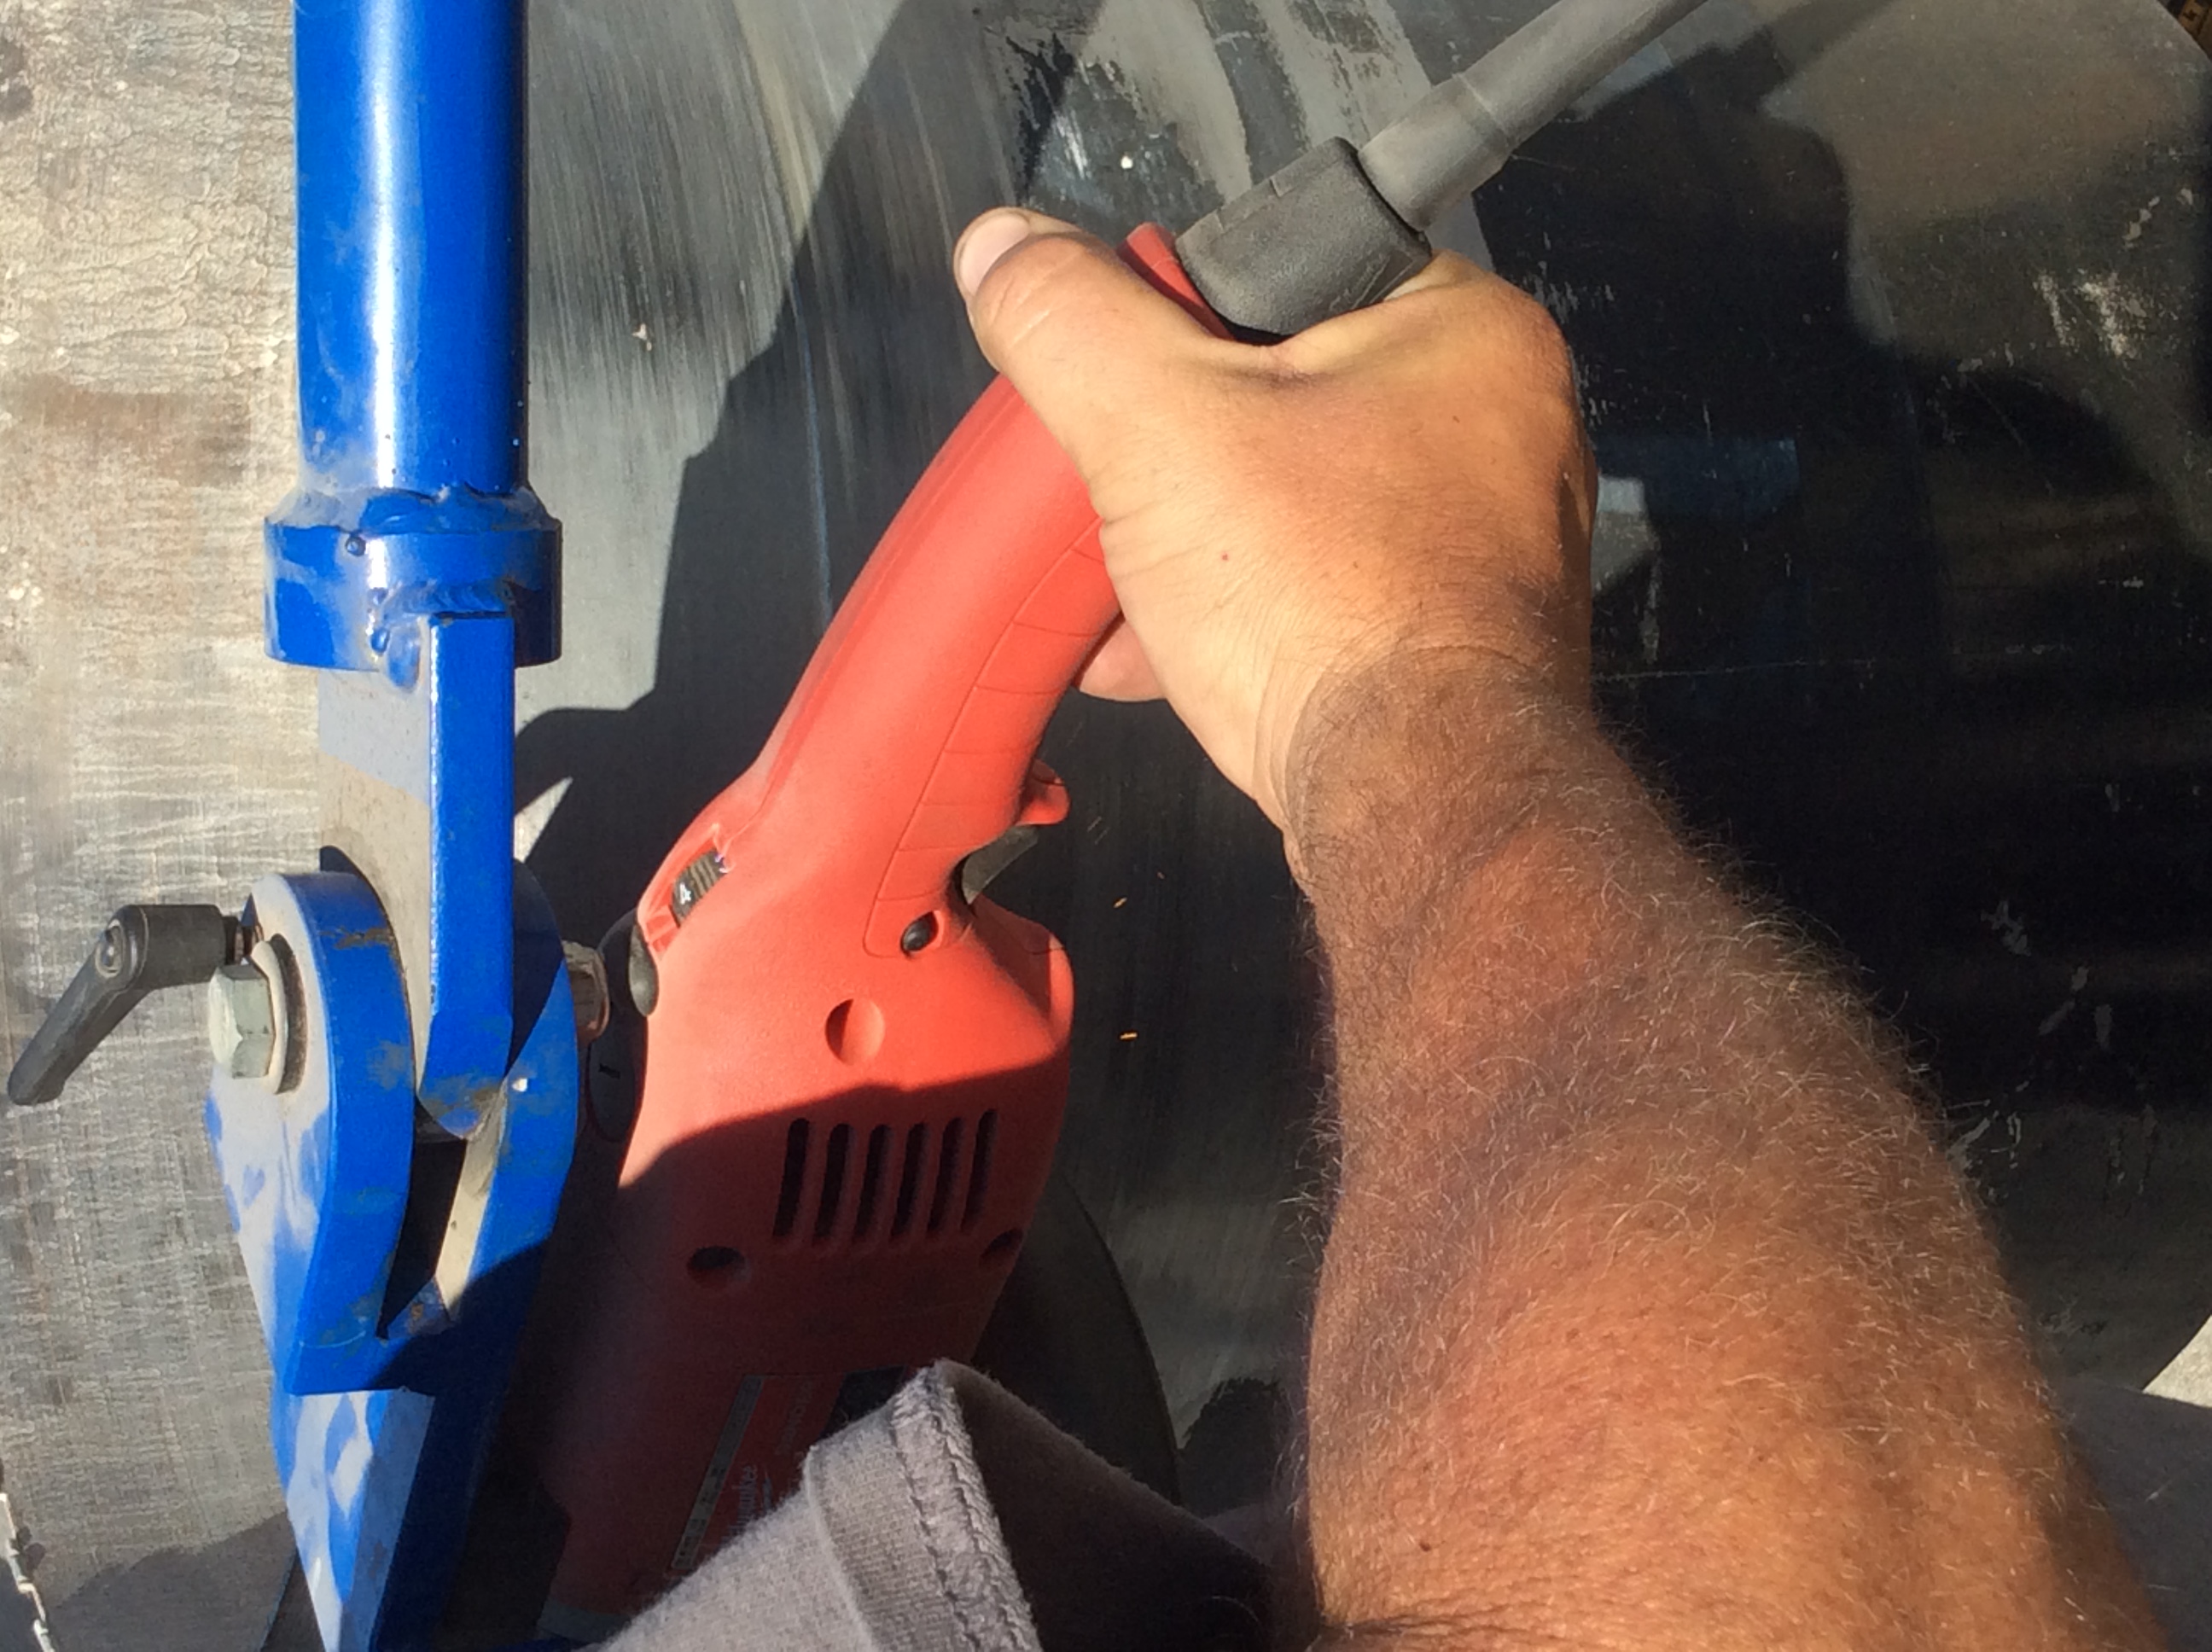
Turn on Pedestal, make sure the grinder is level, and make sure the grinder is at speed 4. Pull the trigger on the grinder and lock it in place using the locking button on the side. Make sure PPE is on and slowly bring the grinder to the edge of the bit to start cutting. (If you push the blade too hard into the bit the Pedestal will stop, and you will need to back off a bit the grinder.) Try to keep consistent pressure as you cut.
Take picture of grinder cutting bit.
Add or drag pictures
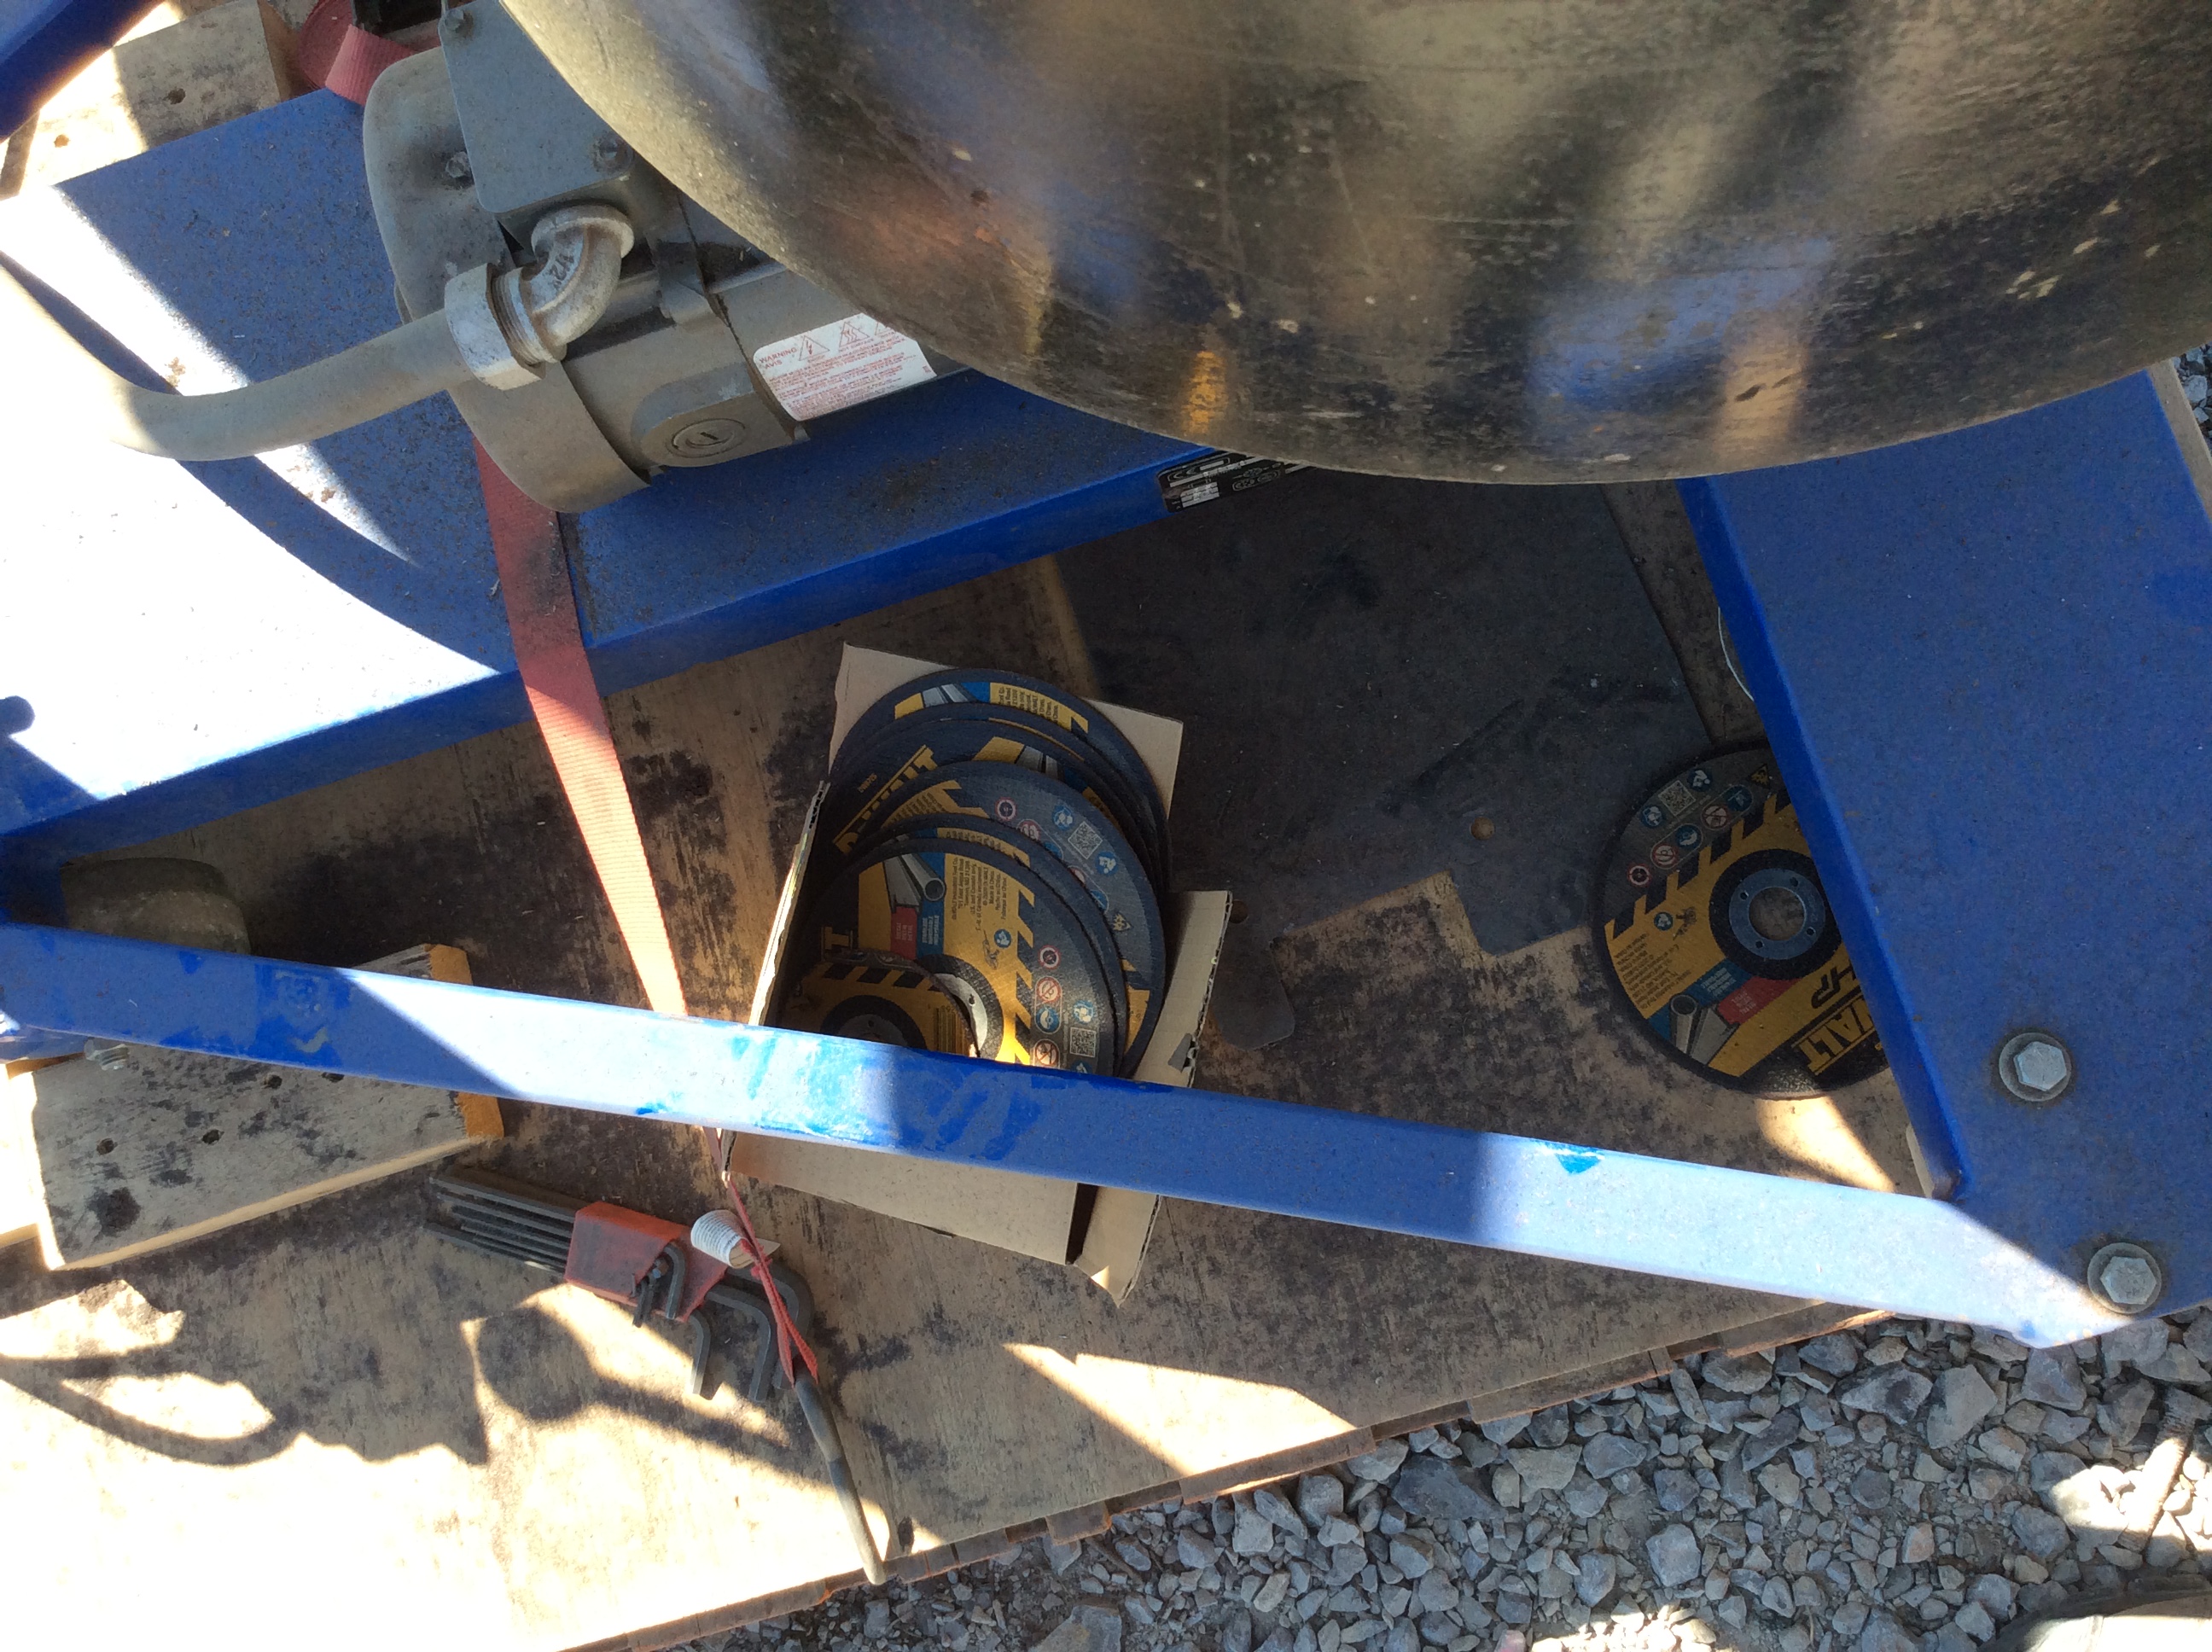
It will not take long for the grinder blades to ware down. Keep an eye on the blades and replace them as needed. There will be a box of fresh blades on the base of the Pedestal.
Keep cutting the bit slowly until all the way through. Once through carefully take the section that is cut off and place it to the side.
Picture of piece cut off.
Add or drag pictures
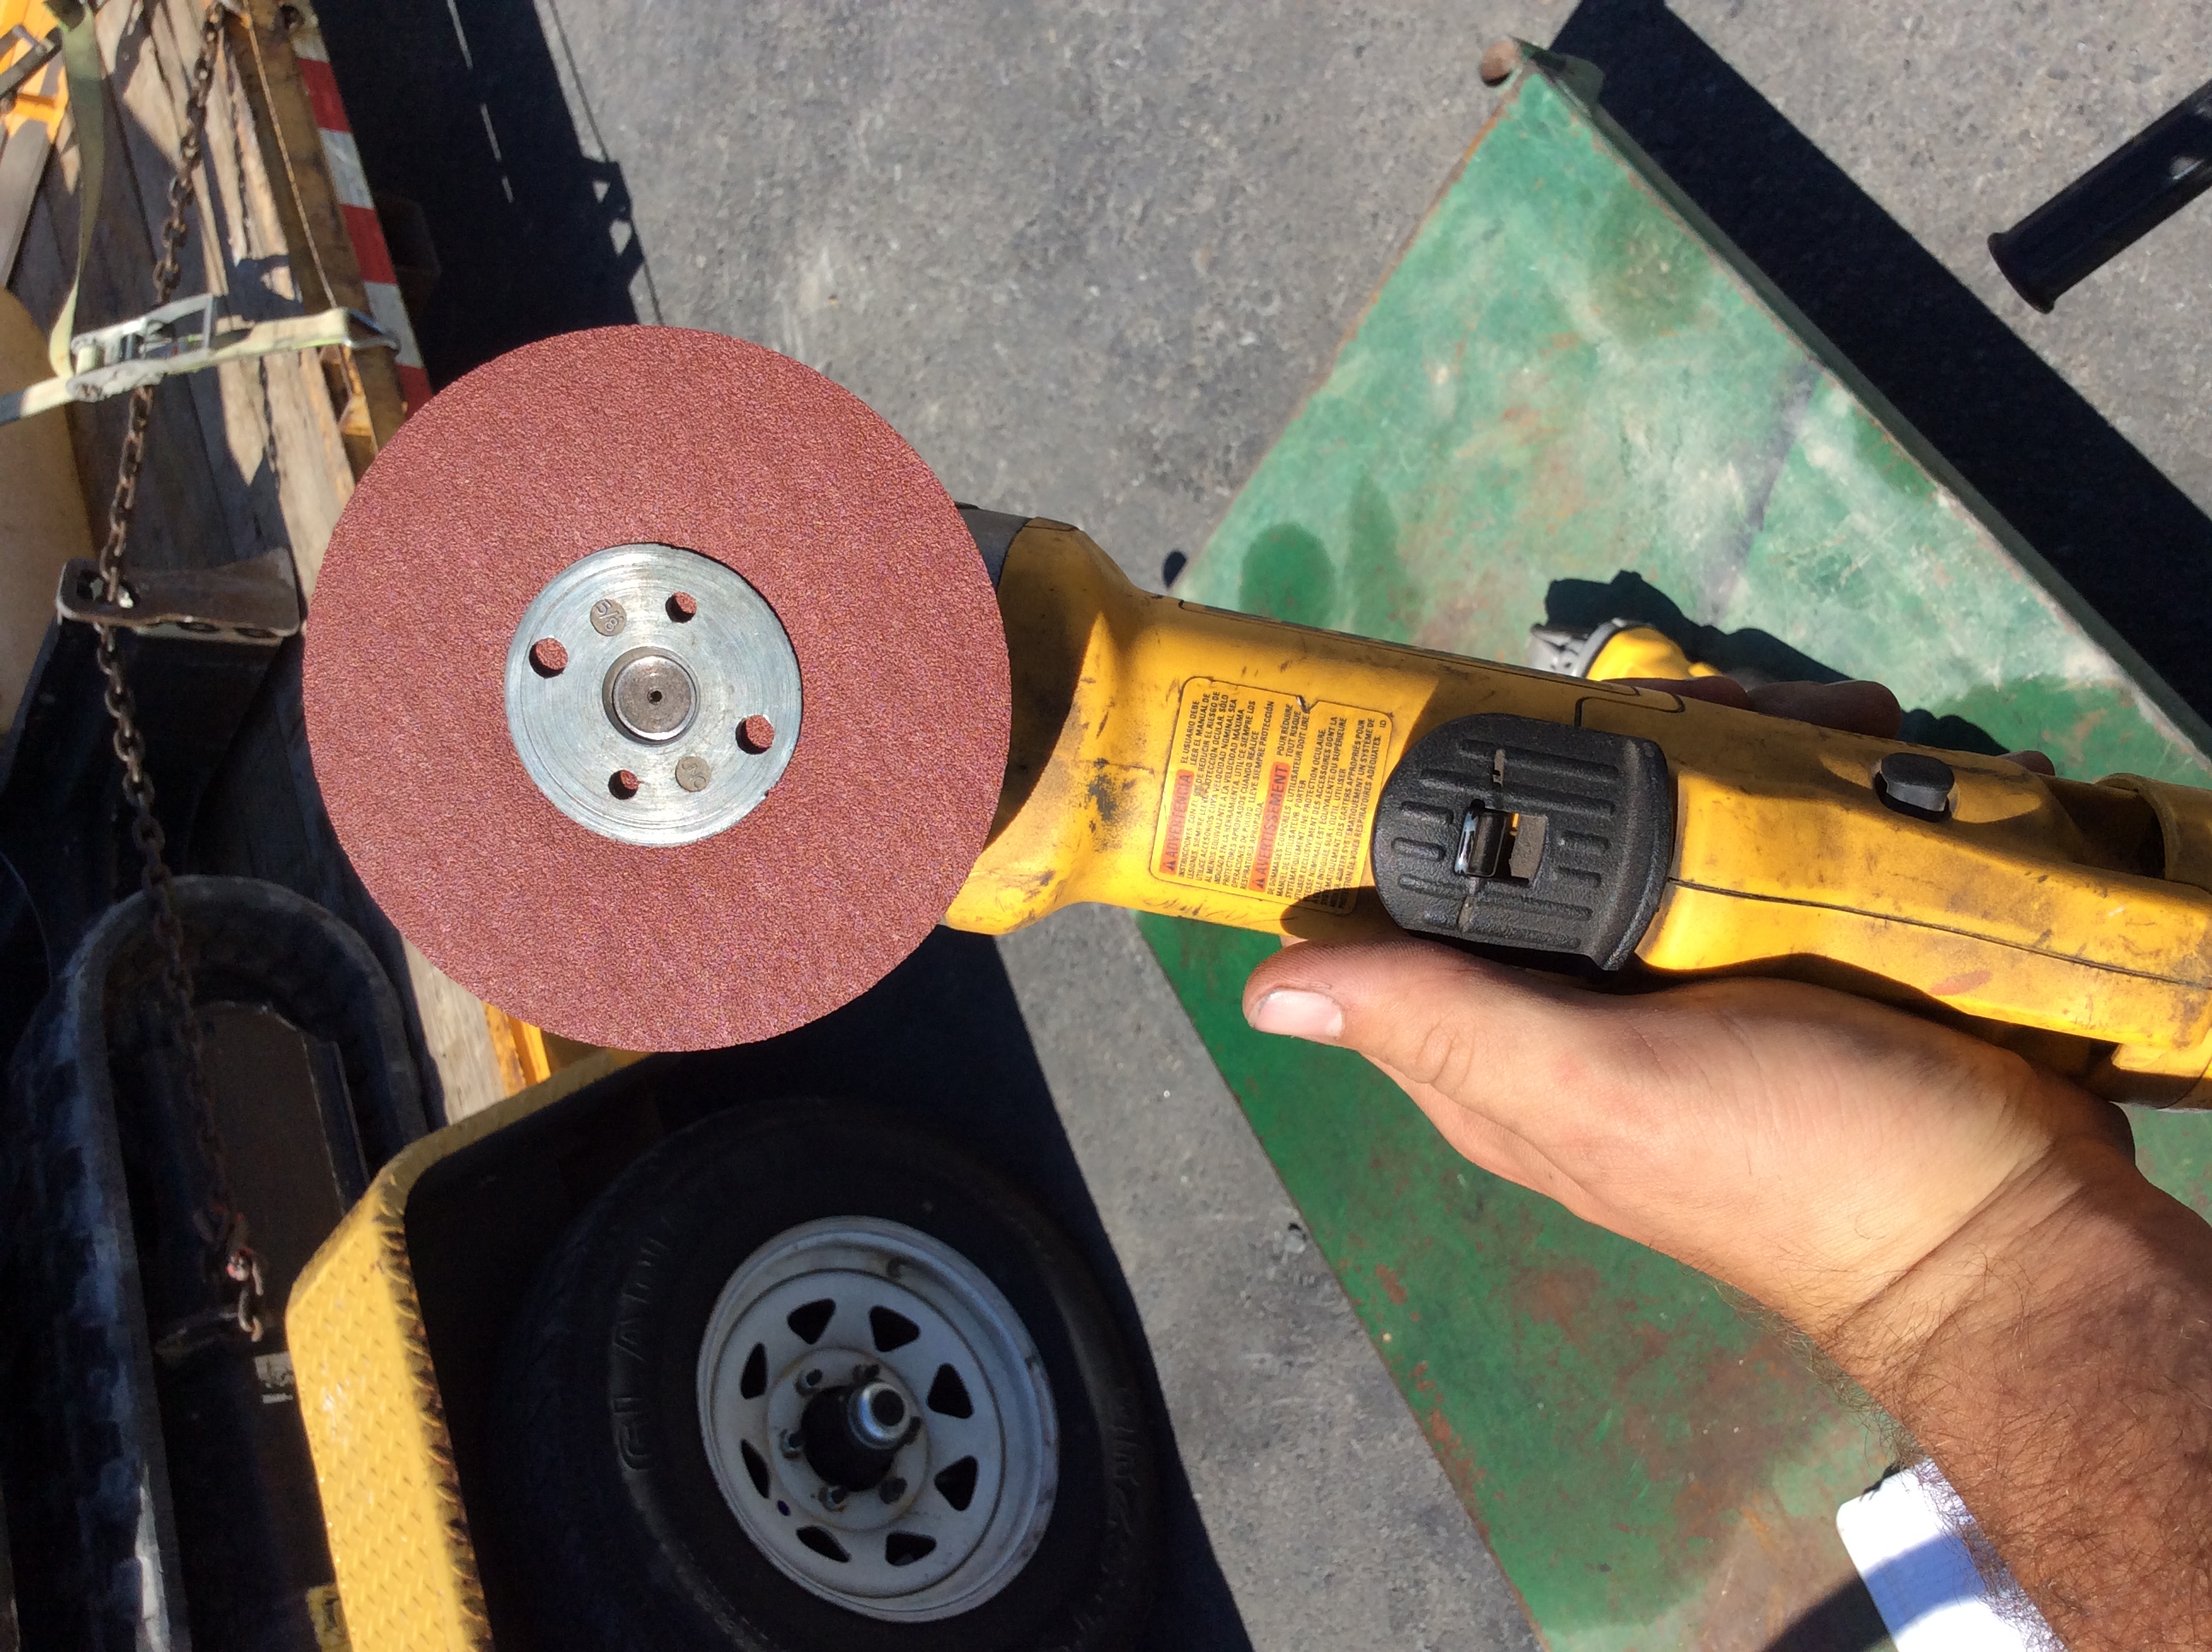
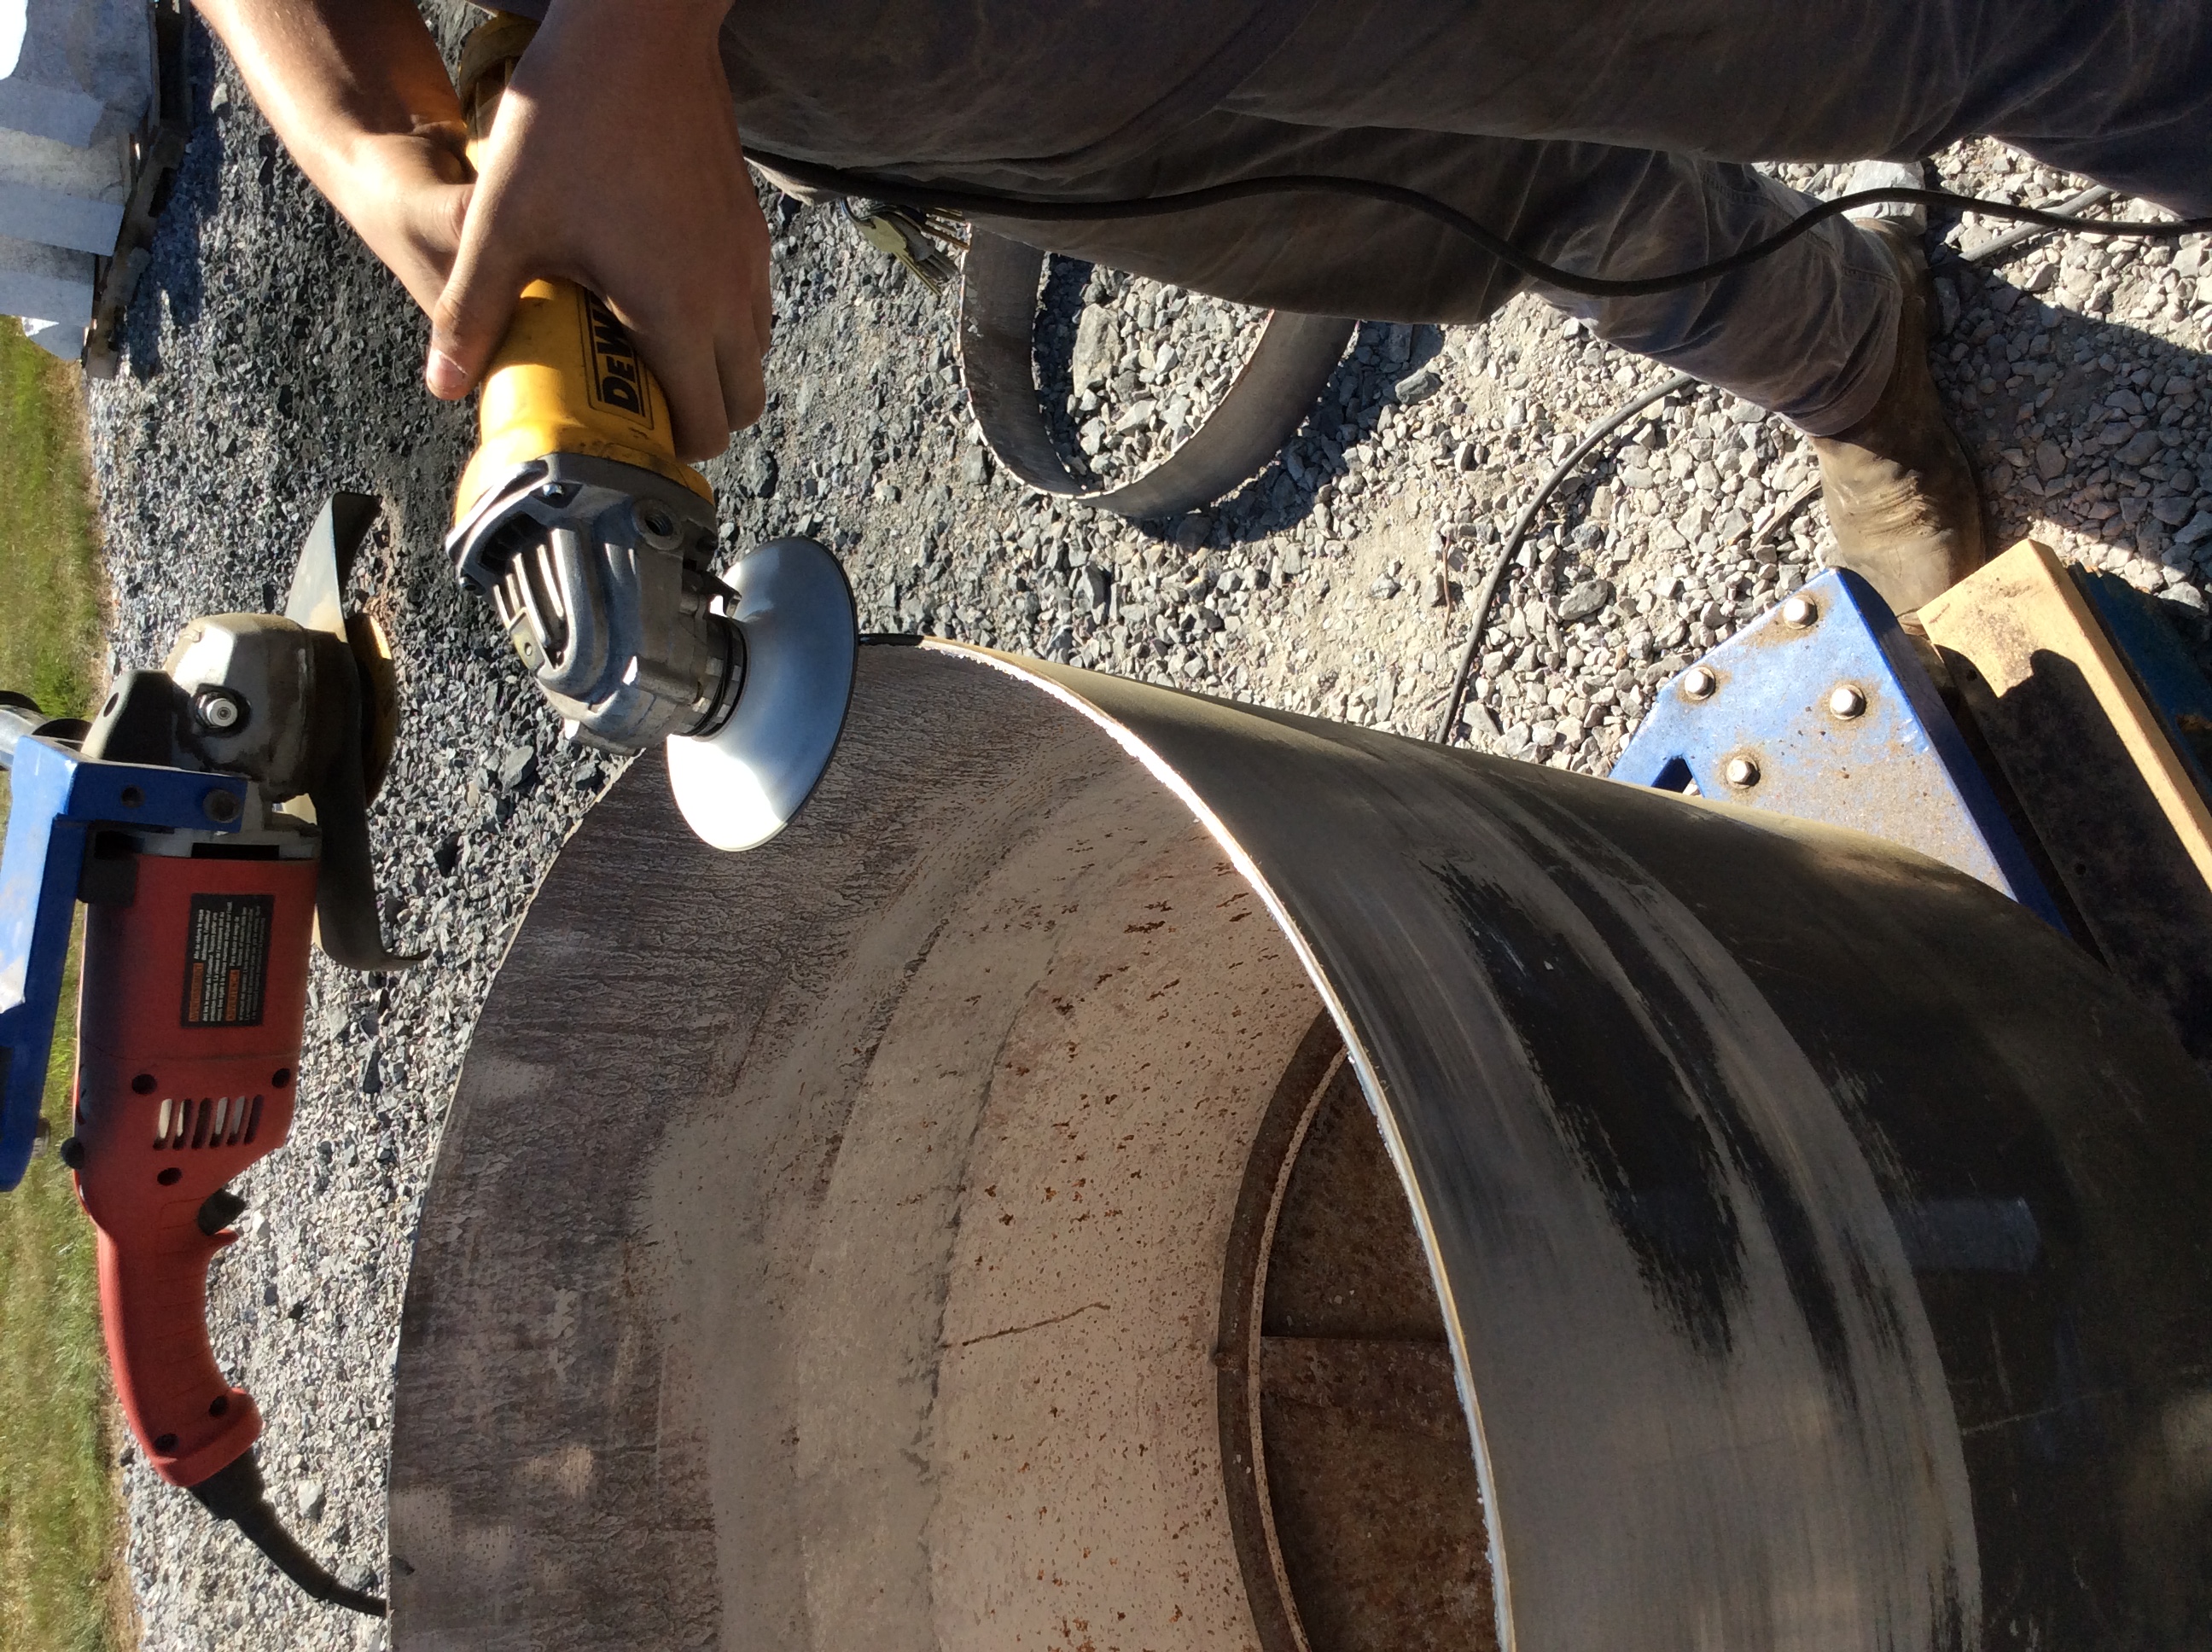
There will be burrs on the edge you just cut. Take the other grinder with the sanding wheel. Turn on the Pedestal and take off the burrs.
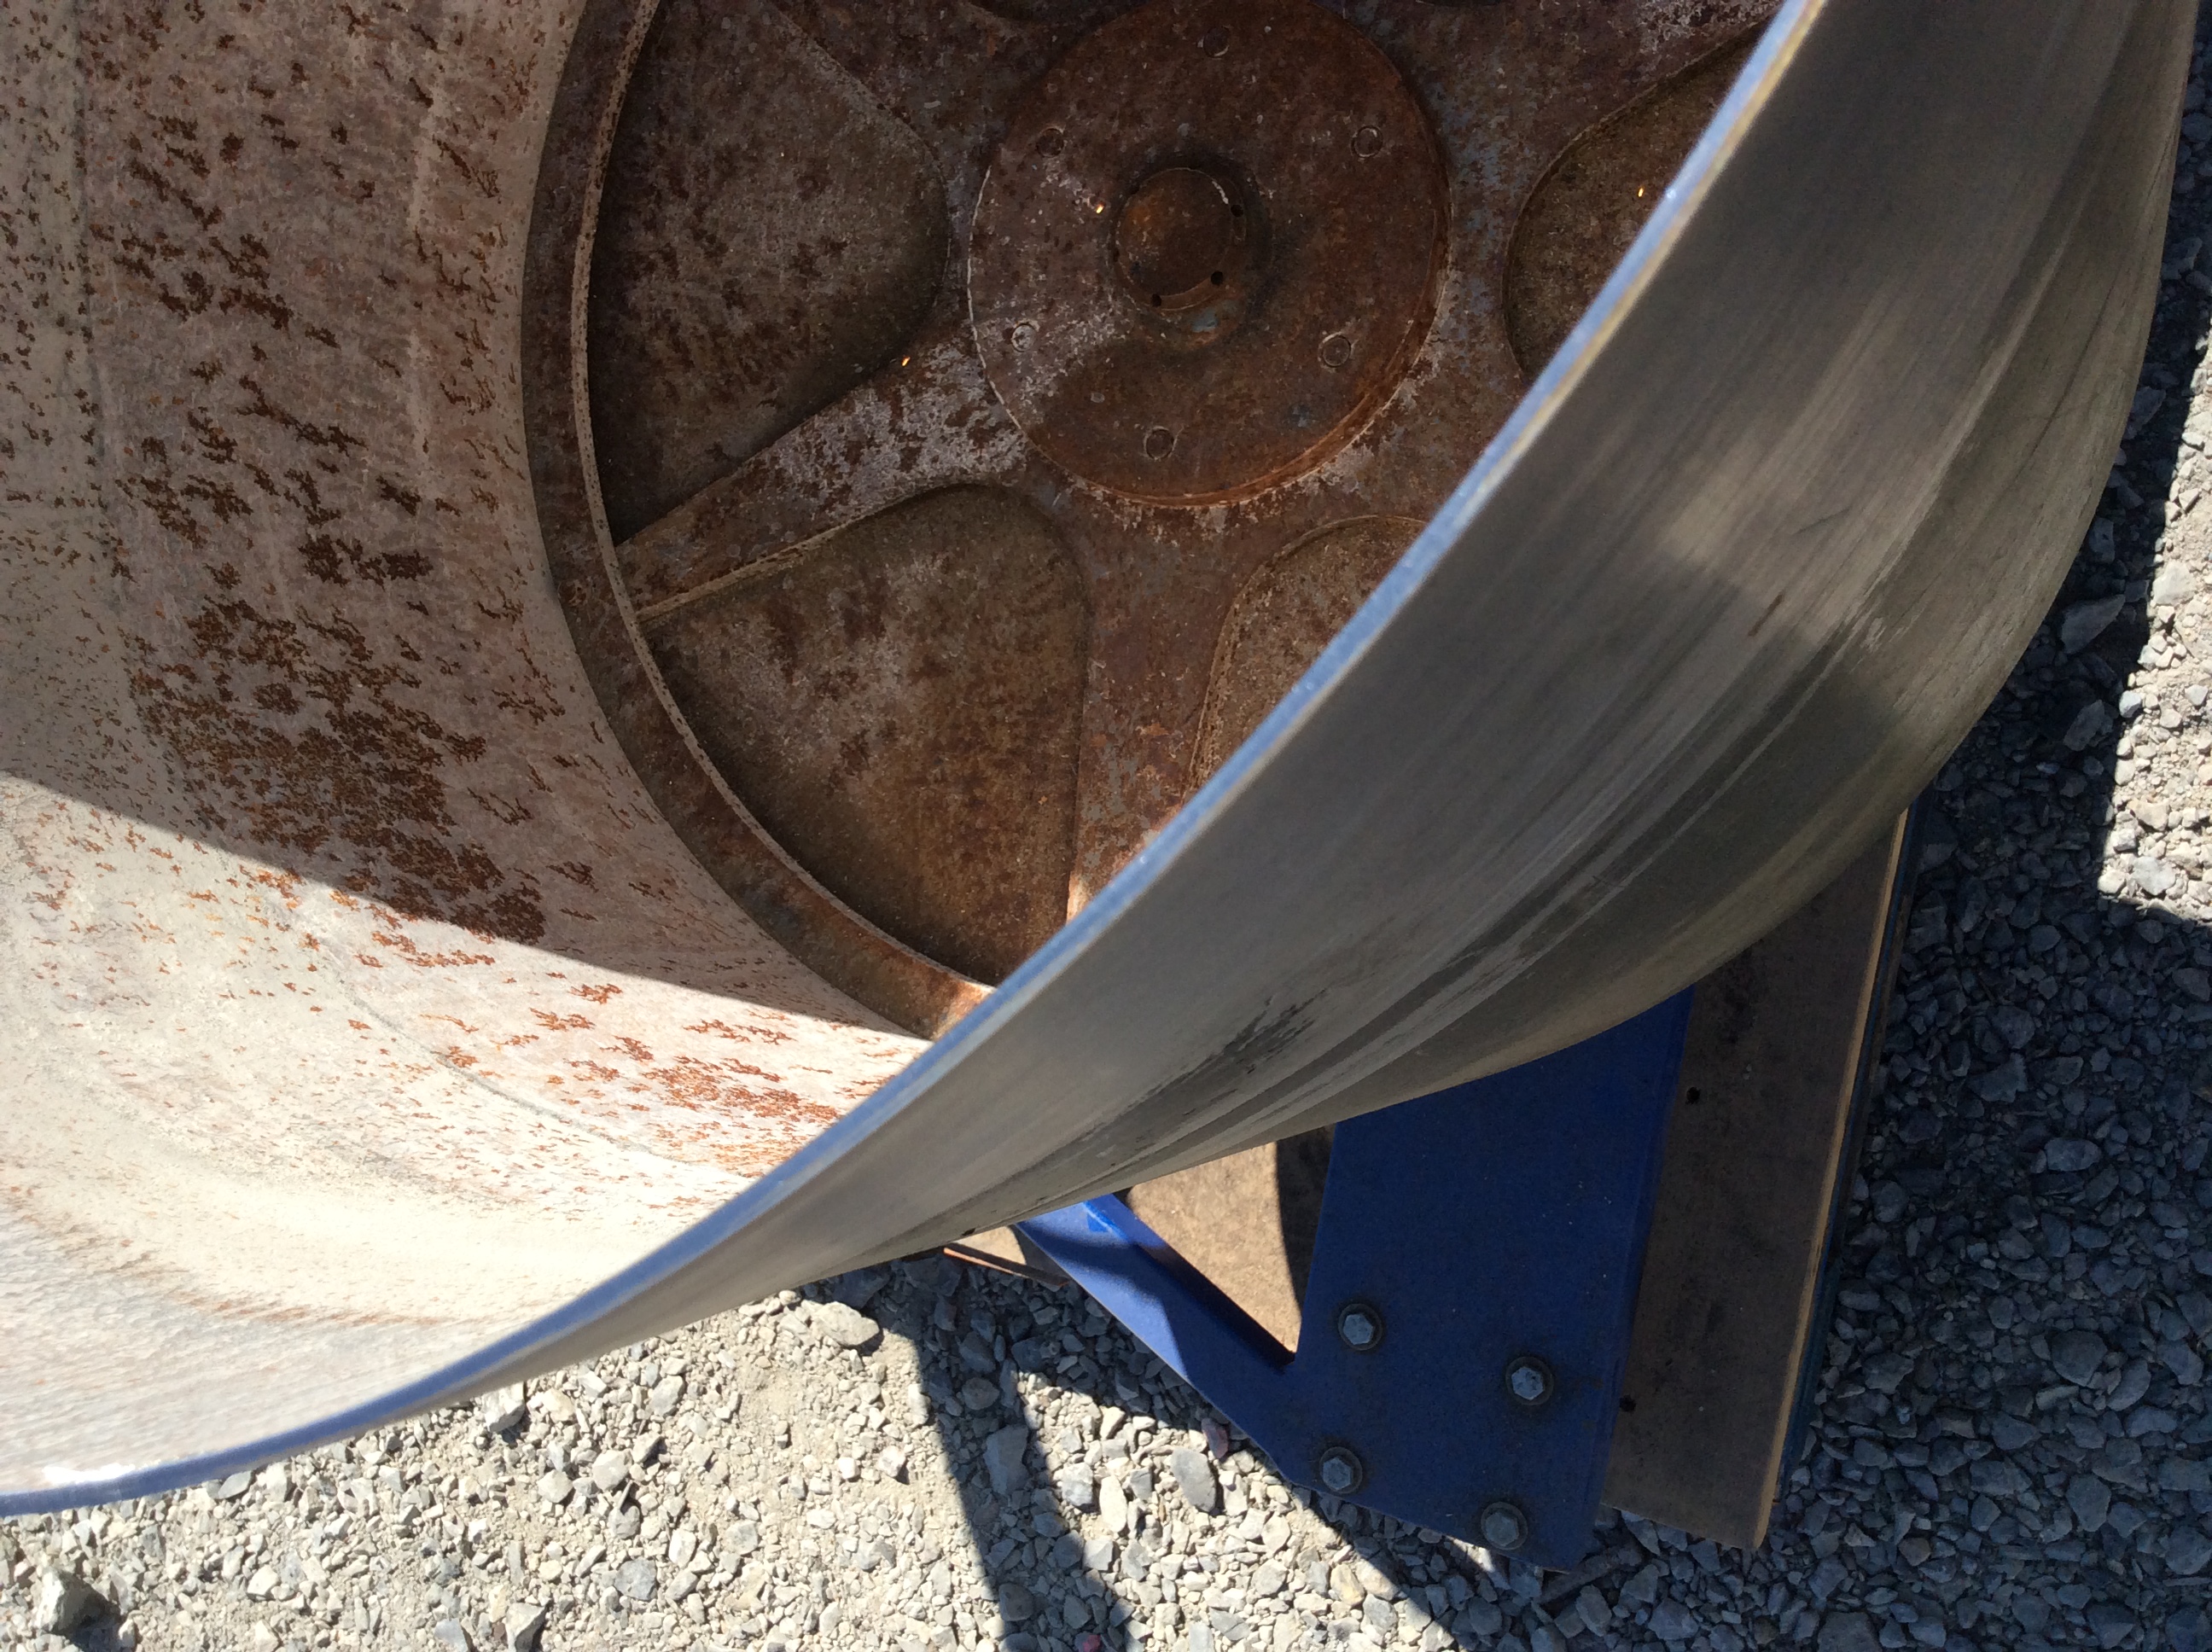
Take Picture of the bit clean of burrs.
Add or drag pictures
Once bit is cleaned of burrs, unscrew the bit from the Pedestal, turn everything off and take everything back inside. Get the forklift to put the Pedestal back onto the racking in shop. Place the freshly cut bit by the welding area in the shop to be re-segged.
Take pictures of equipment being placed back.
Add or drag pictures
Replacing Blade for the Grinder
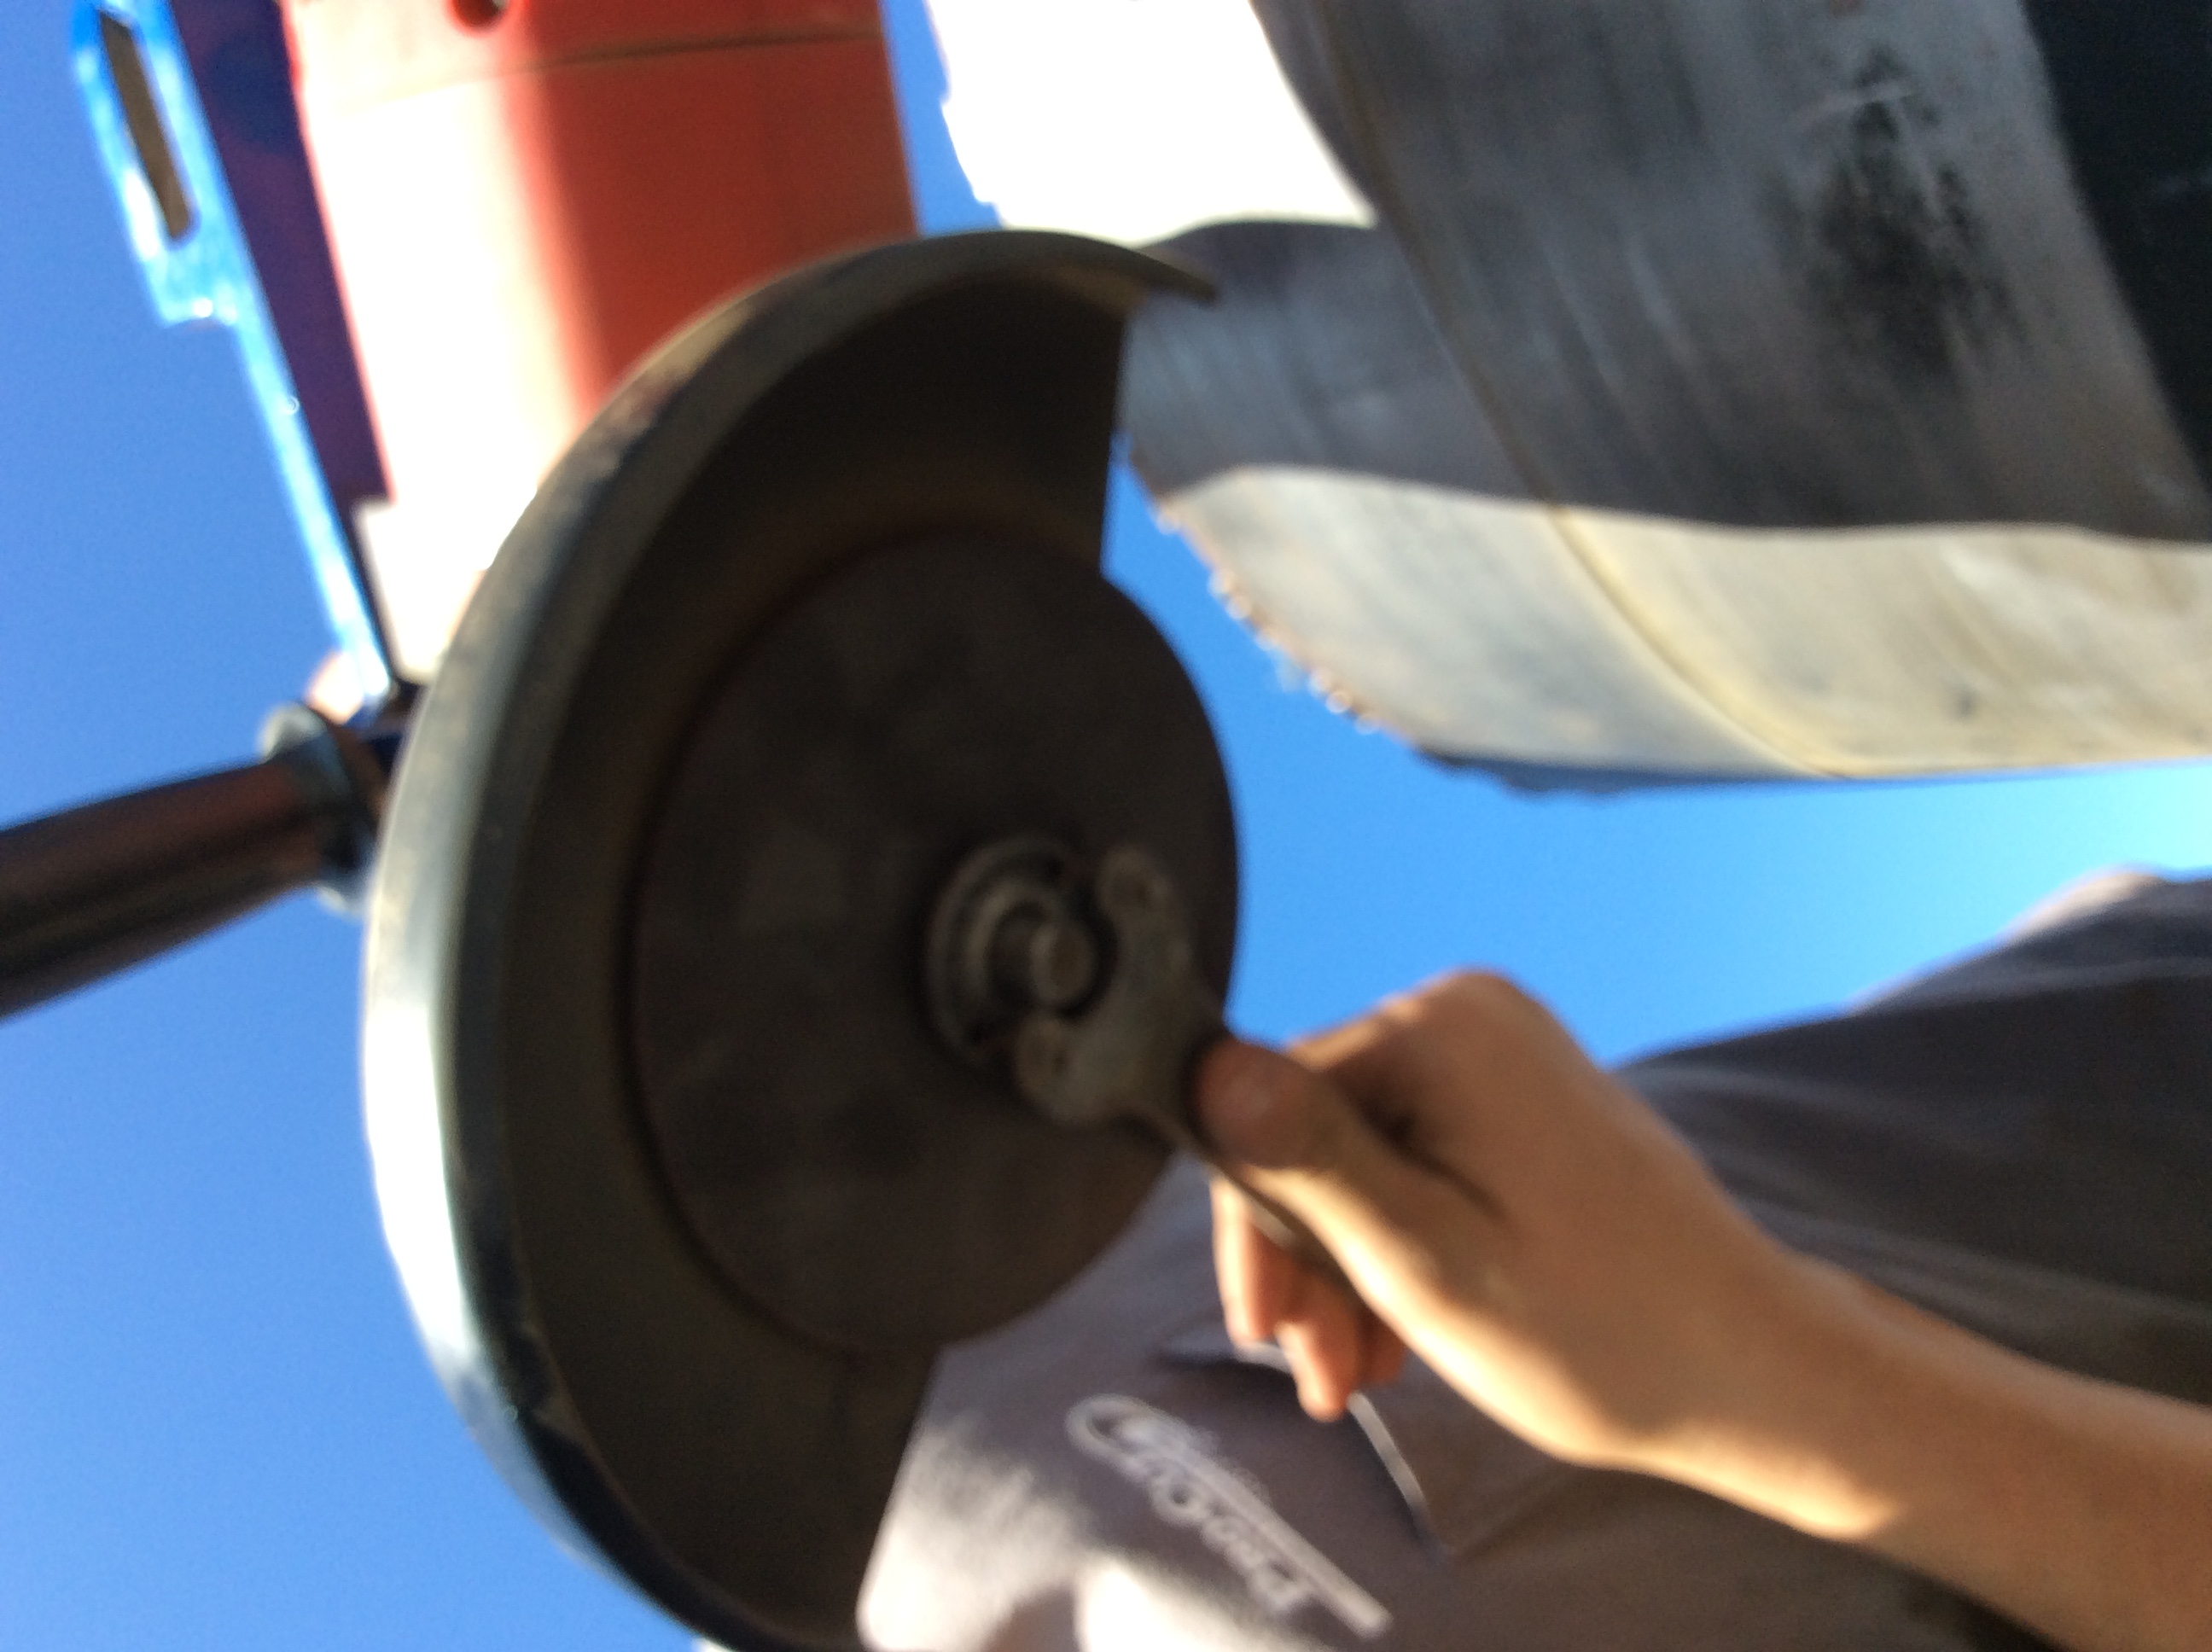
Turn off the grinder and take the blade wrench and remove the old blade from underneath the grinder.
Grab a new blade from the blade box on the Pedestal.
Place the new blade on to the grinder and make sure it is centered.
Take wrench and tighten up the blade to the grinder.
Source: Pro Cut Sawing (Community Member)

