Beta - Chemtech 1 - Transfer Pump 1 Preventive Maintenance and Troubleshooting (Terpene Side)
Follow this procedure for the reactionary and proactive rebuild of transfer pump to keep your pumps running smoothly and prevent them from breaking down.
Beta - Chemtech 1 - Transfer Pump 1 Preventive Maintenance and Troubleshooting (Terpene Side)
Follow this procedure for the reactionary and proactive rebuild of transfer pump to keep your pumps running smoothly and prevent them from breaking down.
ChemTech 1 - Terp Side Transfer Pump PM/Replacement (TBD)
Perform an ethanol/water/ethanol cleaning first as usual, run the terpenes, finish with another ethanol/water/ethanol cleaning. Use ethanol rinse parameters for the terpenes.
ChemTech 1 - Eco Pump Visual Inspection/PM Procedure - Step 1
Warnings and Hazards
"I understand that this procedure has risks outlined below. By checking these risk boxes I understand the risks involved, how to avoid, and how to react/remedy scenarios that may occur."
Sign Here
Click here to sign
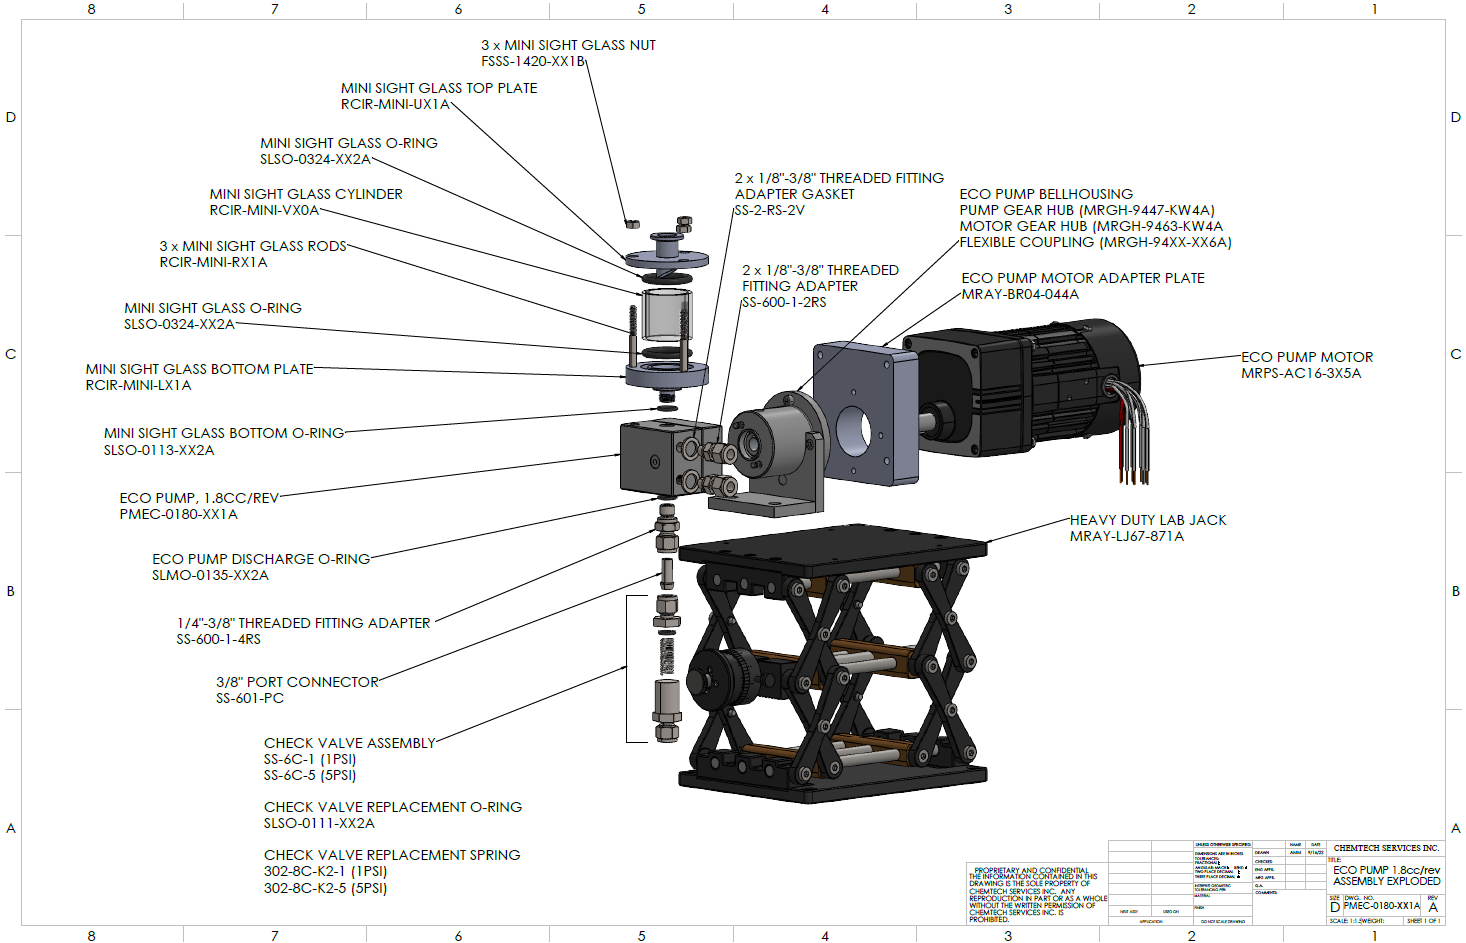
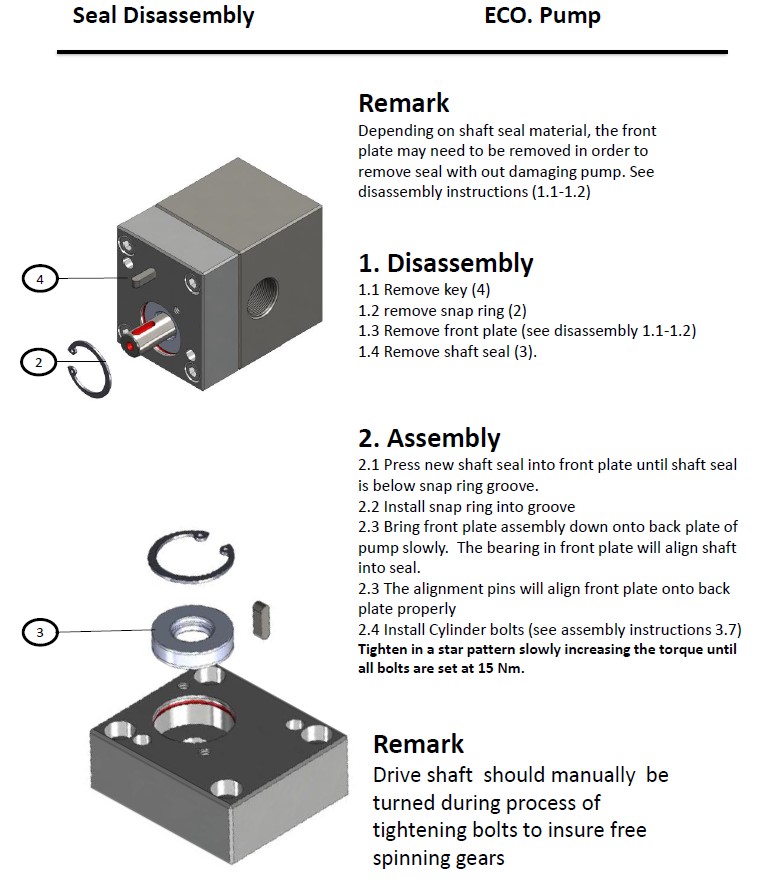
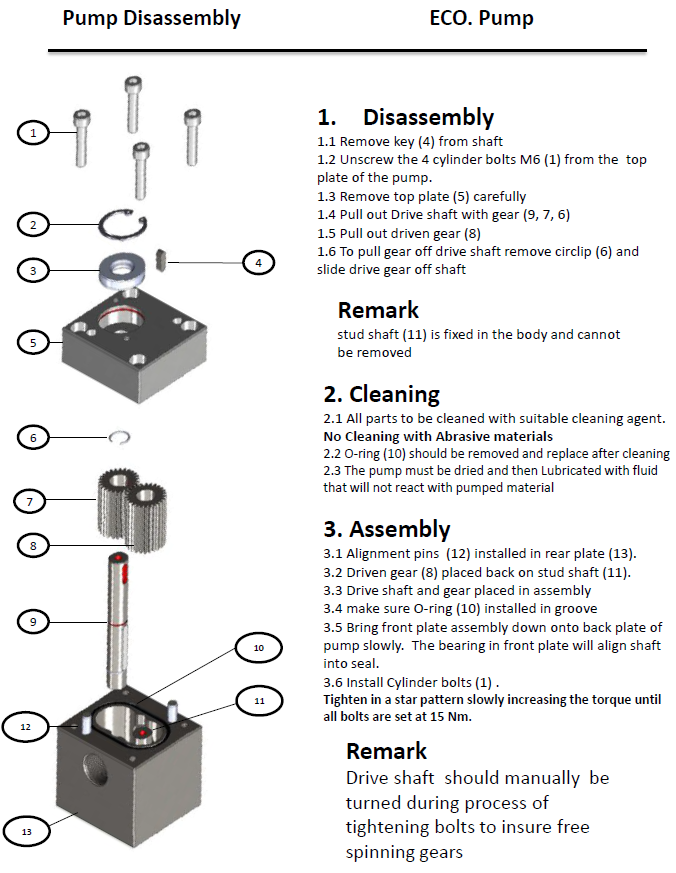
Please reference these PDF's of Eco Pumps and PM/Trouble Shooting Procedures
ChemTech (OEM) Pump Seal Vac Check - Step 2
Clean procedure based on usage and L of oil distilled. A cleaning run should be done weekly or monthly depending on production volumes. All non cannabis based cleaning cycles are to be done with NO vacuum. After cleaning run, change the vacuum pump oil
Water/EtOH Cleaning Procedure
Follow this procedure for visual validation checks
Set Equipment to these conditions
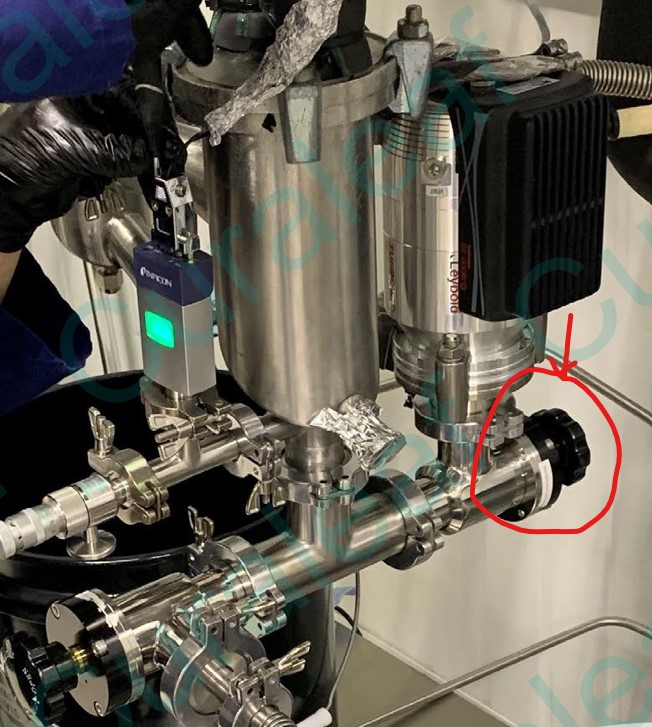
Close both of the right-angle valves to isolate the turbo pump and the rotary vane vacuum pump from the rest of the system.
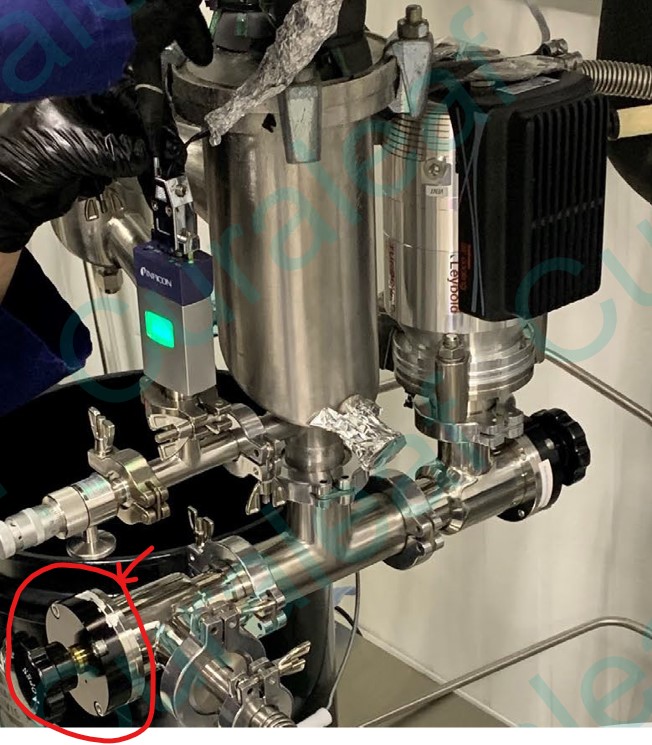
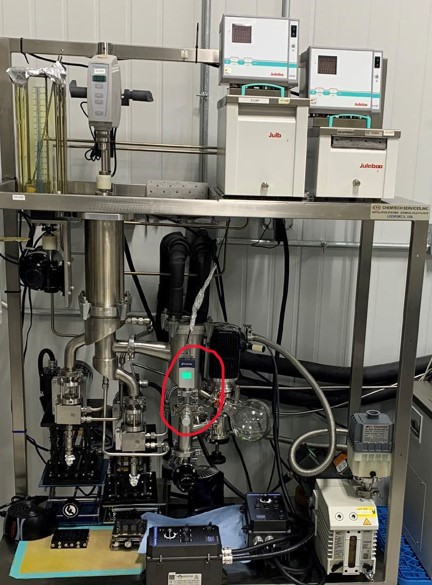
Remove the vacuum sensor and needle valve from the system before performing the cleaning cycle.
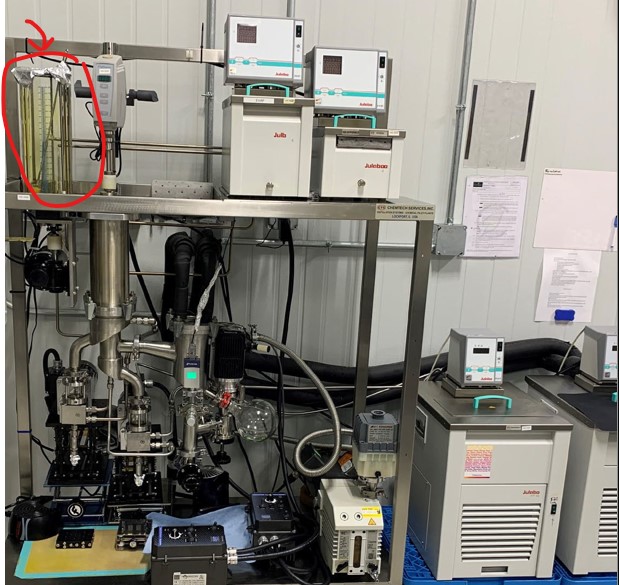
First Pass - Clean the entirety of the feed tank using the water:ethanol mix 10:90. Water should be either RO or distilled. Minimum of 500ml must be used.
Verify Equipment set points - Feed Rate: 50 Wiper Speed: 250 Feed/Residue: 50°C Evaporator: 78°C Condenser: 50°C Cold Trap: 5°C
Allow water:ethanol mix to reach set point temp then run the feed pump at a rate of 50 to remove all contaminated water/ethanol. Empty cold trap collection as needed as to not allow to over fill.
Prepare for Second Pass-Set Equipment to these conditions
Second Pass- Use 500 mL of the water. Empty cold trap collection throughout process as need as to not over fill.
Prepare for Third Pass-Set Equipment to these conditions
Third Pass- Use a minimal of 250 mL of the ethanol. Empty cold trap collection throughout process as need as to not over fill.
With discharge pump systems – once all fluid has passed through discharge pumps turn controllers to the stop position and power off.
If additional cleaning is needed, then repeat the water/ethanol cleaning cycle as many times as needed until the distillate and residue streams are flowing clean and clear ethanol/water.
**If system is equipped with discharge pumps.** This step is to maintain lubrication in gear pumps.
1.) Fill 50ml conical falcon tube can be filled with terp strip material. 2.) With the vacuum bleed port open set the discharge pump controllers to ‘reverse’ and a slow rate of 10 or less. 3.) Place the conical falcon tube at the base of one of the check valves at the exit port of the discharge pump and raise enough to submerge the tip into terp strip material. 4.) Turn on the discharge pump controller to back feed terp strip material until material is seen int the sight glass. Stop the pump via the pump controller. 5.) Switch direction from ‘reverse’ to ‘forward’ and start the pump again discharging material back into the conical falcon tube. Run until no material is seen dripping and stop pump via controller and power pump down. This will keep the gear pump lubricated and prevent excessive wear. 6.) Repeat steps 7.6.10 for other discharge pump if necessary. NOTE: The next time the system is started up for a THC distillate pass, 1-3 cups will need to be collected from the distillate side of the discharge pump and redeposited into the feed tank. This will remove any of the terp strip used as lubrication.
Do the discharge Eco Pumps hold/pass liquid. ( No leaking present )
if the answer is "oneOf [PASS]"
if the answer is "oneOf [FAIL]"
Drying
Set Equipment to these conditions
The system is in hot state with no feed at the set conditions above.
After allowing the warmer temperatures to dry the system at atmosphere for 1 hour, return vacuum gauge and needle valve bleed port to proper position closing the needle valve bleed port.
Open the main vacuum isolation valve and pull vacuum using only the main rotary vane vacuum pump for 1 hour to fully dry the system out. Keep the turbo pump isolated (closed) from the system for the vacuum drying portion. Change the vacuum pump oil after finishing the drying process.
Signature
I have completed this inpection
Operator Lead
Click here to sign
Source: Homestead TechOps - Curaleaf (Community Member)

