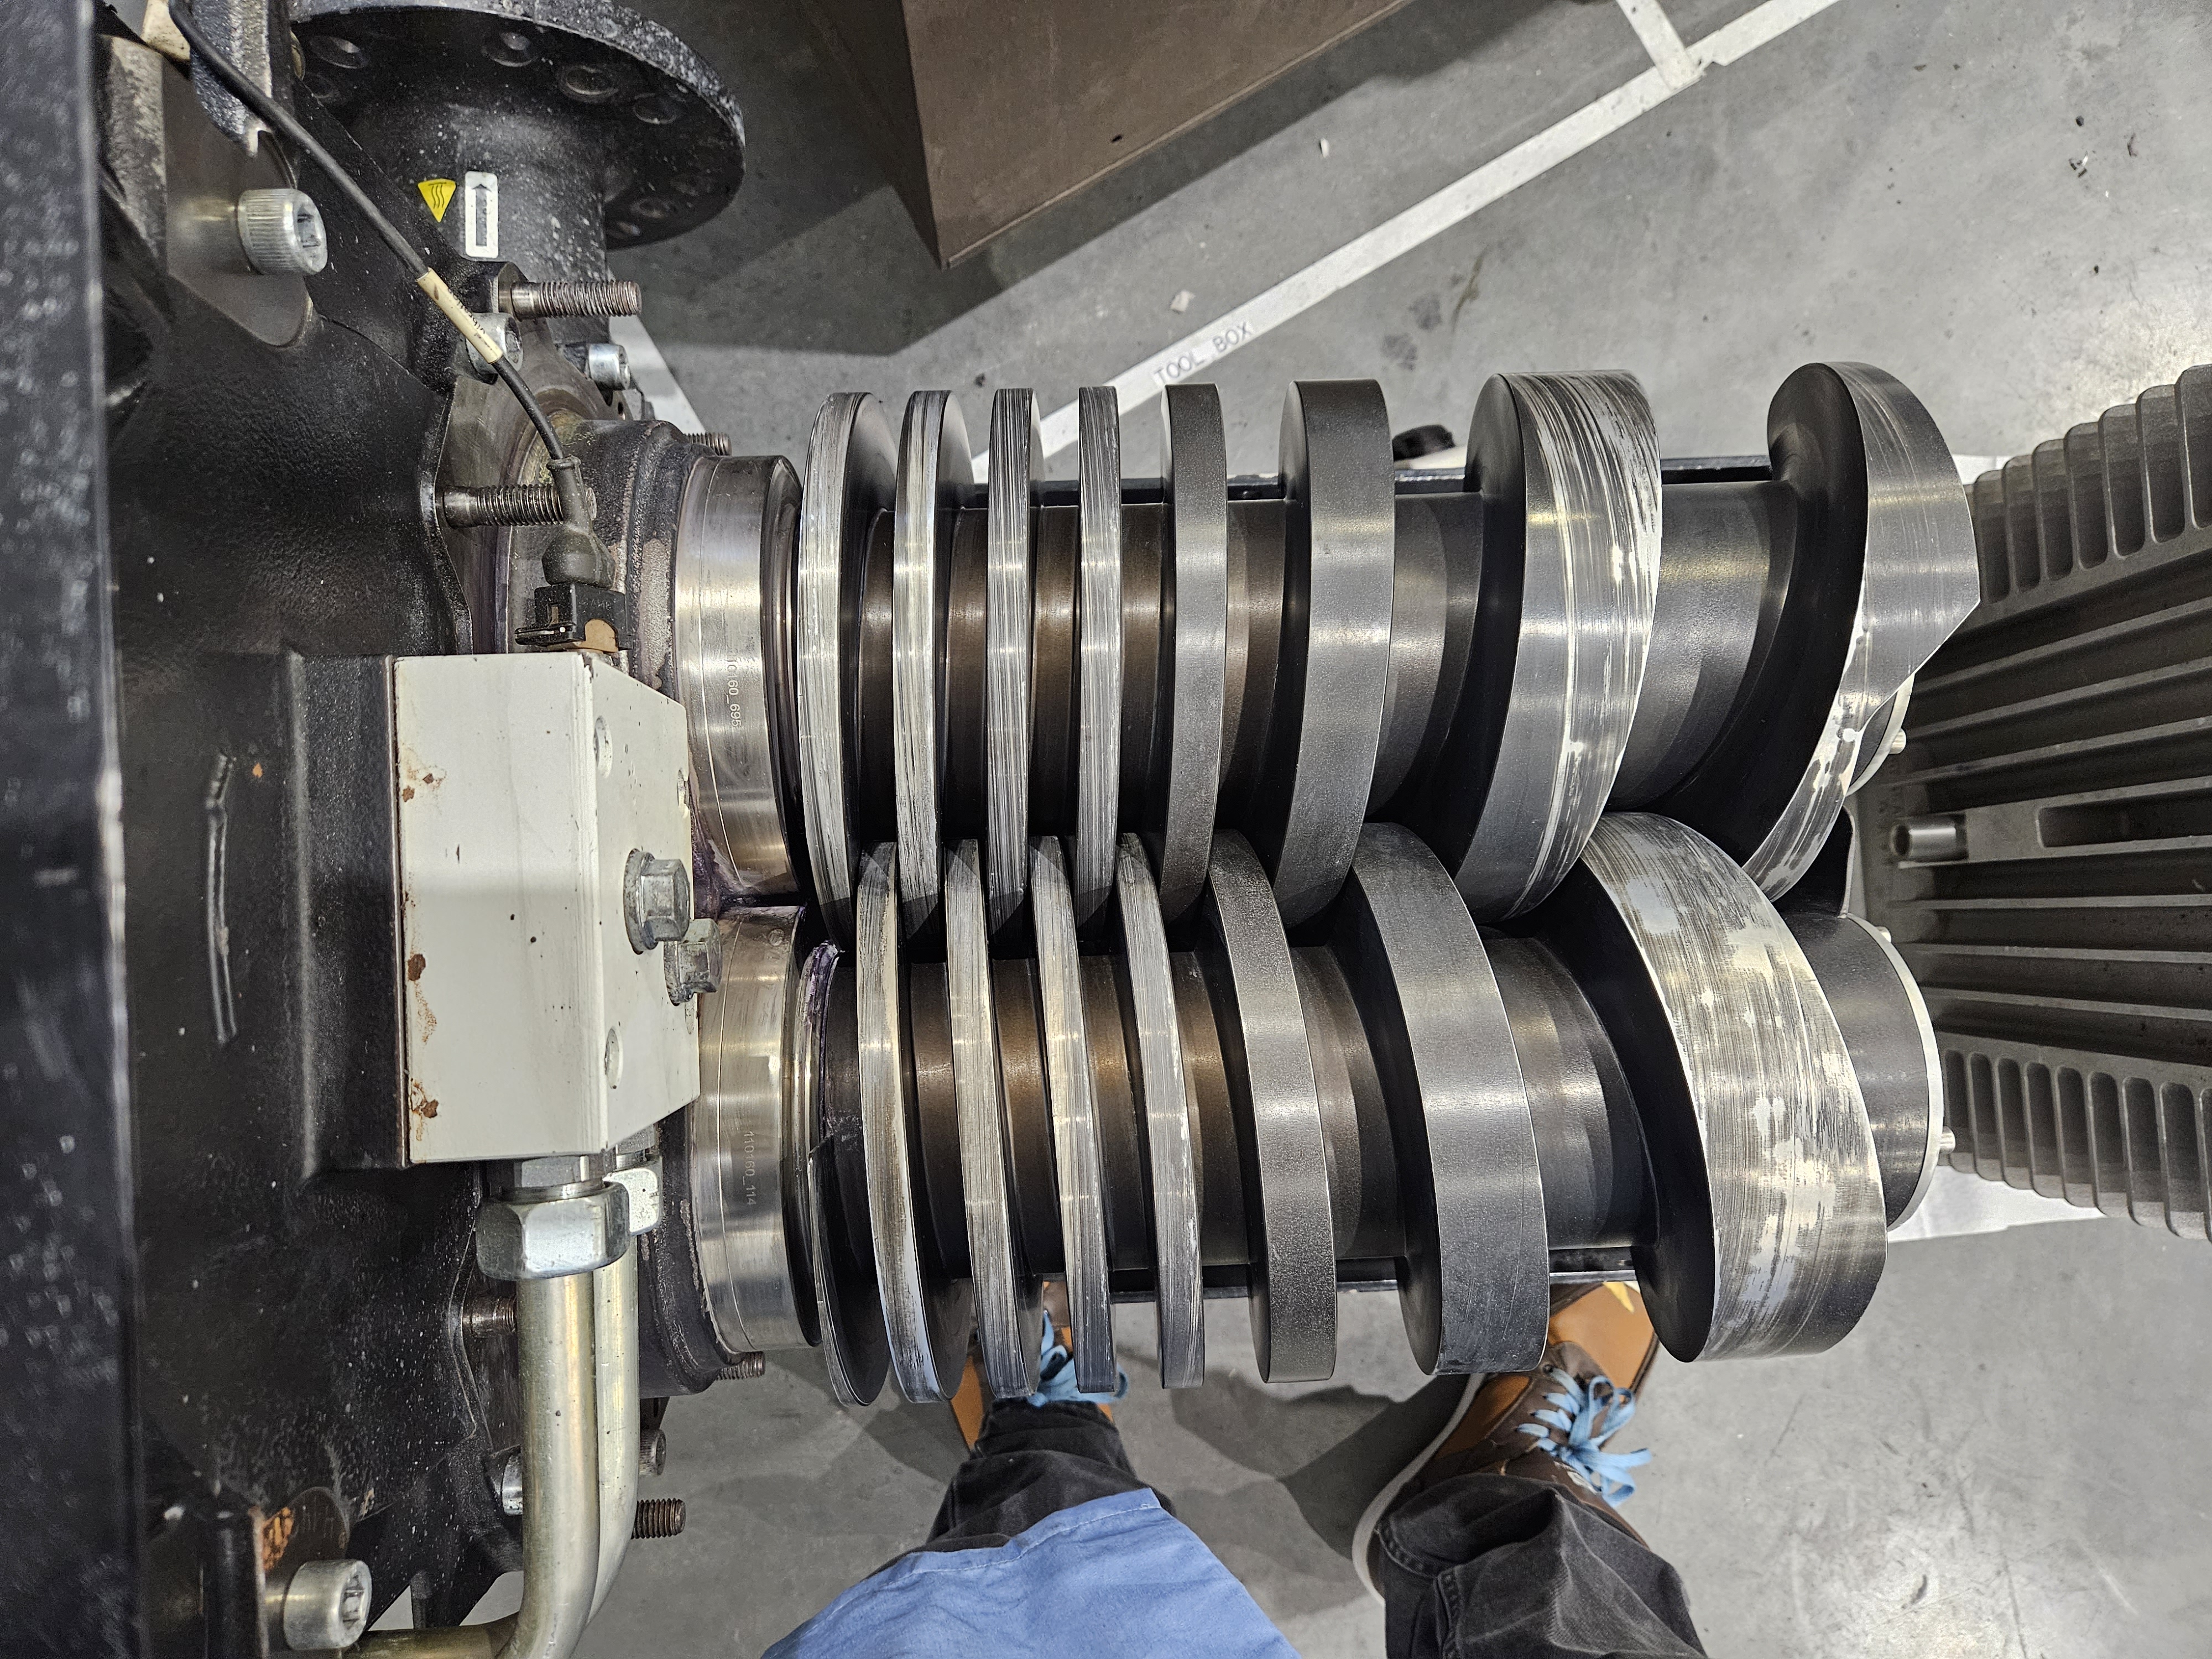
SP Pump PM
Disassembly, cleaning, and reassembly including torque of screw pump housing and screws, and cleaning material handling
SP Pump PM
Disassembly, cleaning, and reassembly including torque of screw pump housing and screws, and cleaning material handling
Ensure LOTO- All sources of power are disabled, disconnected, or locked out
remove (8x) 8mm allen head capscrews from front air plenum
remove (8x) 18mm nuts from housing to gearbox studs, being careful not to bend the studs or leave the housing unsupported
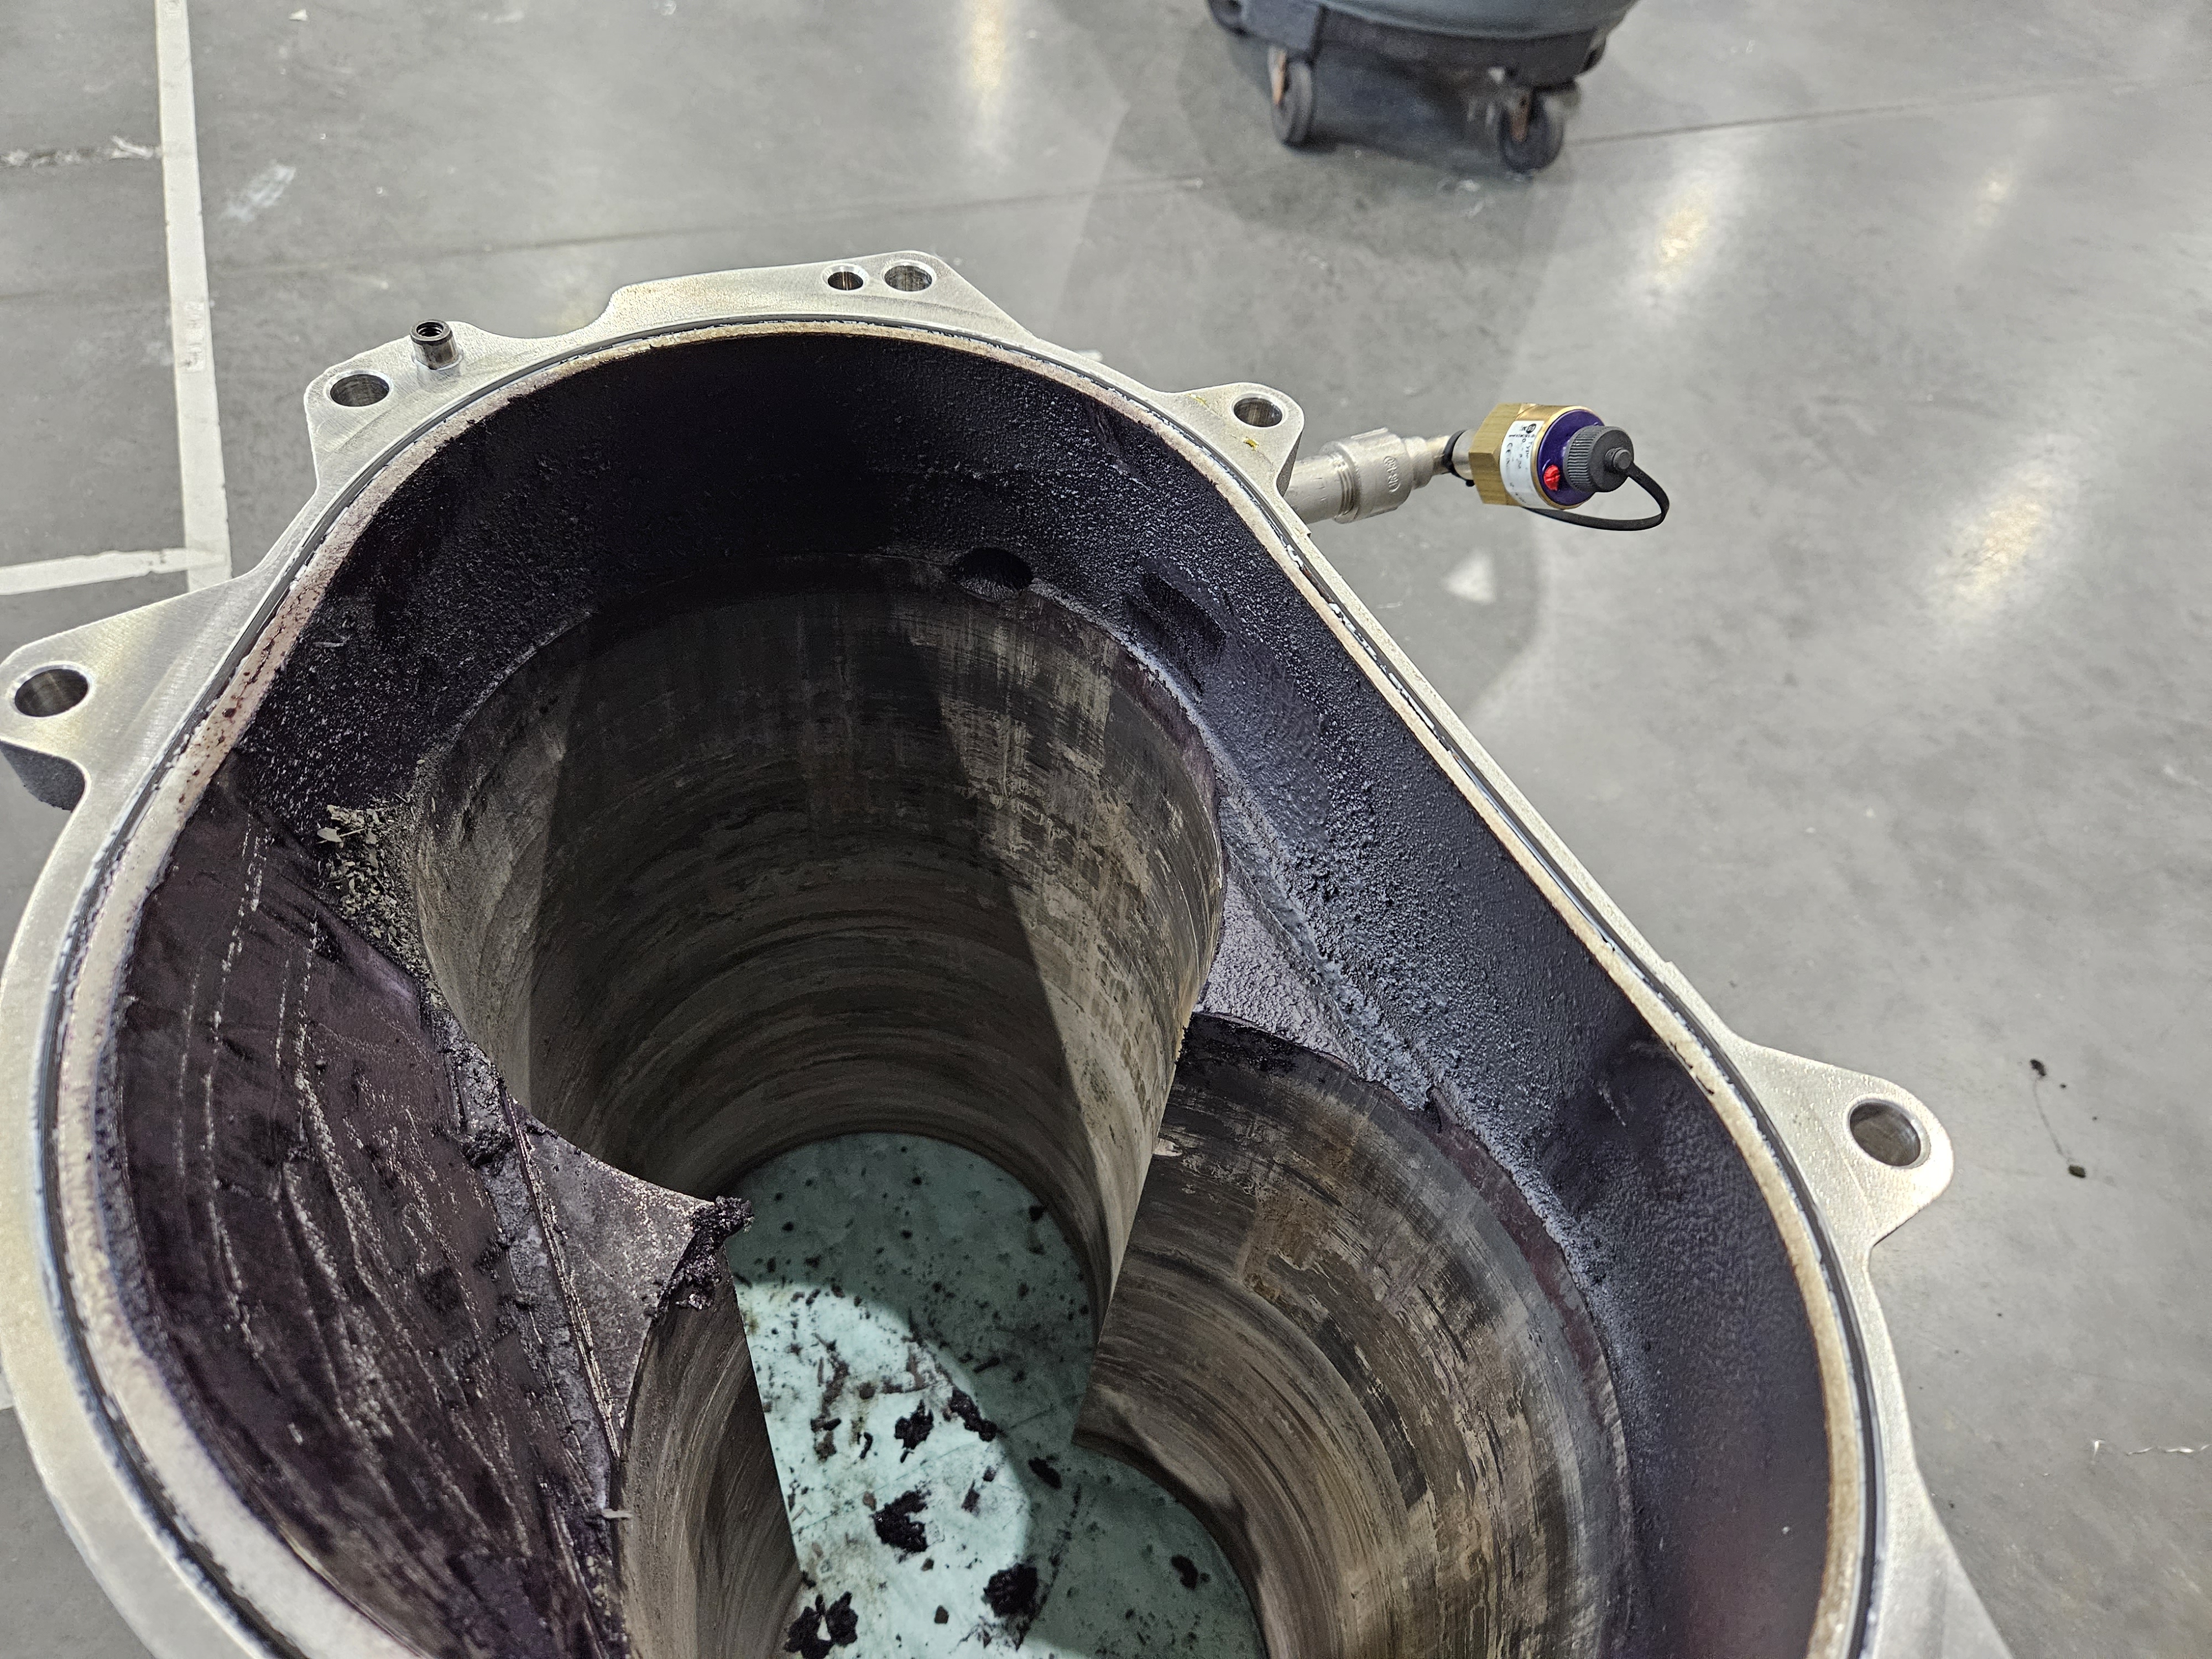
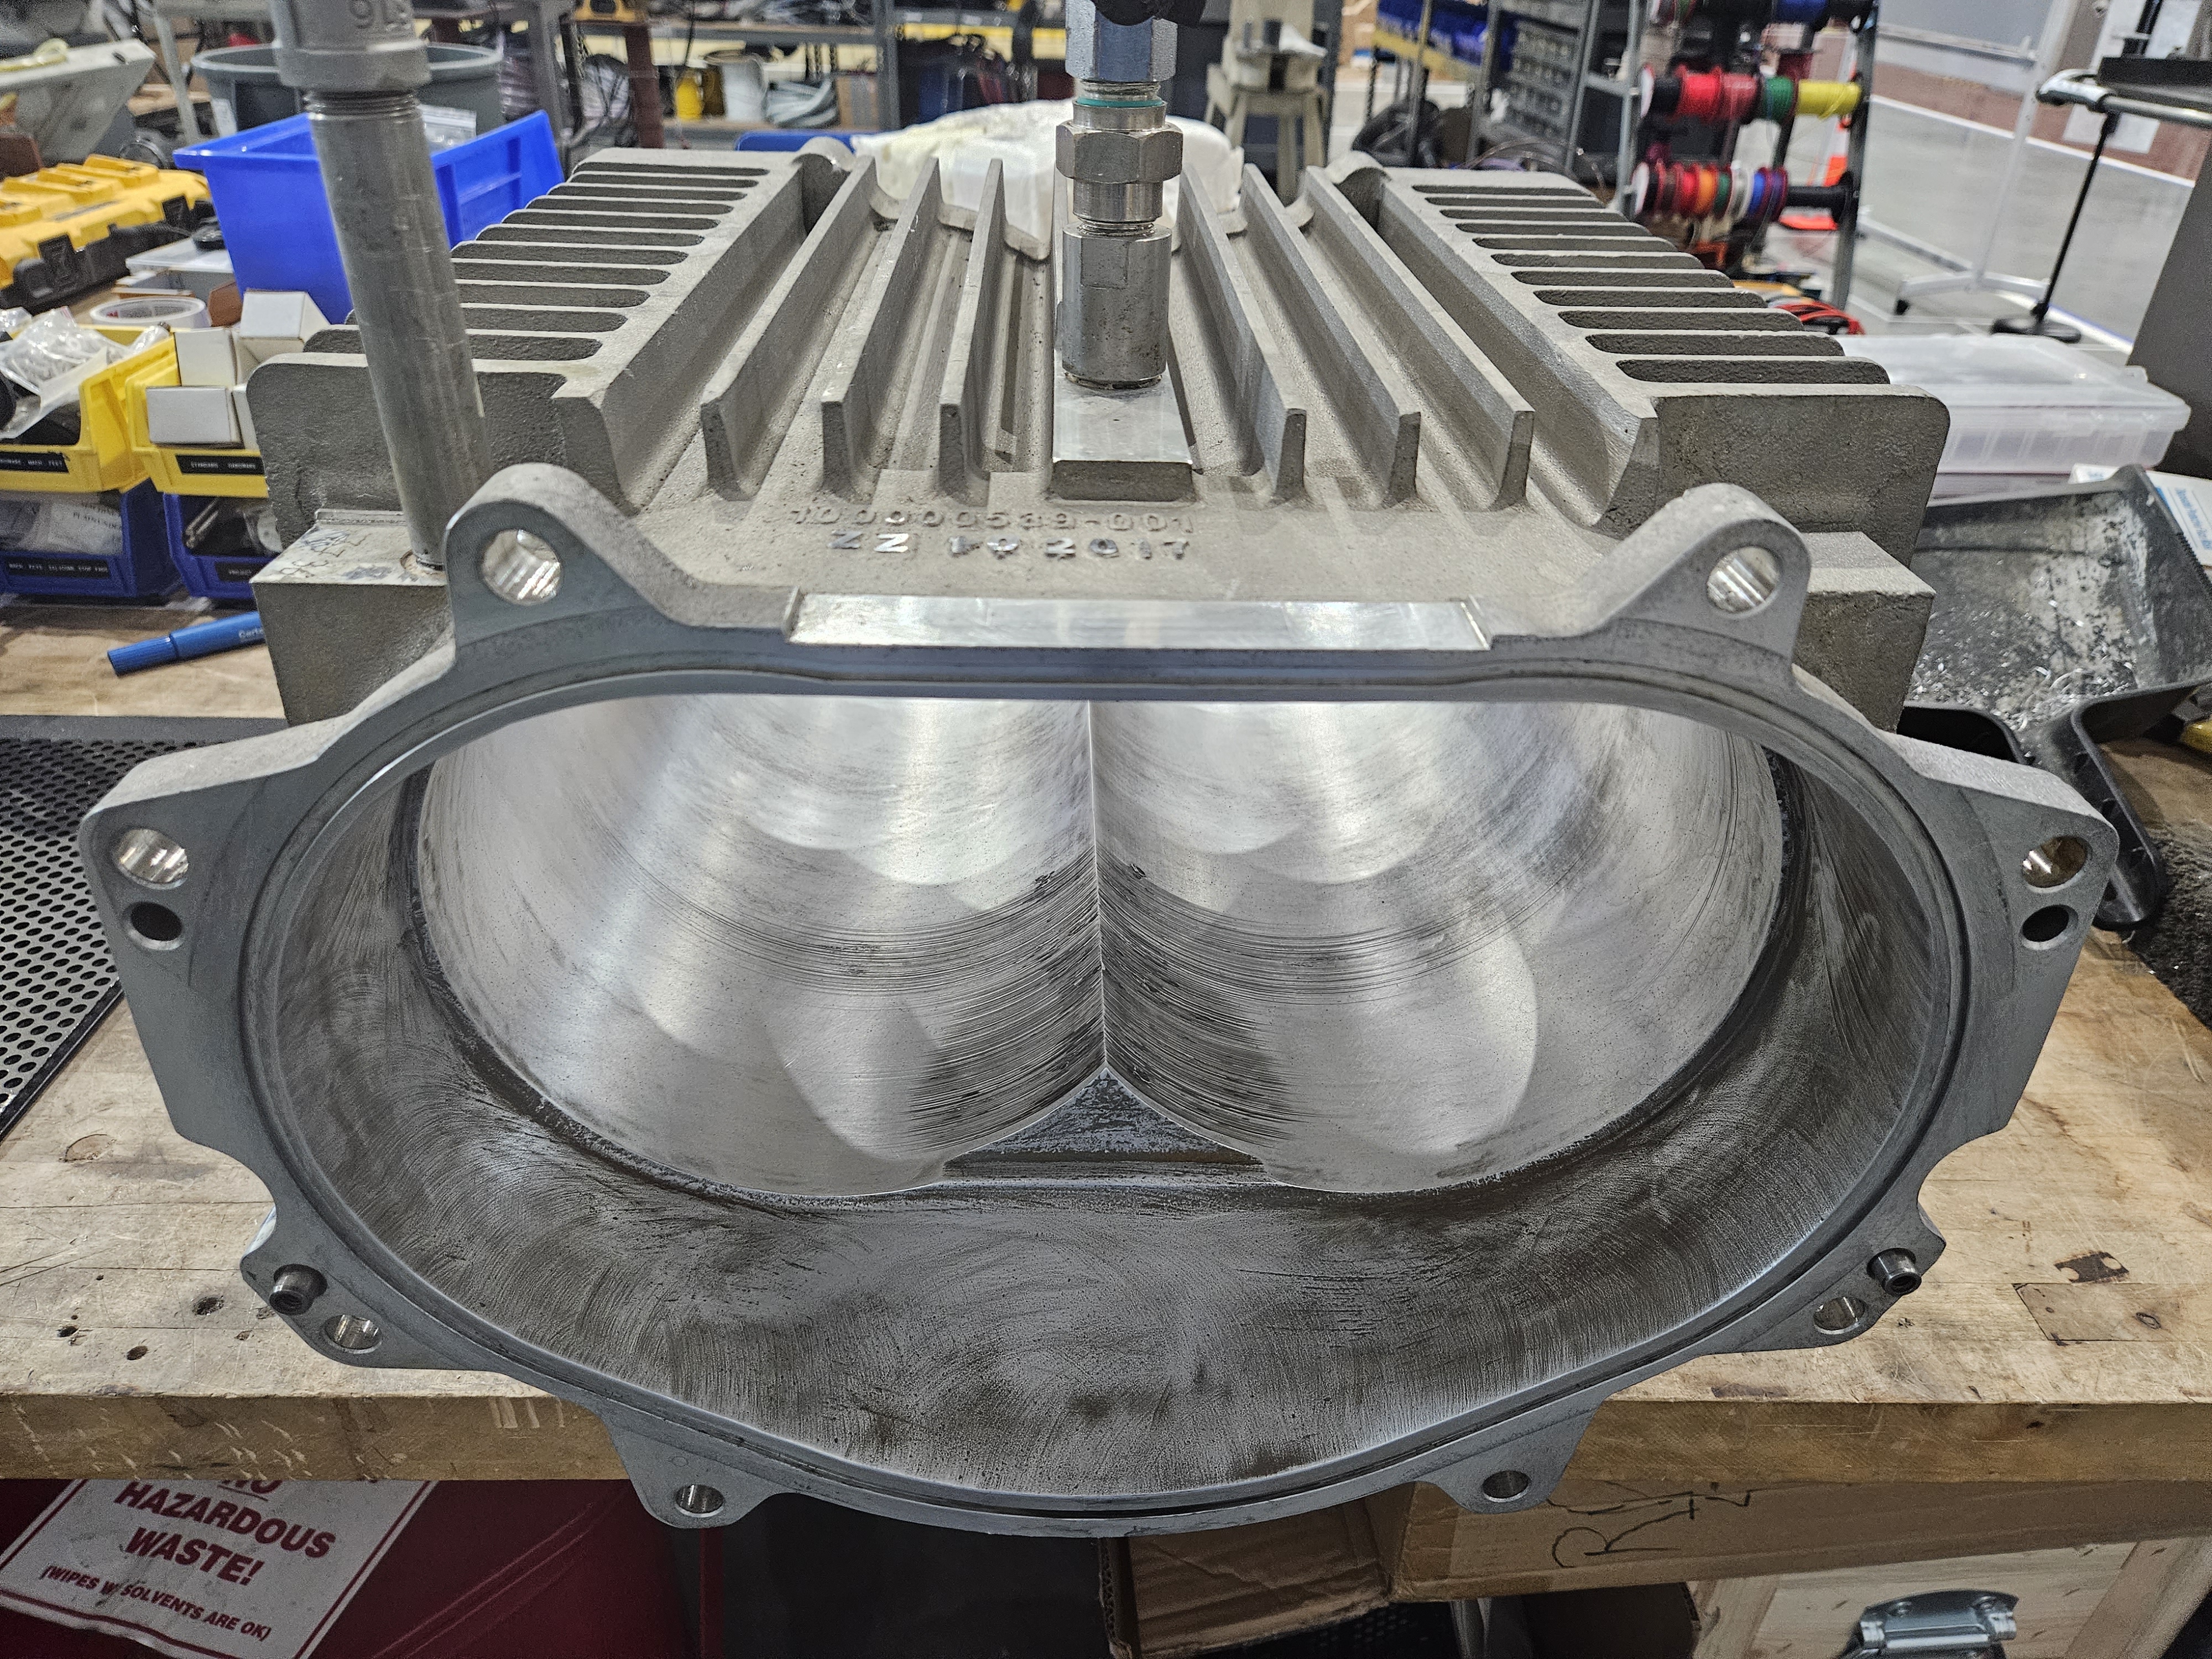
remove aluminum housing from screw pump, and place over absorbent pads
Using scouring pads (3m scotchbrite as example) and isopropyl, remove debris, remnants, and particles from housing, to include O-Ring seats, and housing flanges on both ends
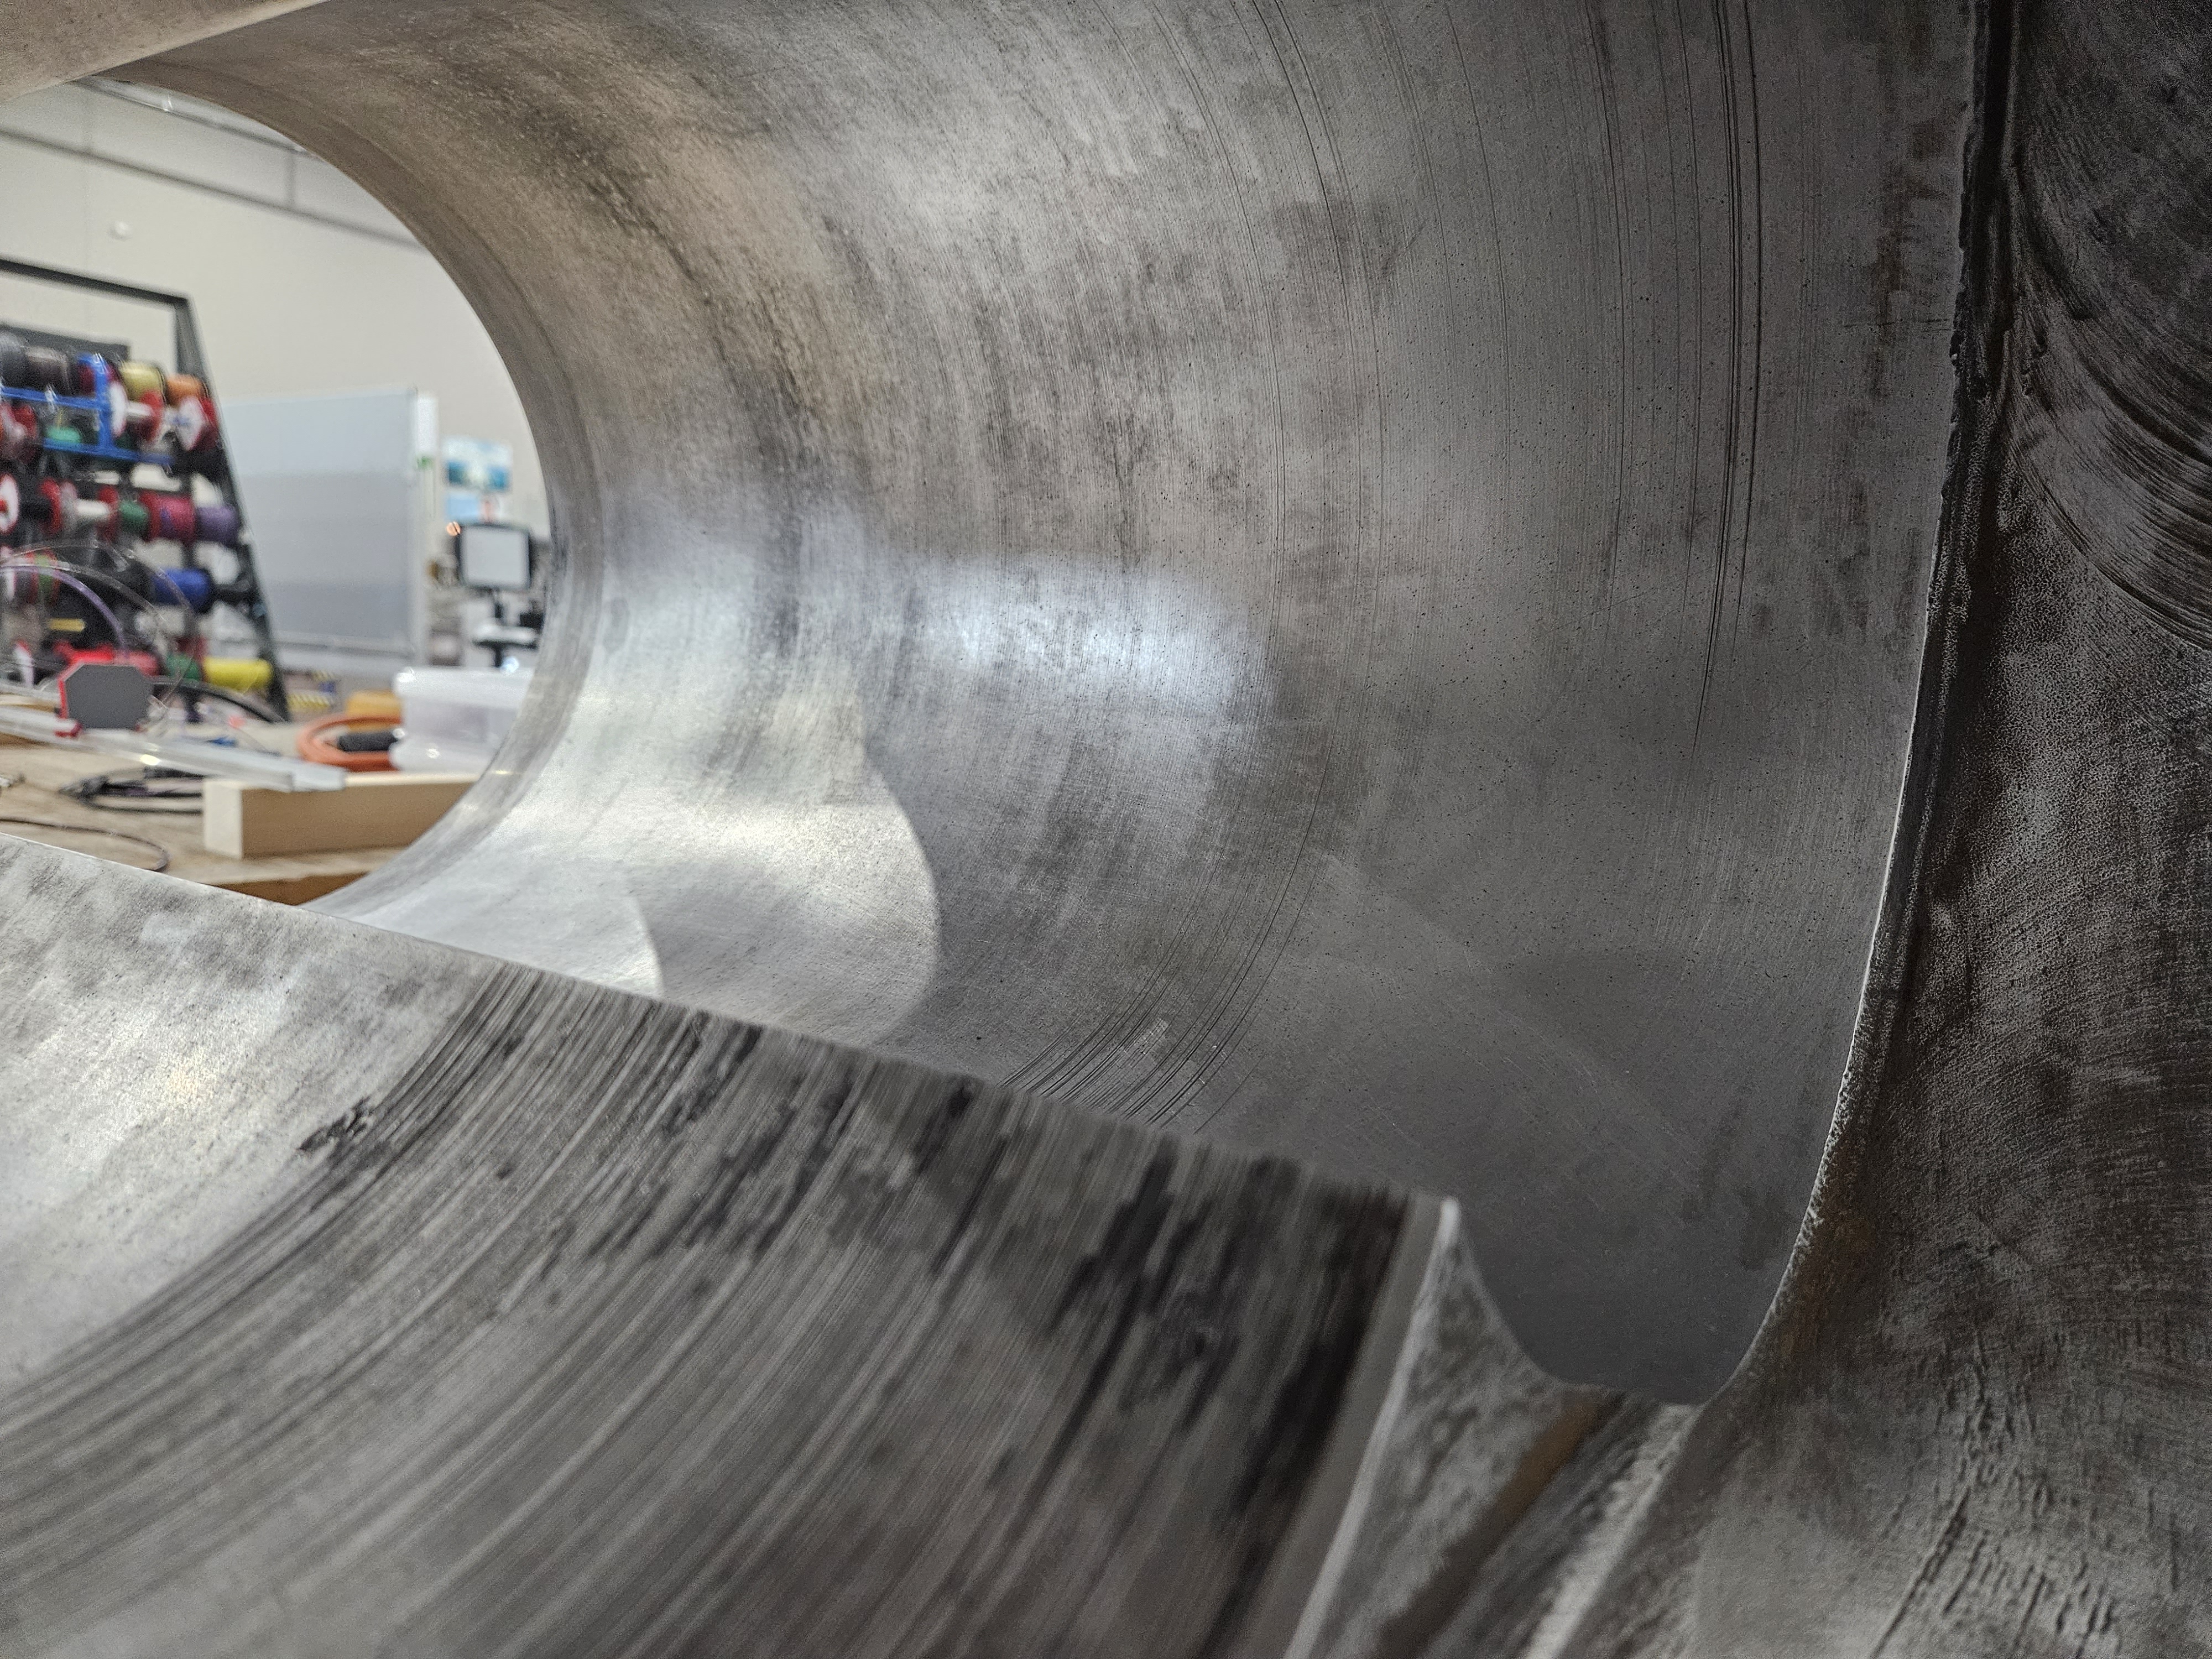
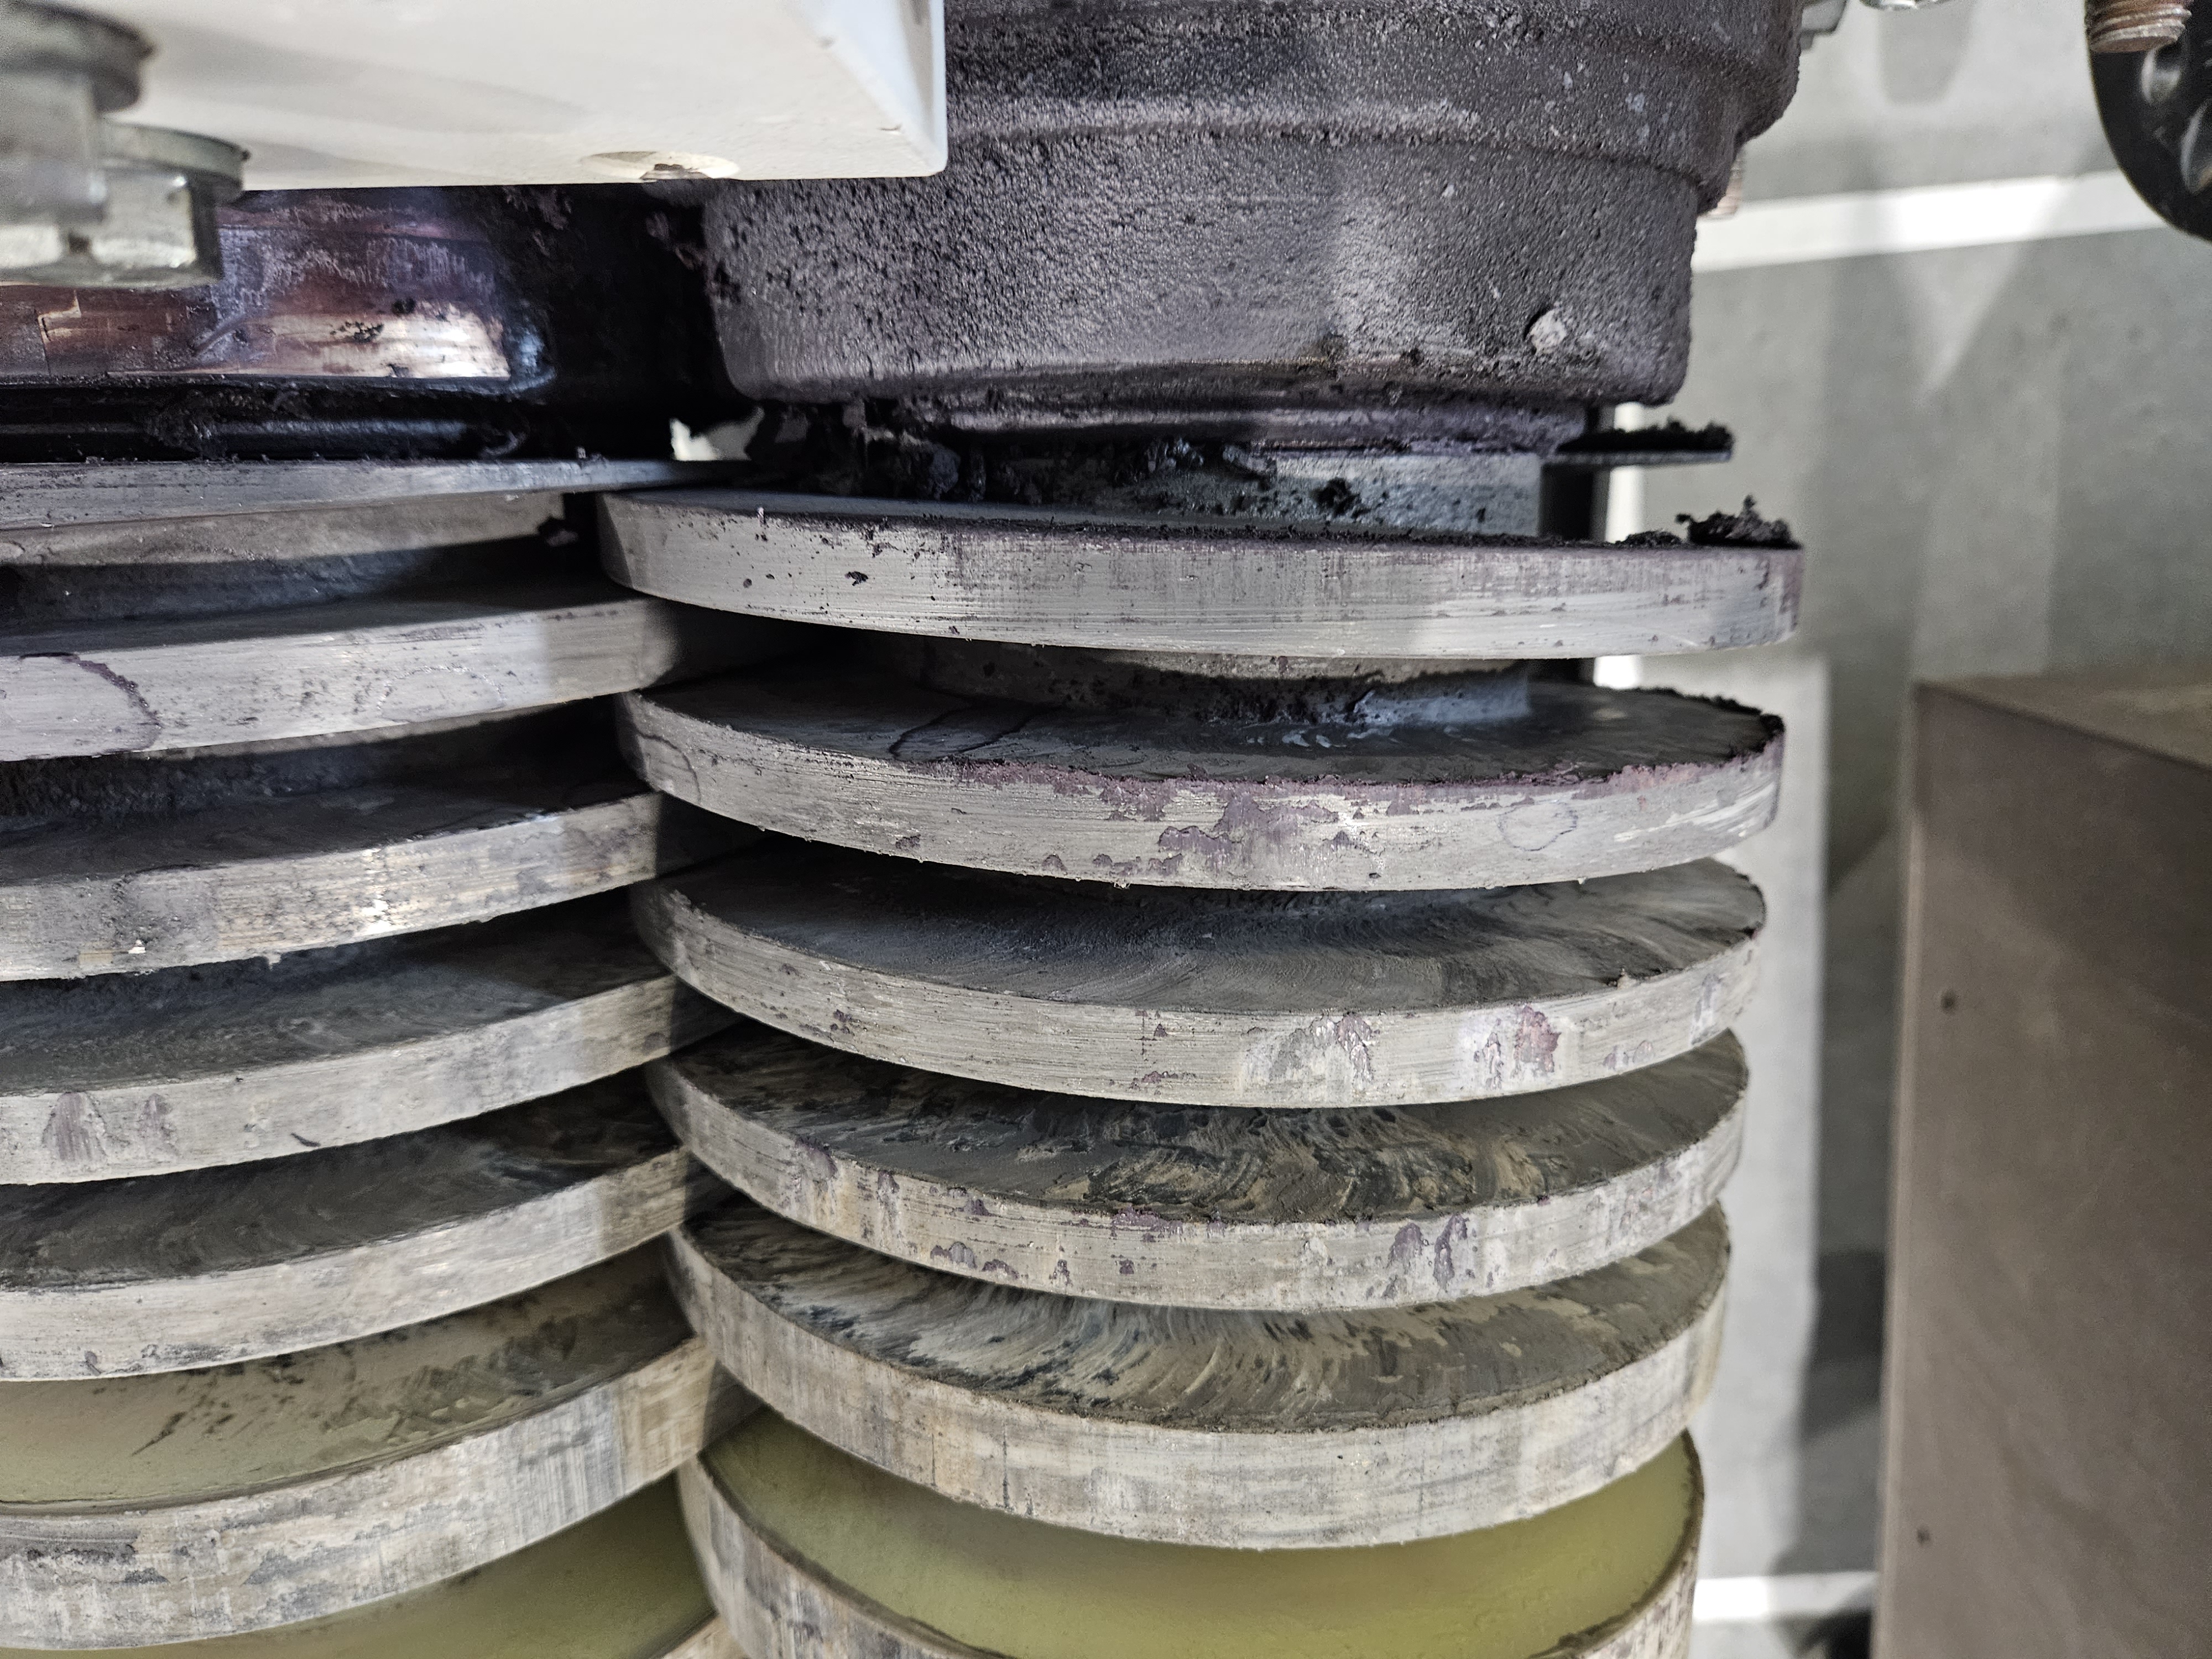
Place absorbent pads beneath pump screws. Using Scouring pads (3m scotchbrite as example) and isopropyl, remove debris, remnants, and particles from the screws
Inspect both O-Ring seals for damage, tears, splits, or dry rotting
With both O-Ring seals in good condition, lubricate with high-vacuum grease (dow corning)
Reinstall housing, installing nuts until hand tight, then following a double-star pattern, torque nuts to 25'-lbs initial, 45'-lbs final torque
reinstall, and retorque front air plenum using the same double-star torquing pattern, and the same 25#-45# torque
Check for proper function,and rotation by reinstalling power cable if necessary, and tag as cleaned/PM performed, noting your name, the date, and torque of bolts
Source: Superpower-inc. (Community Member)

